What parents can do to keep their child safe from toxins in food
A recent congressional report reveals the FDA’s failure to regulate heavy metals in baby food seems to have created more questions about why the agency failed to adequately regulate toxins such as arsenic, lead, cadmium, and mercury in baby food. While these toxins don’t belong in baby food, or any food for that matter, their presence in baby food can cause serious and often irreversible damage to infants’ and young children’s brain development.
Tips to avoid heavy metals in baby food:

- Read labels carefully
- Avoid foods with confusing labels
- Choose the healthiest foods
- Make your own baby food
- Use local or homegrown foods sources
- Avoid snacks - especially crackers, puffs, rice products, and sweet potato
Reading labels is an essential part of picking out the healthiest commercial options available. Make sure you take time to review the label carefully and understand the ingredients in the foods you choose. Know that food labeling is often misleading, making you think something is healthier than it really is. Choose healthy foods, made from whole food ingredients.
Reduce your baby’s exposure to toxic heavy metals by choosing the best commercial foods you can, making your own baby food, getting vegetables and fruits from reputable local sources, and avoiding the highest risk baby foods (rice-based foods and sweet potatoes).
Hygiene When Making Baby Food

There are many good reasons to make your own baby food at home. Store-bought baby foods, while convenient, also have many drawbacks. Even those that are safe foods may contain unhealthy additives, extra starch, and high sugar levels. If you opt to make your own baby food, proper hygiene and food handling is essential. Here are some things to consider to make baby food that is safe for your child to eat:
- Wash and rinse in hot water
- Boil utensils
- Store in the fridge or freezer
- Discard leftover food
- Introduce new items slowly
- Start with fruits and vegetables
When making your own baby food at home, remember that all cooking equipment, utensils, and storage containers that come in contact with the food should be properly cleaned and sterilized. Hot water, including boiling water, can be used to sterilize cooking equipment, like pots, spoons, knives, and mashers. Since homemade food does not have any added preservatives, it needs to be kept refrigerated (or frozen) and should never be left to sit out for an extended period. Even cooked food should only be stored for a few days in the fridge. Freezing is a good option to keep food safe (and fresh) for longer.
When preparing for meal time, take out the amount you plan to feed your child using a clean utensil. If there is food leftover from the meal you should discard it for safety. New foods can be introduced slowly and in small amounts, to see how your baby handles it. The best foods to start with are fruit and vegetable purees, and eggs, beans, and meats can be added later as your child is able to eat more foods.
Tips for storing homemade baby food
Whether your child is still in the puree stage or becoming comfortable eating solid foods, you are going to need to store food in the fridge. Baby foods can be stored for up to 48-72 hours in the refrigerator, or 3 months in the freezer.
Luckily, there are a variety of storage solutions offering easy-to-portion storage for the fridge or freezer, with stackable options to help save space. Storing homemade baby food in the freezer allows you to make a bigger batch at once, and then serve it over the span of a few weeks or months.
Best containers for homemade baby food

There are many baby food storage containers available. Look for glass or silicone containers for the healthiest food storage options. Glass and food-grade silicone containers are non-reactive. They will not absorb odors or leach chemicals into food, and they are safe to use at different temperatures.
It’s important to avoid plastic containers if you are making your own baby food. Small amounts of potentially harmful chemicals – including BPA (bisphenol A) and phthalates – may leach from the plastic into the food. Even “BPA-free” containers may contain other bisphenols that are unhealthy for you and your baby. These chemicals are hormone disruptors that cause problems in the endocrine system. Ultimately, the best storage solutions are glass or silicone.
Glass
If you are making baby food for the first time, glass baby food containers and storage jars may be best for you. Glass is one of the safest materials to use, and it’s durable, reusable, and easy to clean and sterilize.
As you already know, glass is breakable, so glass containers require a little bit of care to use. Glass can also sometimes crack with sudden temperature changes. Warm foods stored in glass containers should be refrigerated to chill before moving them to the freezer, and food frozen in glass should be thawed carefully (preferably in the fridge, or if you need it quickly thaw in the microwave on a defrost setting). Still, glass is long-lasting and does not react with foods or retain any odors or residues when washed properly, making it an excellent option for homemade baby foods.
Silicone
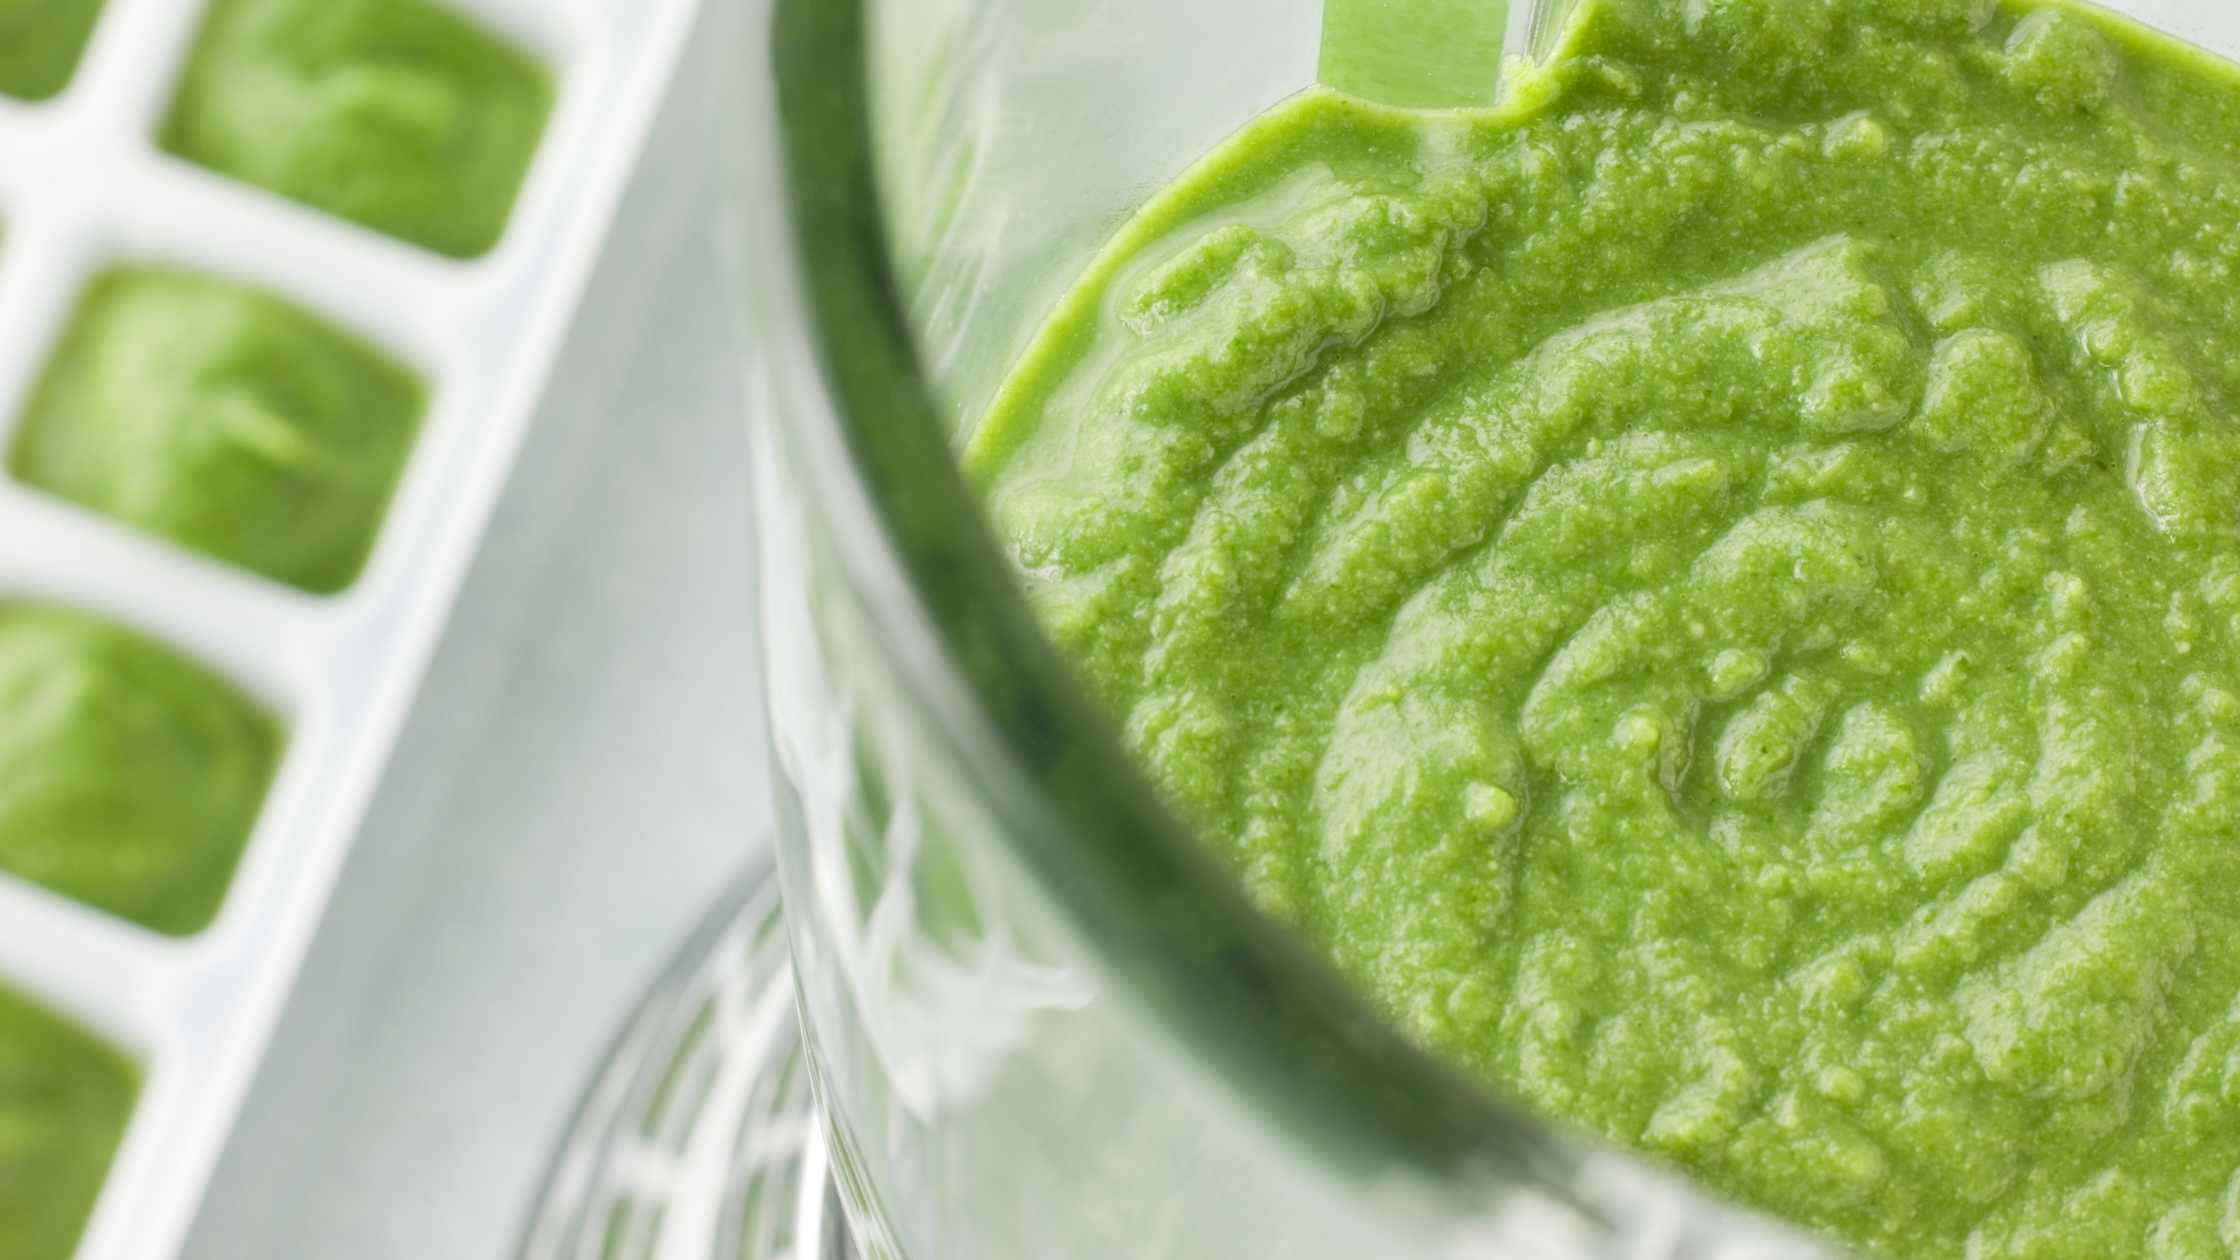
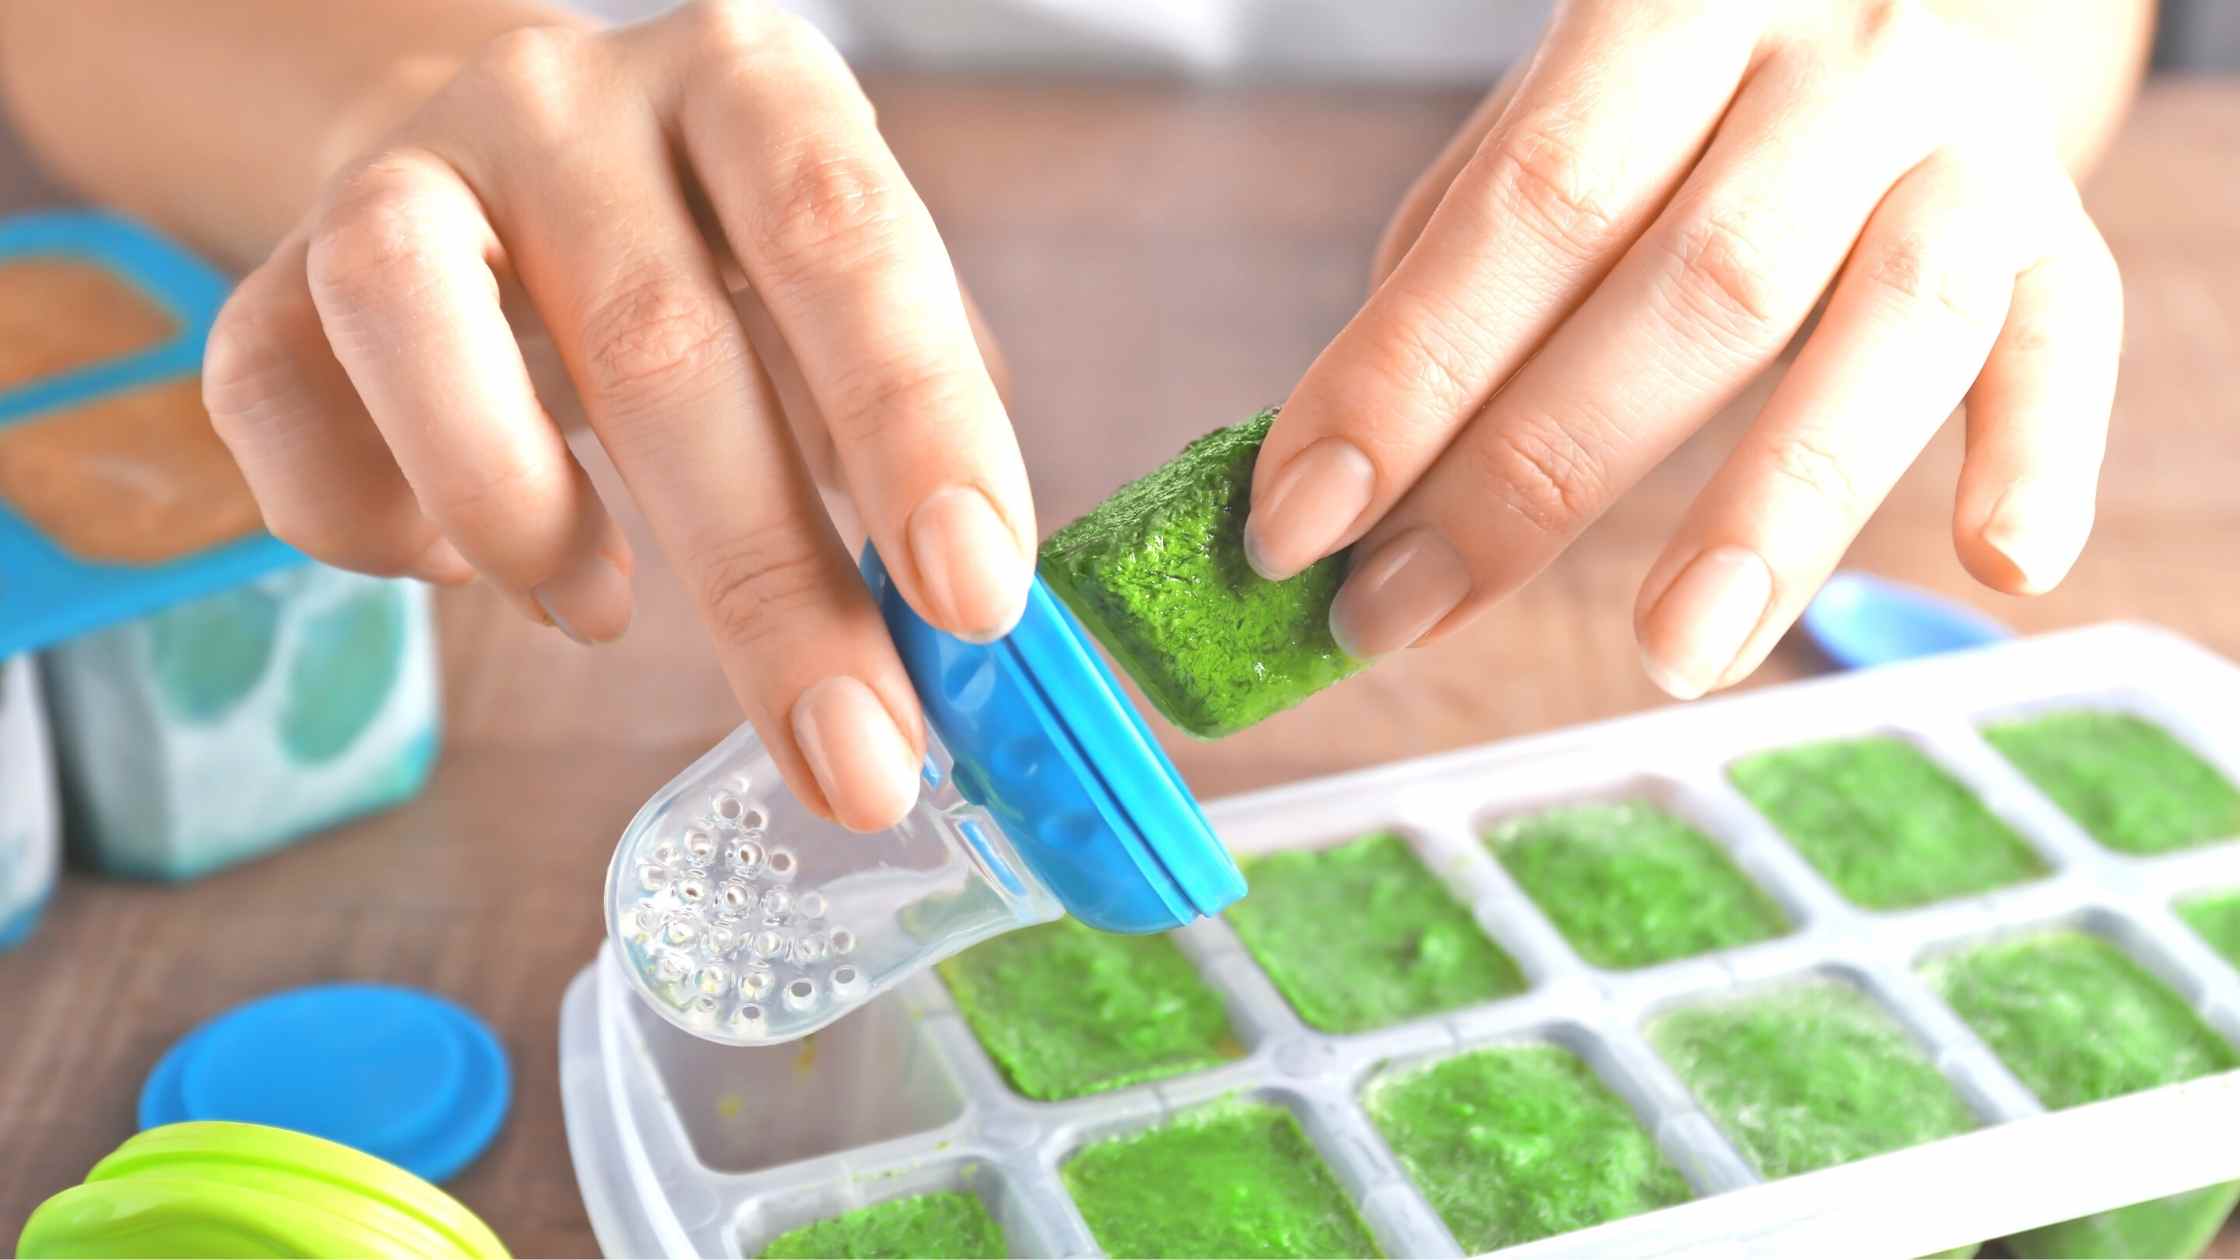
Silicone is another option for storing homemade baby food. Silicone molds (like large ice cube trays) are a great way to store homemade baby foods in the freezer. You can take out whatever portioned amount you need to thaw in the fridge, while leaving the rest in the freezer for later. It’s easy to remove frozen foods from silicone containers or molds. Silicone is a durable, easily washable, easy to store option for baby food containers, and they are not breakable like glass containers. However, they can sometimes wear down after extended use, and may become cloudy or worn if washed in a dishwasher. They are probably a better option for vegetable and fruit purees, or foods without any fats added, as oils can leave a residue on silicone.
How to make baby food at home

Making baby food at home can be relatively easy. Steaming and mashing are the key methods for making baby food at home. Starting with good quality, fresh foods is important, and making your own baby food gives you full control over what you put into it. Plus, you can cook in batches to save on time and money.
General steps to make baby food at home:

1.Wash your work area
Thoroughly wash your hands, food preparation area (sink, counter), kitchen tools, and storage containers. Rinse with hot water.
2. Get produce ready
Wash and peel the produce, making sure to thoroughly clean everything.
3. Cook the food (if needed)
Steaming is an easy way to gently cook tougher fruits and vegetables. You can get a layered steaming basket to cook multiple groups of produce at the same time to cut down on prep time. Baking is another way to cook food until soft. If you bake foods to use for puree, it’s best to cook them in a covered dish so they don’t lose too much moisture.
Beans, eggs, and meats (with fat removed) can be well cooked and prepared into baby food as well.
Skip the cooking for foods that are already soft and easy to mash or blend, like bananas or other soft fruits and avocados.
4. Puree or mash the food
Puree foods using whatever kitchen tool you have that gives you a fine, smooth result. This could be a ricer (handheld tool for making fine puree), food processor, or blender. Depending on the food, you may need to add a small amount of water to get the right consistency for the puree. When your baby is ready to start chewing foods with more texture, you can mash foods, leaving small pieces in the food.
5. Store it
Pack your healthy homemade baby food into the containers you already cleaned. Store them in the fridge to use in the next couple days, or in the freezer to use over the next couple weeks or months.
Baby Food Ingredients

When making baby food it’s best to start with fresh, single-ingredient options. Choose organic fruits and vegetables for those foods on the Dirty Dozen list.
Unless it’s something like a ripe avocado or a banana, which mashes well without any cooking, produce should be well washed, peeled and cored, and then lightly steamed before serving.
It’s best to serve baby food unseasoned. Salt, pepper, and spices can be overwhelming for their systems. Plus, as they get used to eating semi-solid foods, it’s best to let them adjust to the flavor of the actual foods.
Although babies, like all humans, are geared to like sweet things, it’s generally recommended that you start them off with vegetables first and then eventually add in a little fruit. If you start with fruit, because it’s sweeter, it may be more challenging to encourage your baby to eat vegetables.
In addition to avocado, good vegetable choices to start with include steamed or cooked (to get to a mashing point):
- carrot
- turnip
- sweet potato
- squash
- peas
- green bean
- beet
- spinach
- parsnip
- zucchini
- cauliflower
Fruit choices, in moderation once vegetables have been introduced, include:
- banana
- pear
- peach
- melon
- plum
- apple
- mango
- papaya
- apricot (fresh)
After your baby has started regularly eating single foods you can try mixing them together. Some suggestions for blends include:
- carrot + apple
- spinach + banana
- sweet potato + peas
- zucchini + pear
- spinach + peas + peach
- cauliflower + plum
- pumpkin + cauliflower + zucchini
- sweet potato + beet + green bean
- carrot + spinach + pear
- avocado + zucchini + mango
When feeding your baby, be aware that pediatric guidelines recommend not feeding them egg whites or honey until they are at least 1 year old.


