Monthly Archives: November 2023

Dollar tree preparedness pantry

How To Shop Smart At Dollar Tree 

Groceries are a moving target in the retail world, and stores like Dollar Tree are evolving to capture the shifting focus of consumers' food dollars.

In response to the increasing cost of groceries, Dollar Tree is expanding its reach into the market. They plan to install more cooler cases for cold and freezer items, aiming to add approximately 16,000 new cooler doors nationwide.

Shopping Smart

As Dollar Tree ventures into a wider array of grocery offerings, customers are tasked with shopping smarter. It's essential to not only consider the price but also the nutritional value of your purchases. 

Here's what to remember:

  1. Size and Value: Budget stores might offer different product sizes, making a Grocery Price Tracking Worksheet a vital tool for smart shopping. Often the budget grocery stores look like a deal until you really compare the prices per ounce rather than per package.
  2. Quality Over Cost: Inexpensive doesn't always equate to healthy. It's important to read labels and choose items that offer nutritional value. Due to their focus on low cost, many budget stores choose to carry cheap products which are usually low in nutrient density. Your body and your health are worth paying more for real food.
  3. Strategic Purchases: Dollar Tree's multiple price points can lead to larger basket sizes. Know your prices and don't be lured into false deals.
  4. Efficient Shopping: Avoid the trap of convenience. Just because you're already at Dollar Tree doesn't mean you should compromise on value or nutrition.
  5. Instant Gratification: While you know snacks and candies aren’t great, if you’re walking aisle after aisle looking for the good deals you may get decision fatigue and succumb to a treat. Or two. And once it comes into the house someone is going to eat it.  Don’t do that. Use the same strategy I encourage when shopping at any grocery store.  Don’t shop hungry and always grocery shop with a list. 

The journey through budget grocery shopping is filled with both opportunities and pitfalls. The key is to shop with intention, keeping both your budget and health in mind. By being mindful and informed, we can navigate the aisles of Dollar Tree and other budget stores without compromising on our standards for nutrition and well-being.

Be prepared

Groceries aren’t the only thing you can get at Dollar Tree.  It’s also possible to buy emergency preparedness supplies there.  Every Dollar Tree is different, so you’ll need to think about what you might need and then check the aisles to see if your store has those supplies.  If needed you may want to check out more than one Dollar Tree in your area.  

Here’s what I found at mine:

  • Safety goggles
  • Lighter
  • Mini flashlight
  • Headlamp flashlight
  • A pair of gloves (with a suggestion to also have a pair of heavy-duty gloves in your car)
  • Bungee cords
  • Paracord
  • Glow bracelets
  • Push light
  • Essentials for a first aid kit
  • Paper tape
  • Regular tape (with a recommendation to include duct tape)
  • Lanyard-style glow sticks

When shopping at the Dollar Tree, or any low cost store, be strategic, be healthy, and most importantly, be savvy with your dollars.

Gluten Free Sourdough Baking Class

Recently I was invited to take part in a gluten free sourdough baking class. Taught by Kasey Lobb, a registered dietician nutritionist, the class promised to teach us how to make a delicious gluten free sandwich loaf from scratch. We would also go home with a starter of our very own in order to replicate the process in our own kitchens.

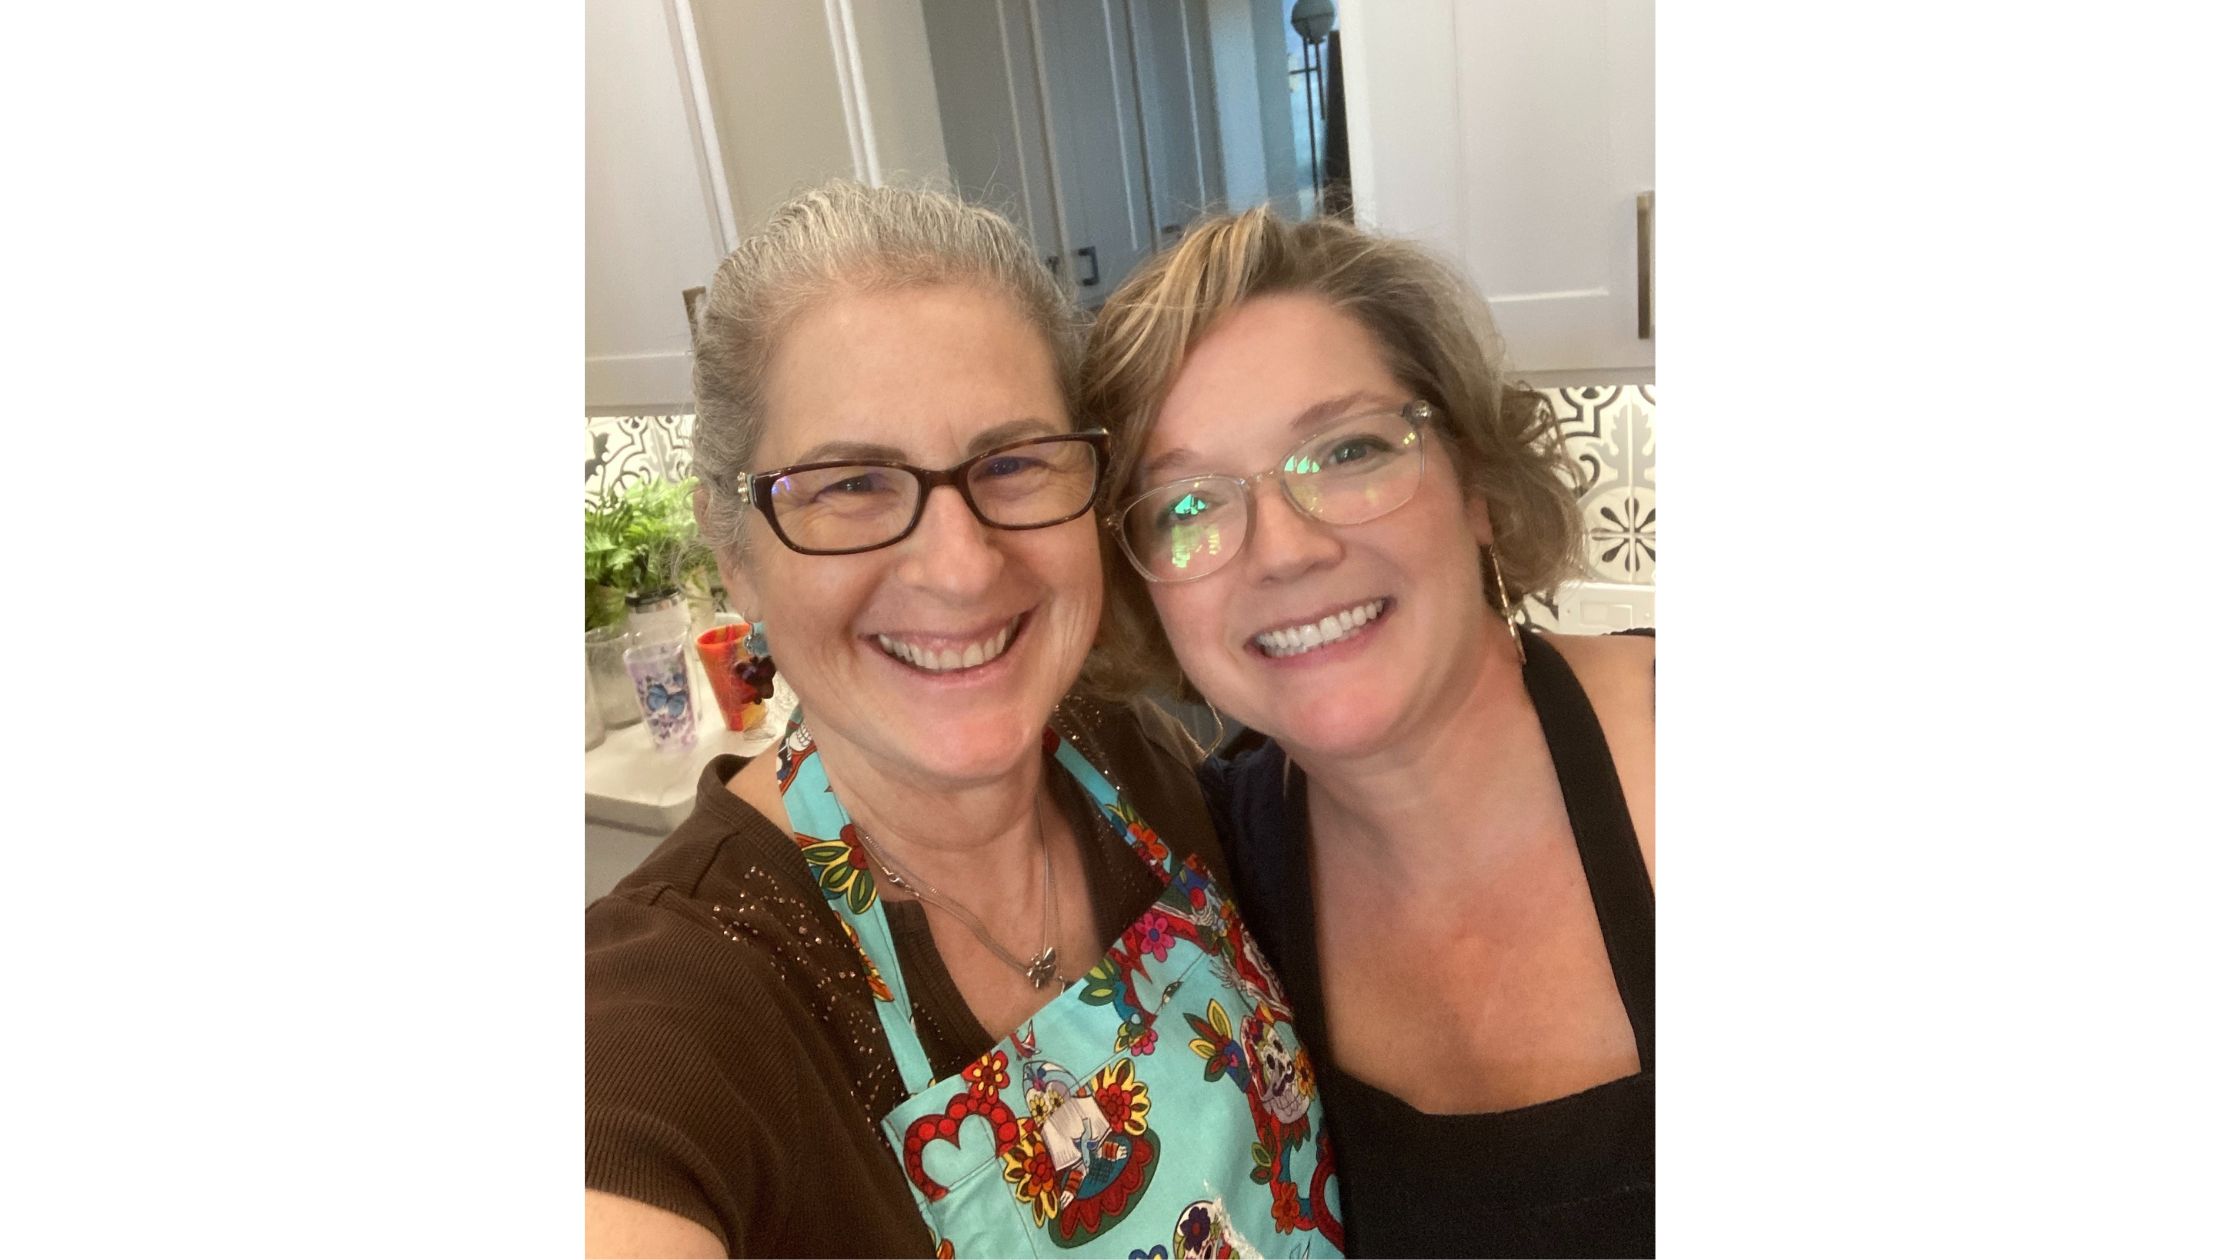
I confess I love cooking classes.  It’s super fun to teach them and I certainly enjoy doing that, but it’s also great when you have a chance to take a class and learn from someone else. Kasey was a wonderful instructor.

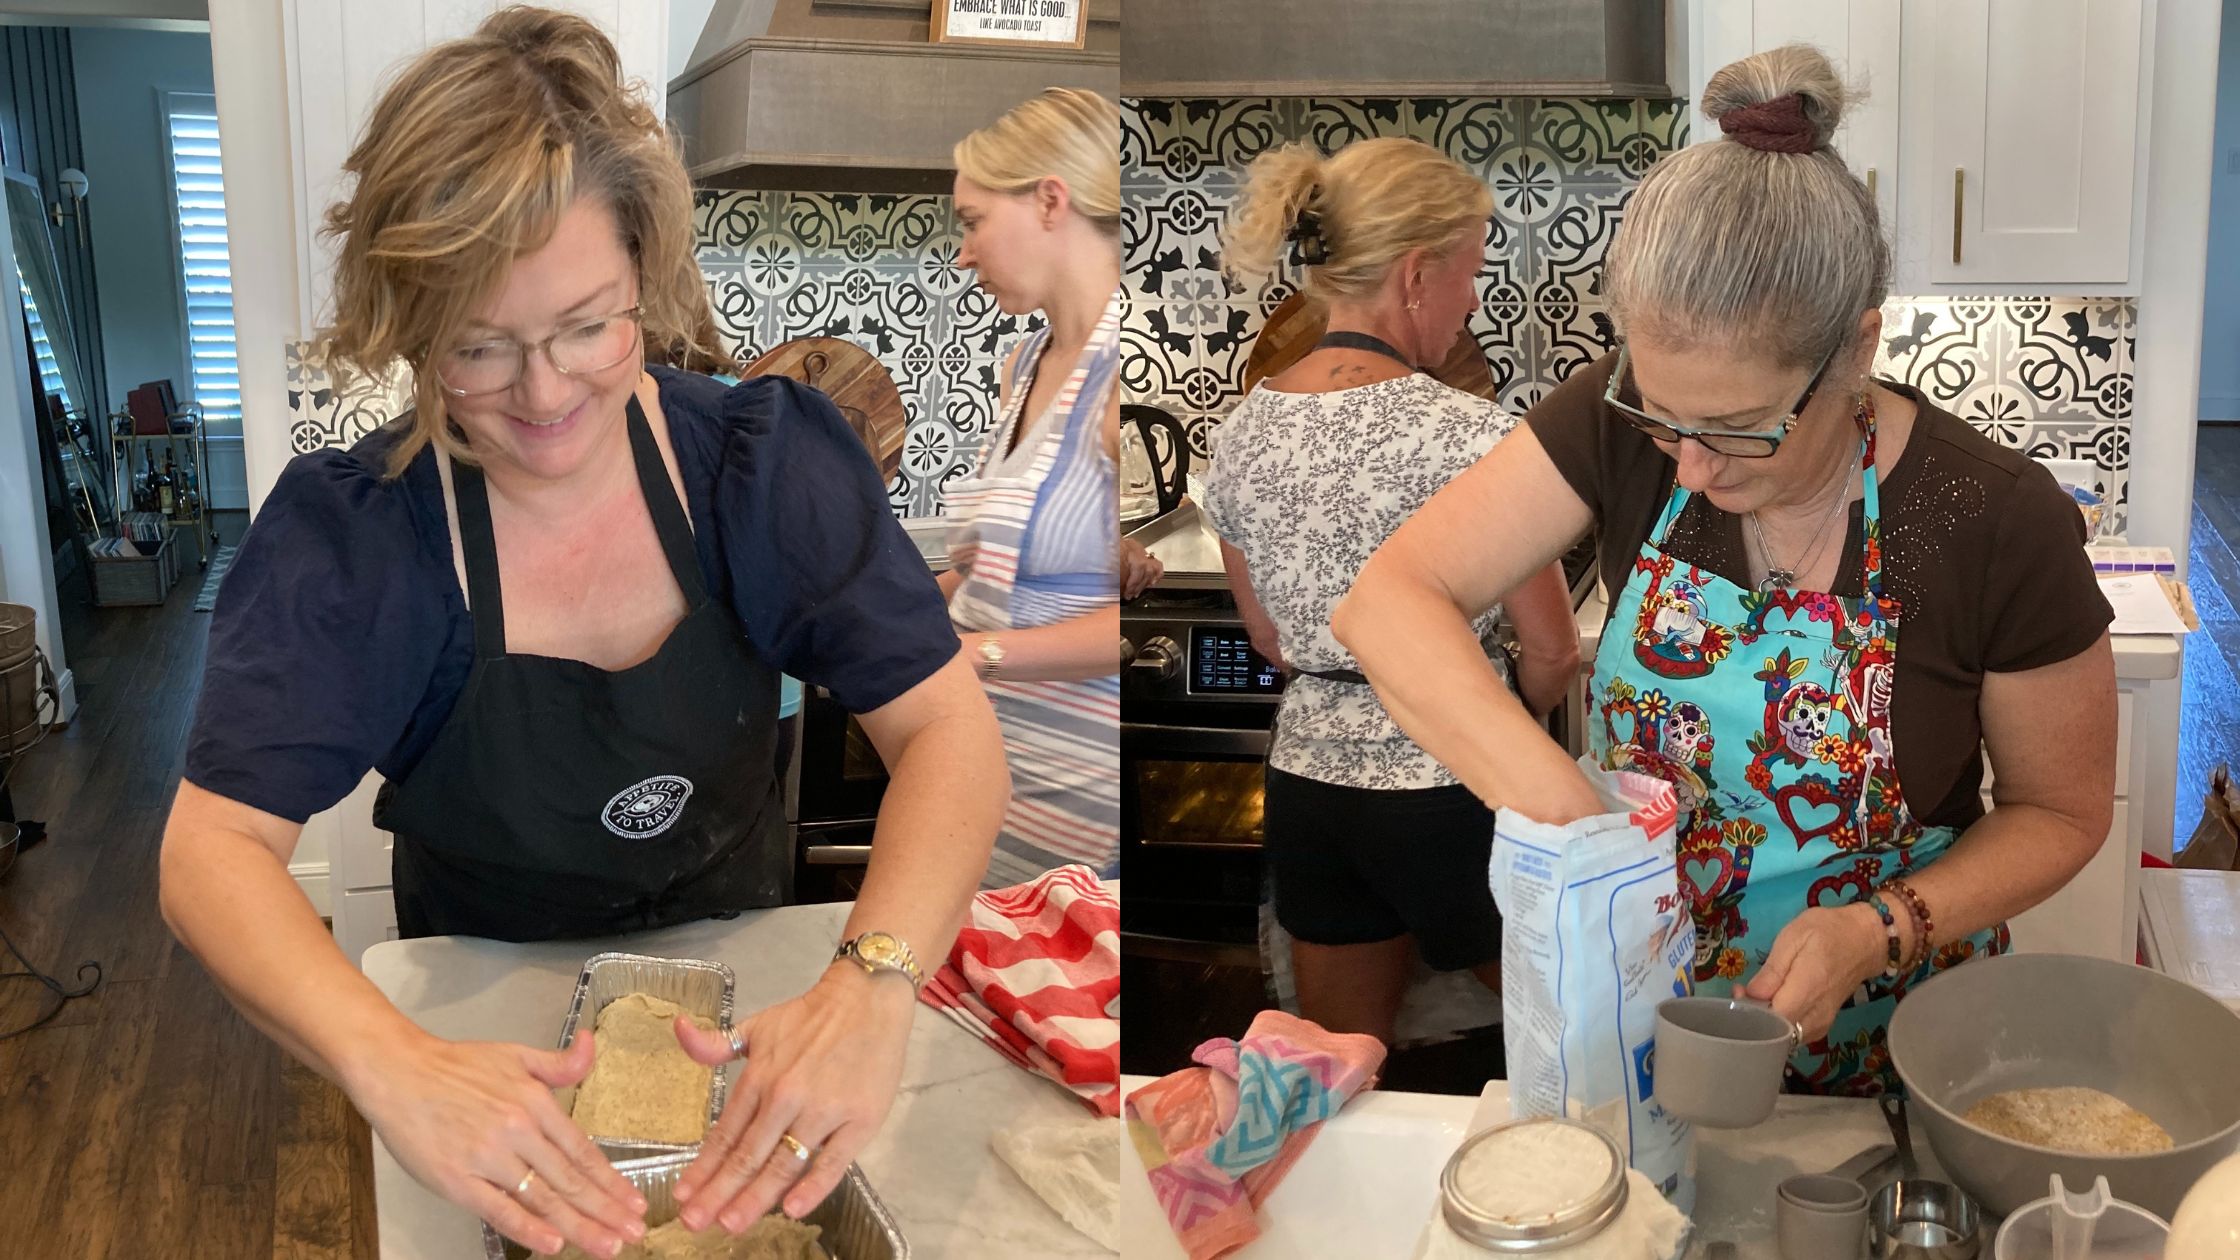
The class was held at a friend’s house and there were 10 of us, each paired up so we could share one of the Kitchen Aid mixers.  Taking us through the process of what we were doing and a breakdown of the ingredients, Kasey, did a great job of explaining everything.

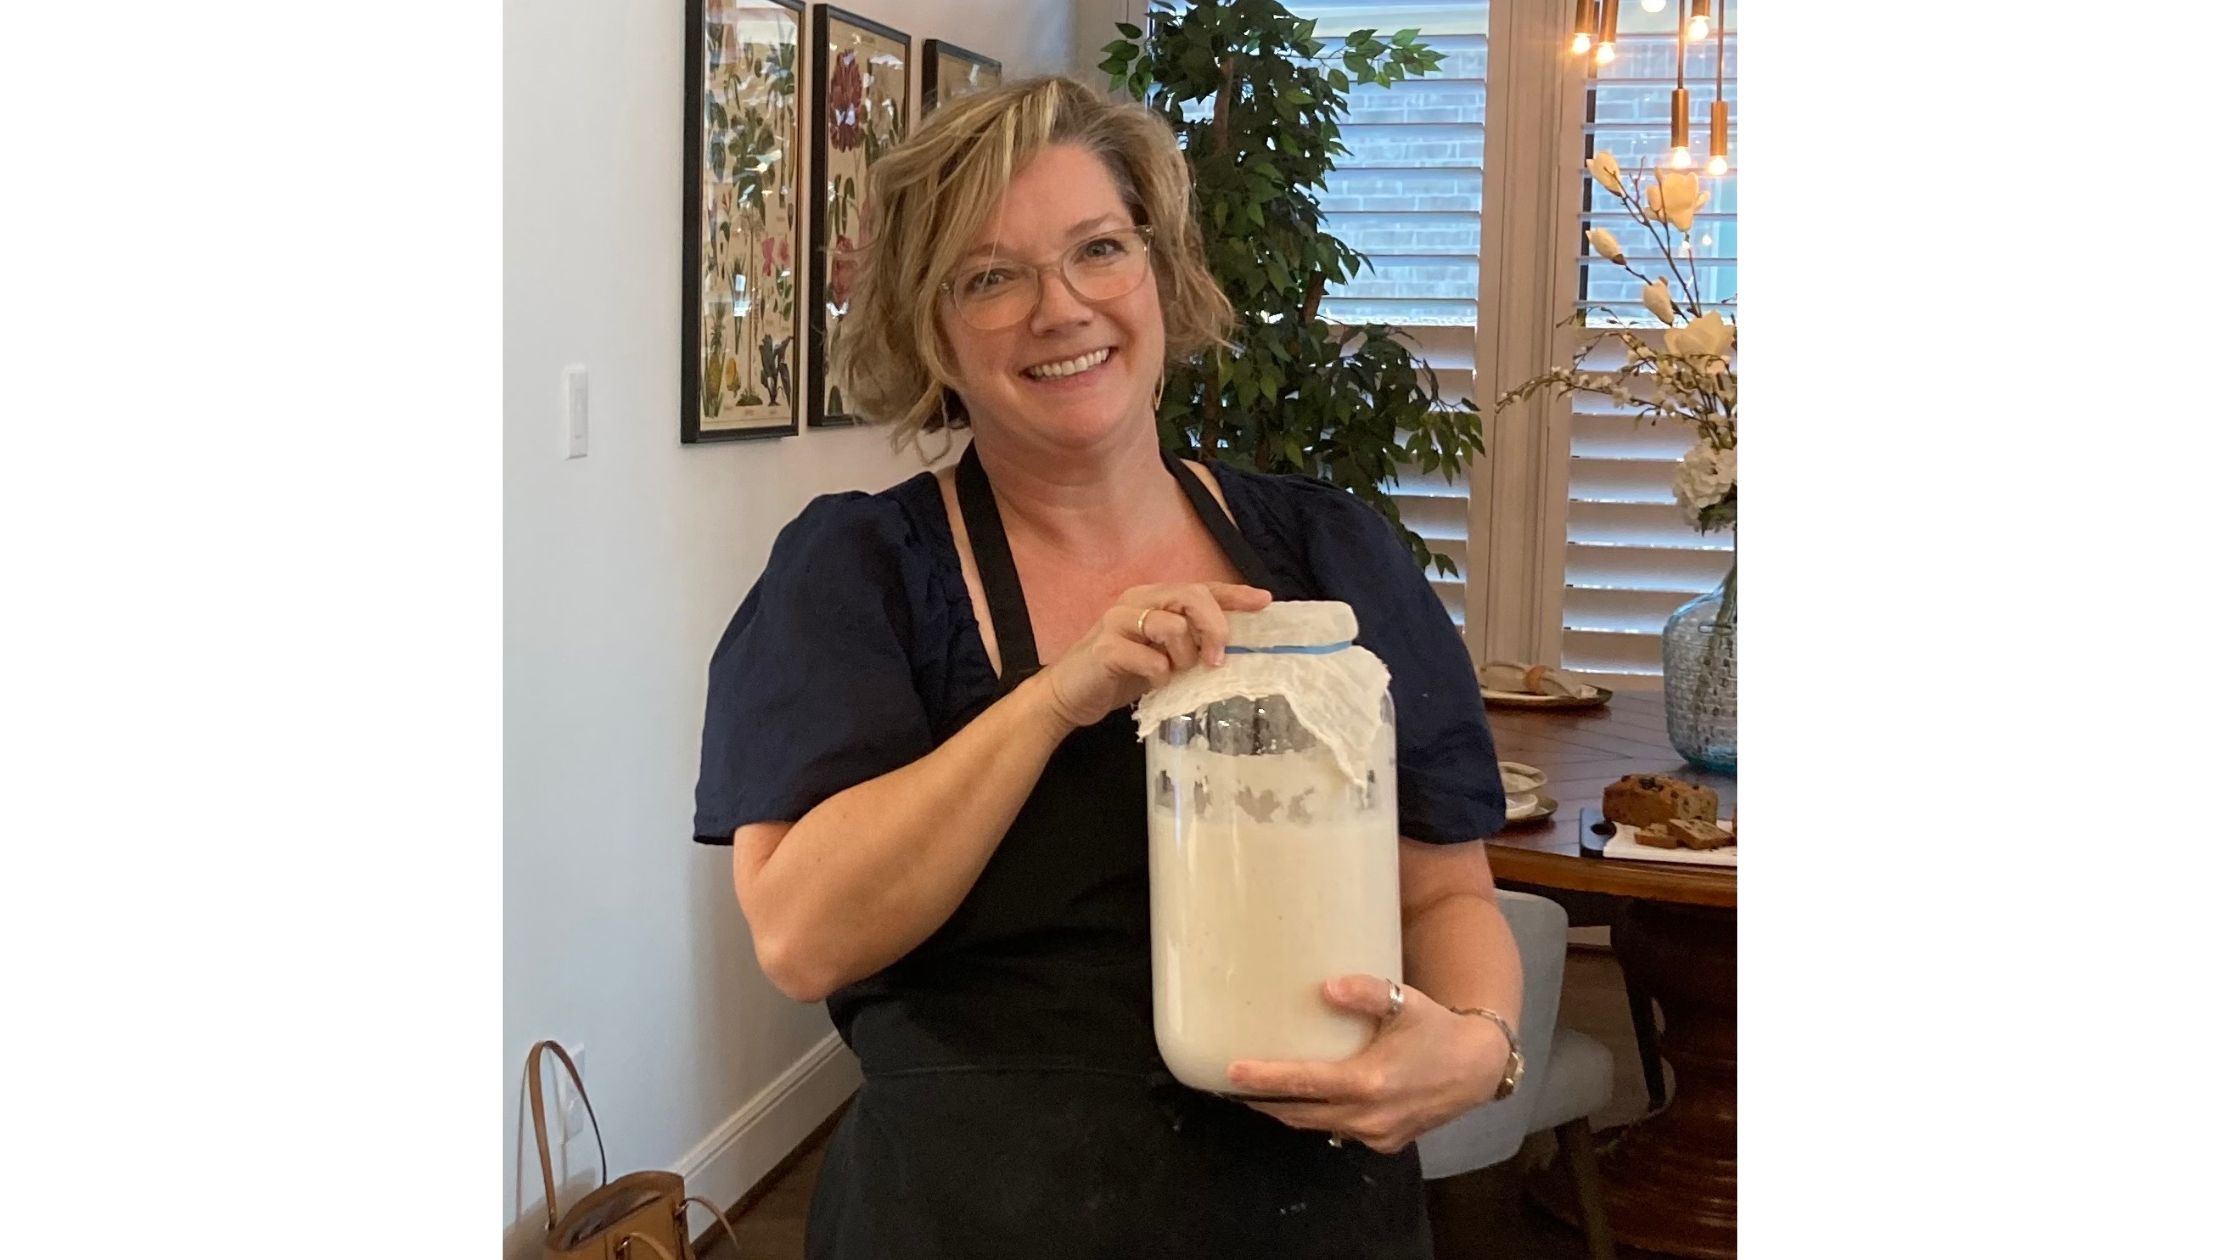
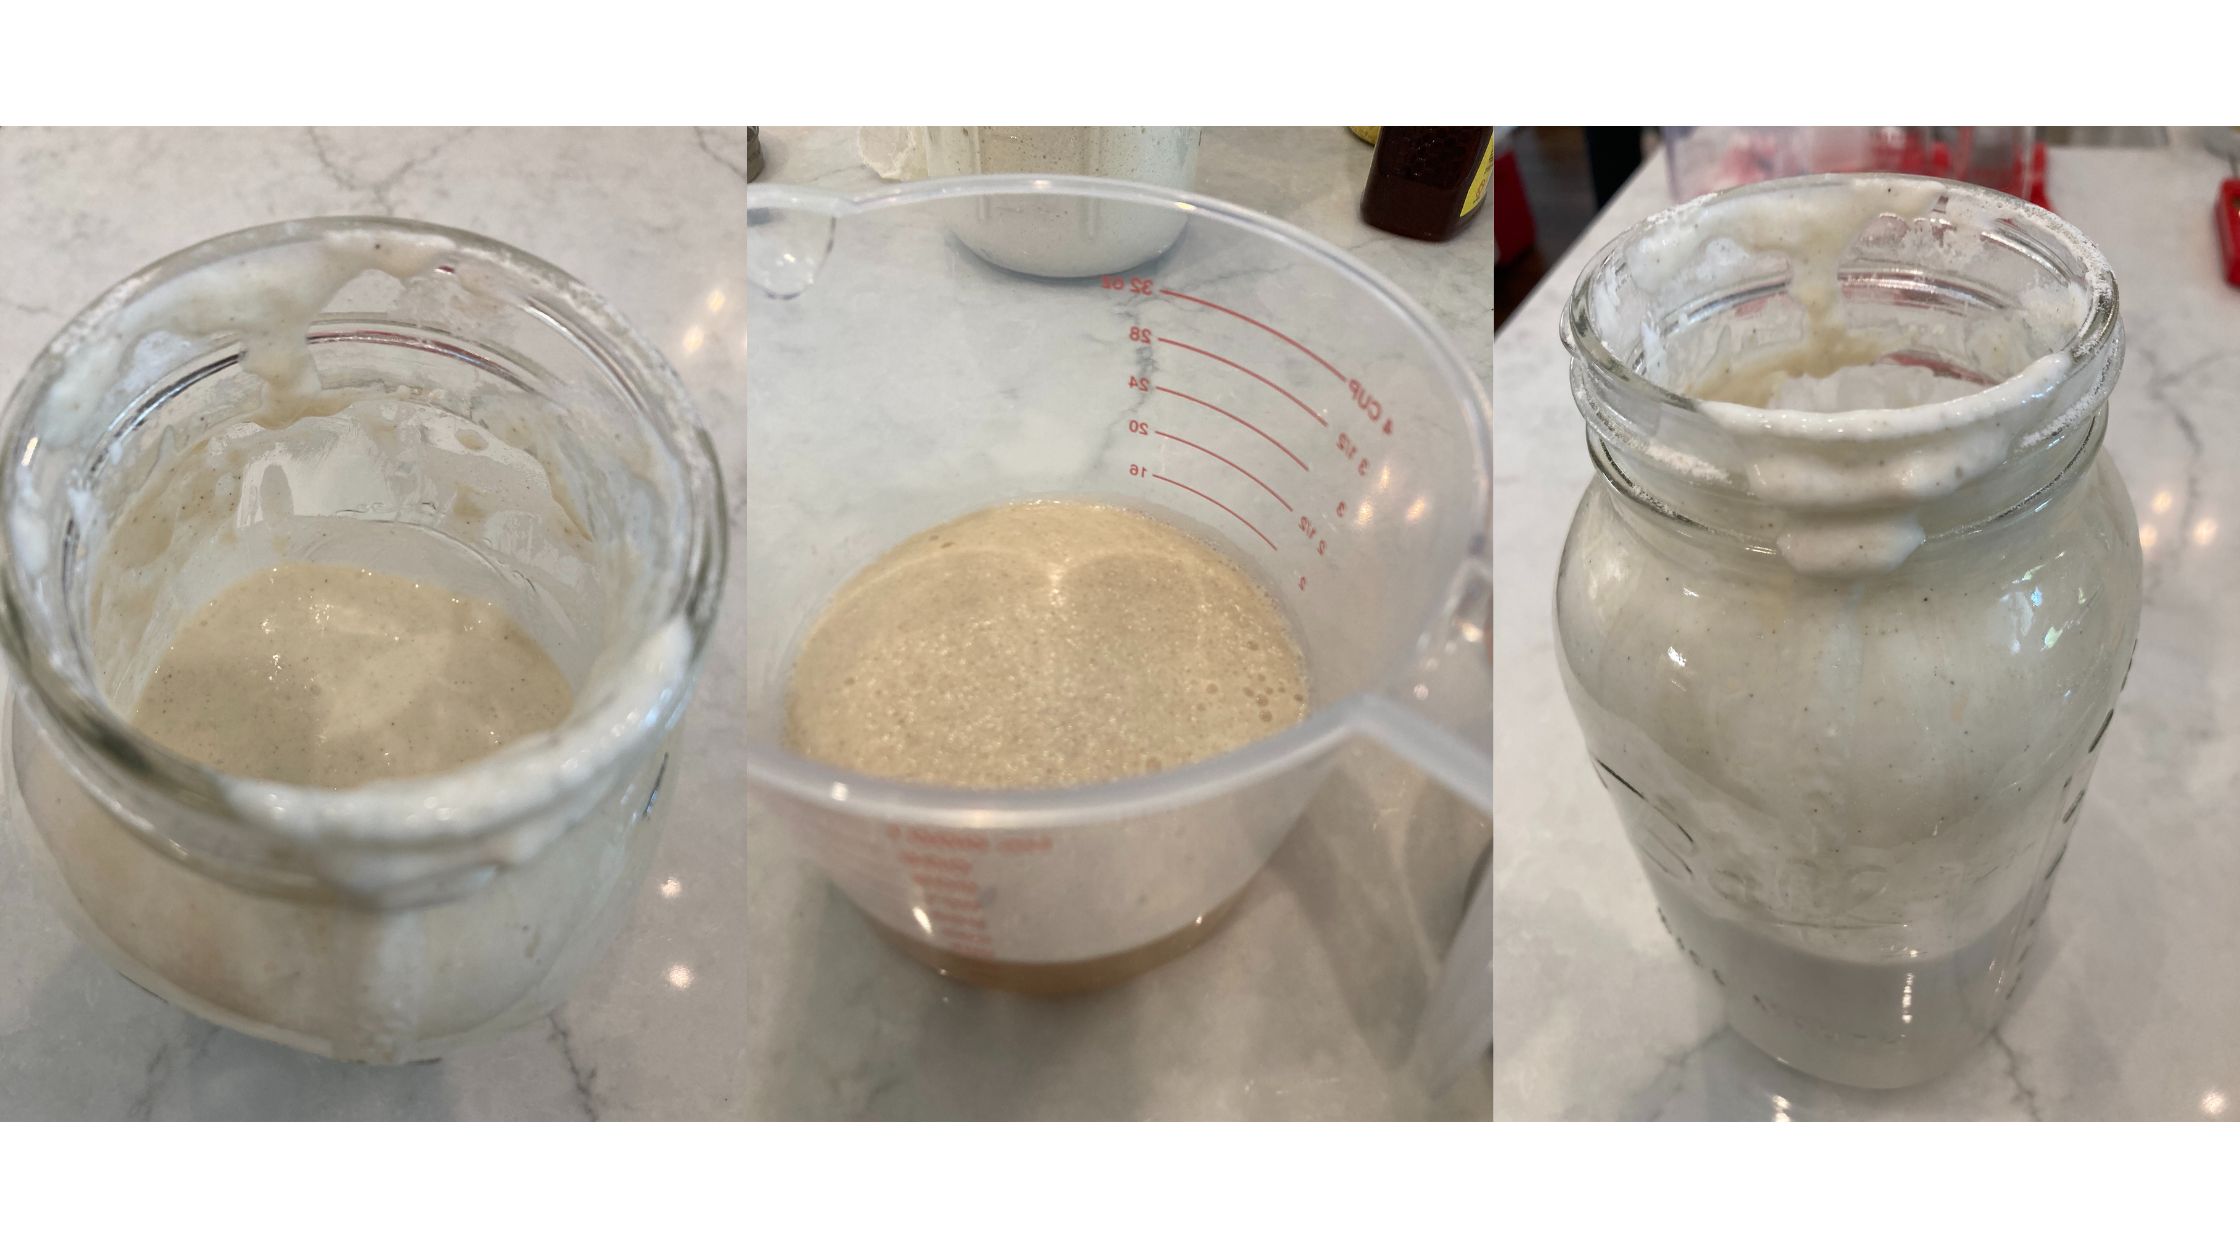
We started with the liquid ingredients, which included some starter from an impressively large jar.  She’d been feeding it for days in order to have enough for the class.  It was bubbly and fragrant in that fabulous way that starter is supposed to be. 

One of the things that I appreciated about the class is how Kasey apparently has a similar mindset when it comes to food labels. She carefully explained each ingredient, why she’d chosen the ones she did, and how everything worked together to support the dough.  In addition to the gluten free sourdough base we used egg, sugar, yeast, water, GF baking blend, nutritional yeast, ground flax seeds, and psyllium husk fiber.

After mixing the liquid ingredients we mixed together the dry ingredients and then put them both together.  At each step of the process Kasey would demonstrate what we were supposed to be doing and then come around offering assistance if people needed it. She wanted us to not only hear, but also see  and understand why it the batter needed to look and feel the way it did.

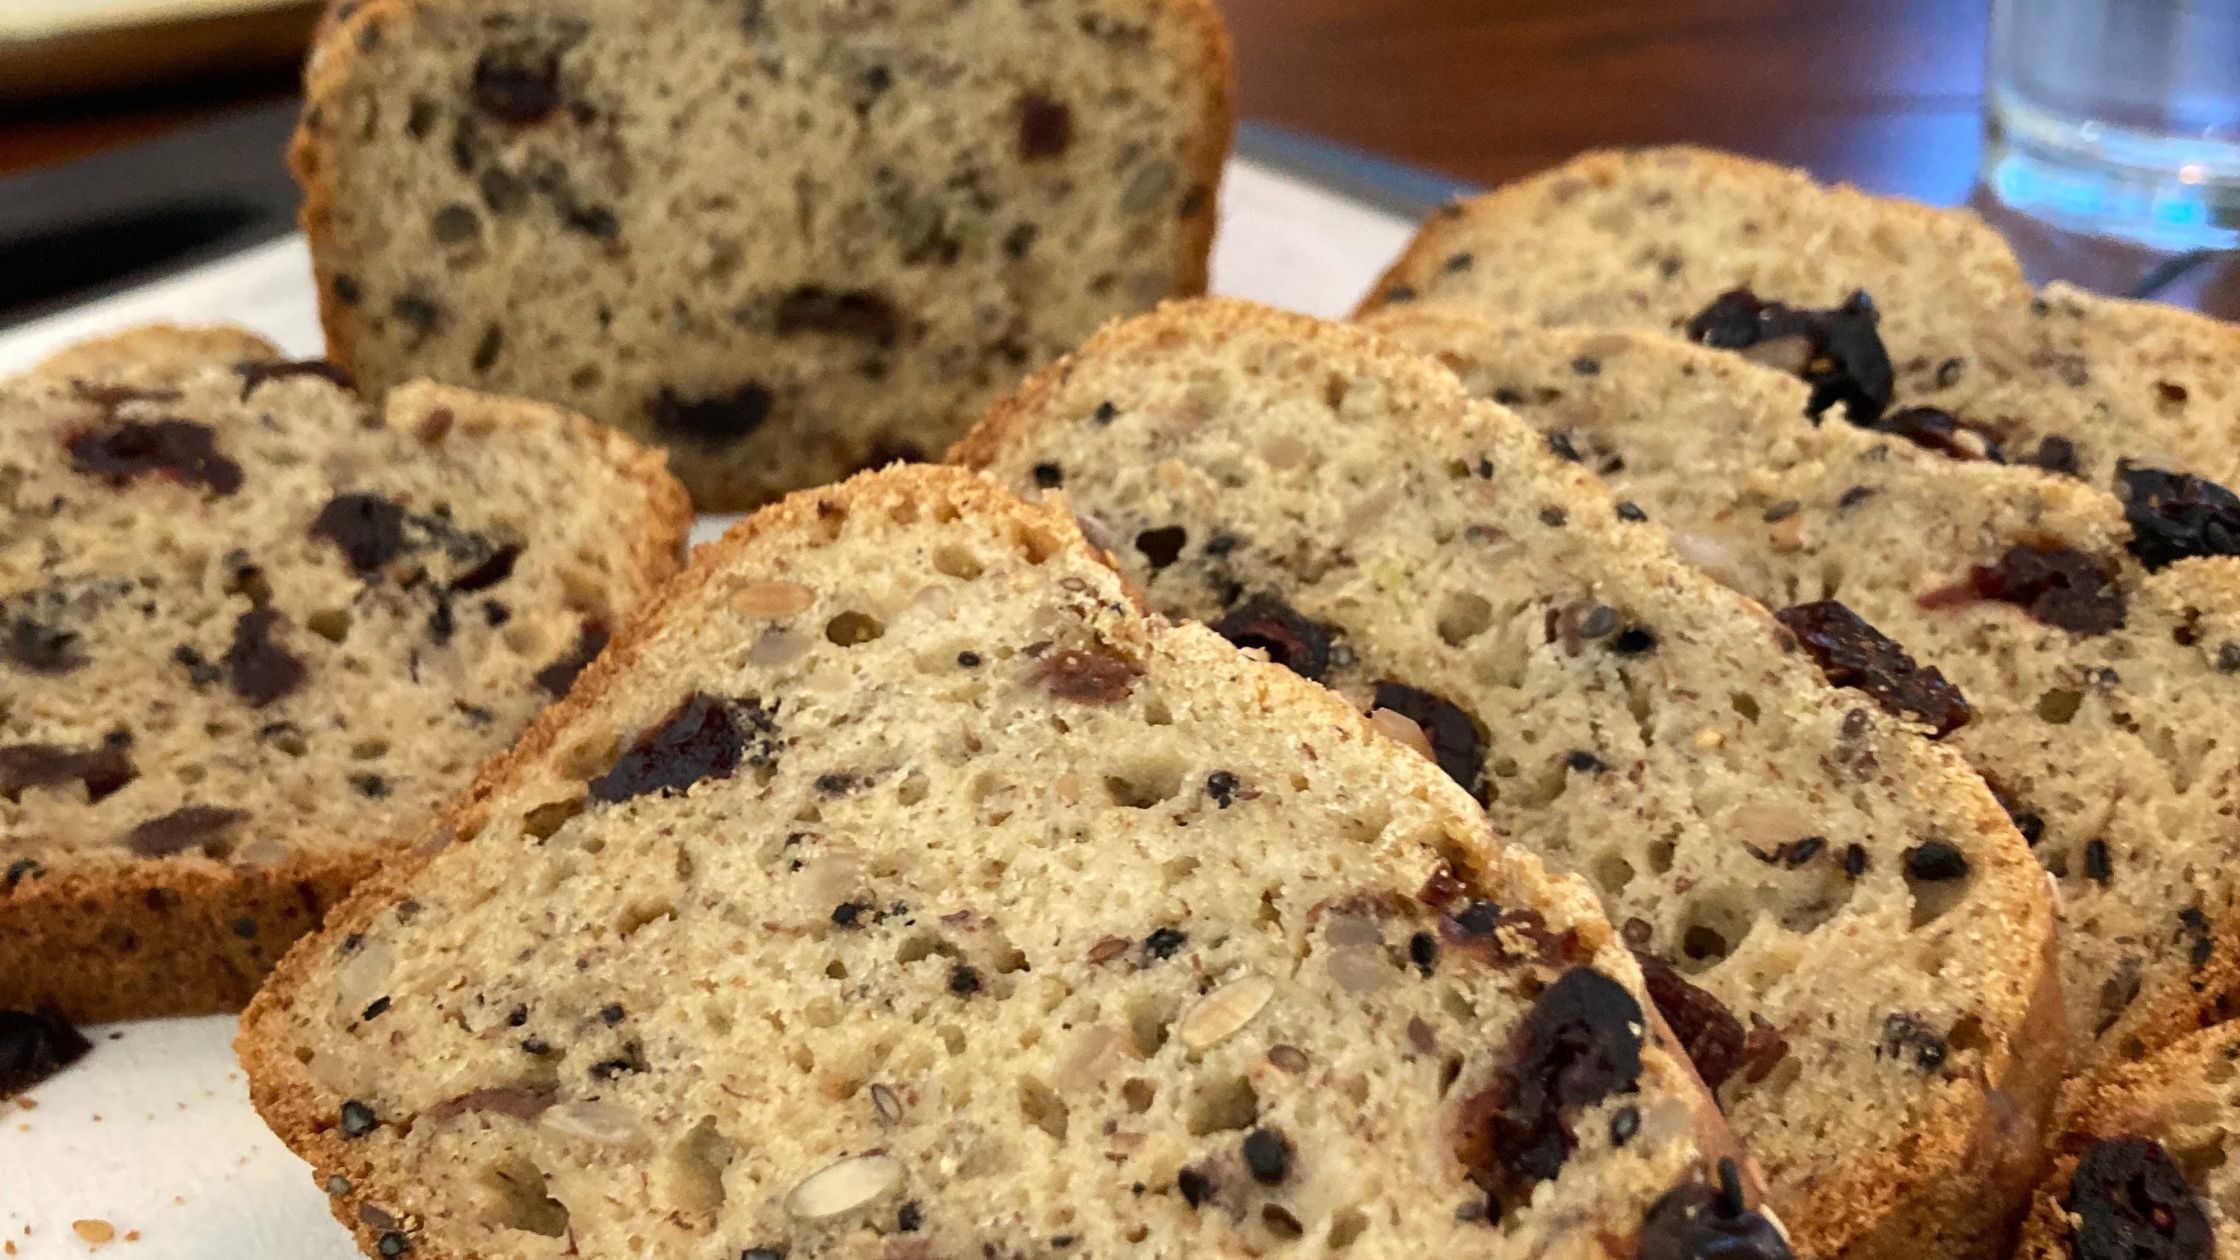
Eventually we had our beautiful loaves tucked into their loaf pans and from there into the oven.  At which point we were able to enjoy a snack that Kasey had prepared of the sandwich loaf we were making that she jazzed up with soaked fruit and seeds.  It was mouthwateringly delicious. This bread was so fabulous…how fabulous was it?... everyone wound up going back for a second slice. Nicely dense with a good level of hydration it wasn’t dry like most commercial gluten free breads.  Best of all it didn’t have excessive plant gums.   It’s one of those breads that doesn’t need anything else, it’s amazing all by itself. 

Luckily we were all given the recipe, plus a couple of others to take home with us.

That evening I carefully fed my starter and set it up to make sourdough pancakes for breakfast the next day.  My starter is obviously a new one so it’s not super bubbly, however the pancakes were delicious with a hint of sourdough tang.

Now it’s been fed, put to bed, and is waiting for the next baking adventure.

One of the best things about this class for me was learning about a new kind of baking pan that is much better for batter style breads than regular baking pans.  It gives the loaf more form so that it can rise higher and will be better for sandwiches.

Here’s the supply list:

  • 2.2 pound Pullman Loaf Pan - Made with carbon steel it’s silicon lined with no PFOAs or PFASs, has a vent at the bottom (you use parchment paper when making batter breads), and a lid in case you want perfectly square bread
  • Konsyl Psyllium Husk Powder - This helps keep things together since there is no gluten in this mix, it also provides fiber and density for the bread
  • Nutritional Yeast - Provides a little bit of B12 and also adds delicious flavor to the bread
  • Bob’s Red Mill 1 to 1 Gluten Free Baking Flour - This is Kasey’s recommended blend
  • Active Dry Yeast - Slightly different than instant yeast although I believe both would work for making this kind of bread
  • Gluten Free Sourdough Starter - If you don’t have the opportunity to take a gluten free sourdough baking class or you don’t have a friend who has starter to share, the good news is you can get your own and start from scratch

It was a wonderful class and I’m delighted that I had the opportunity to spend time learning how to do this. If you’d like to take a class with Kasey be sure to check out her website Appetite To Travel.

If you have the chance to take cooking classes I encourage you to do it.  You’ll learn something new, have fun doing it, and gain a new skill that you can add to your kitchen repertoire.


fall muffin

Fall Favorite Muffins

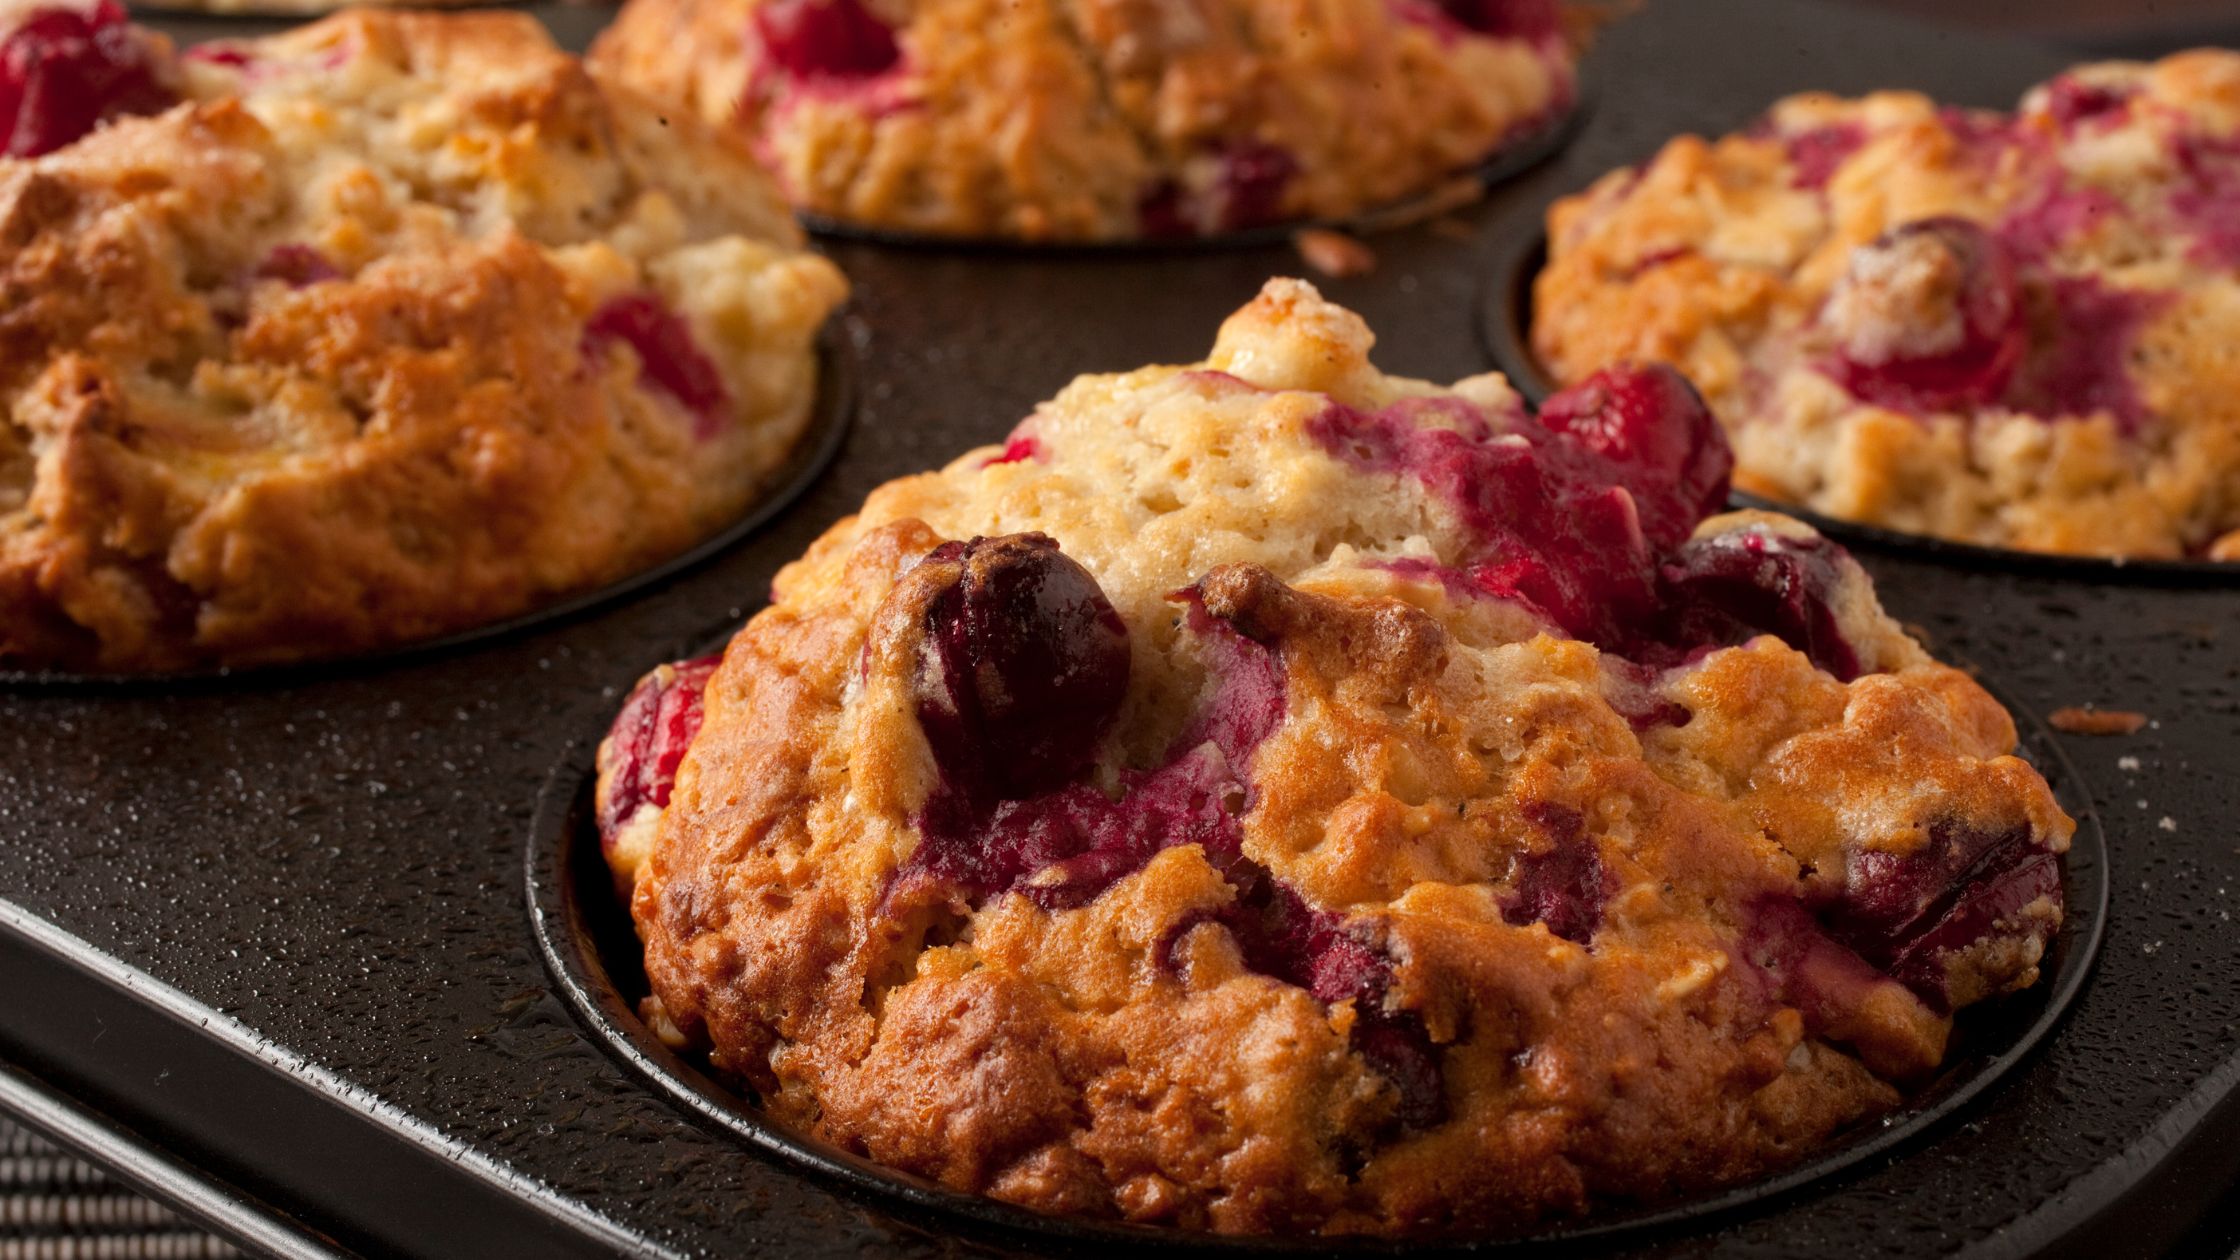
When cranberries are in season I find myself falling in love with their wonderful tart flavor all over again and looking for great ways to use them.  The gift of a bag of pecans from a friend’s tree was the primary inspiration behind this recipe.

Using the orange zest and juice, plus a little maple syrup offers the perfect amount of sweetness.  The applesauce provides moisture and helps make this an egg-free muffin.

If you prefer using dry cranberries you can substitute ½ cup that has been soaked in hot water and then rinsed and patted dry.  Be sure to look for dry cranberries that have no added sugar or sulfur dioxide.

The use of cinnamon adds a warm, cozy Fall flavor making these gluten free muffins perfect for a snack with a cup of tea.  I confess I’ve been known to add muffins to the menu for breakfast/brunch on occasion. Because of the lower sugar content, these muffins would be a good choice for that.  

Enjoy!

fall muffin

Fall Favorite Muffins

Ingredients
  

  • Dry ingredients:

    1 1/2 cups gluten-free all-purpose flour

    1/2 cup almond flour

    1/2 cup chopped pecans

    1 cup fresh cranberries, slightly chopped

    1 1/2 tsp baking powder

    1/2 tsp baking soda

    1/4 tsp salt

    1 tsp ground cinnamon

    Zest of 2 oranges

  • Wet ingredients:

    2 large eggs, room temperature

    1/2 cup avocado oil

    1/2 cup pure maple syrup 

    1/2 cup unsweetened applesauce

    1/4 cup freshly squeezed orange juice (from the zested oranges)

    1 tsp pure vanilla extract

Instructions
 

  • Preheat your oven to 350°F 
  • Line a muffin tin with paper liners or grease it with avocado oil
  • In a large mixing bowl, combine the dry ingredients and mix well to combine thoroughly
  • In a separate bowl whisk together the wet ingredients until fully combined
  • Gently fold wet ingredients into dry ingredients until just combined
  • Do not overmix
  • Spoon mixture into muffin cups, filling each cup to ⅔ full
  • Bake in preheated oven for 20 minutes or until an inserted cake pick comes out clean
  • Remove muffins from the oven and cool 5 minutes in the tin before transferring to a wire rack to cool all the way