Category Archives: preserving


tips to organize fridge

Nine Tips To Help You Organize Your Fridge

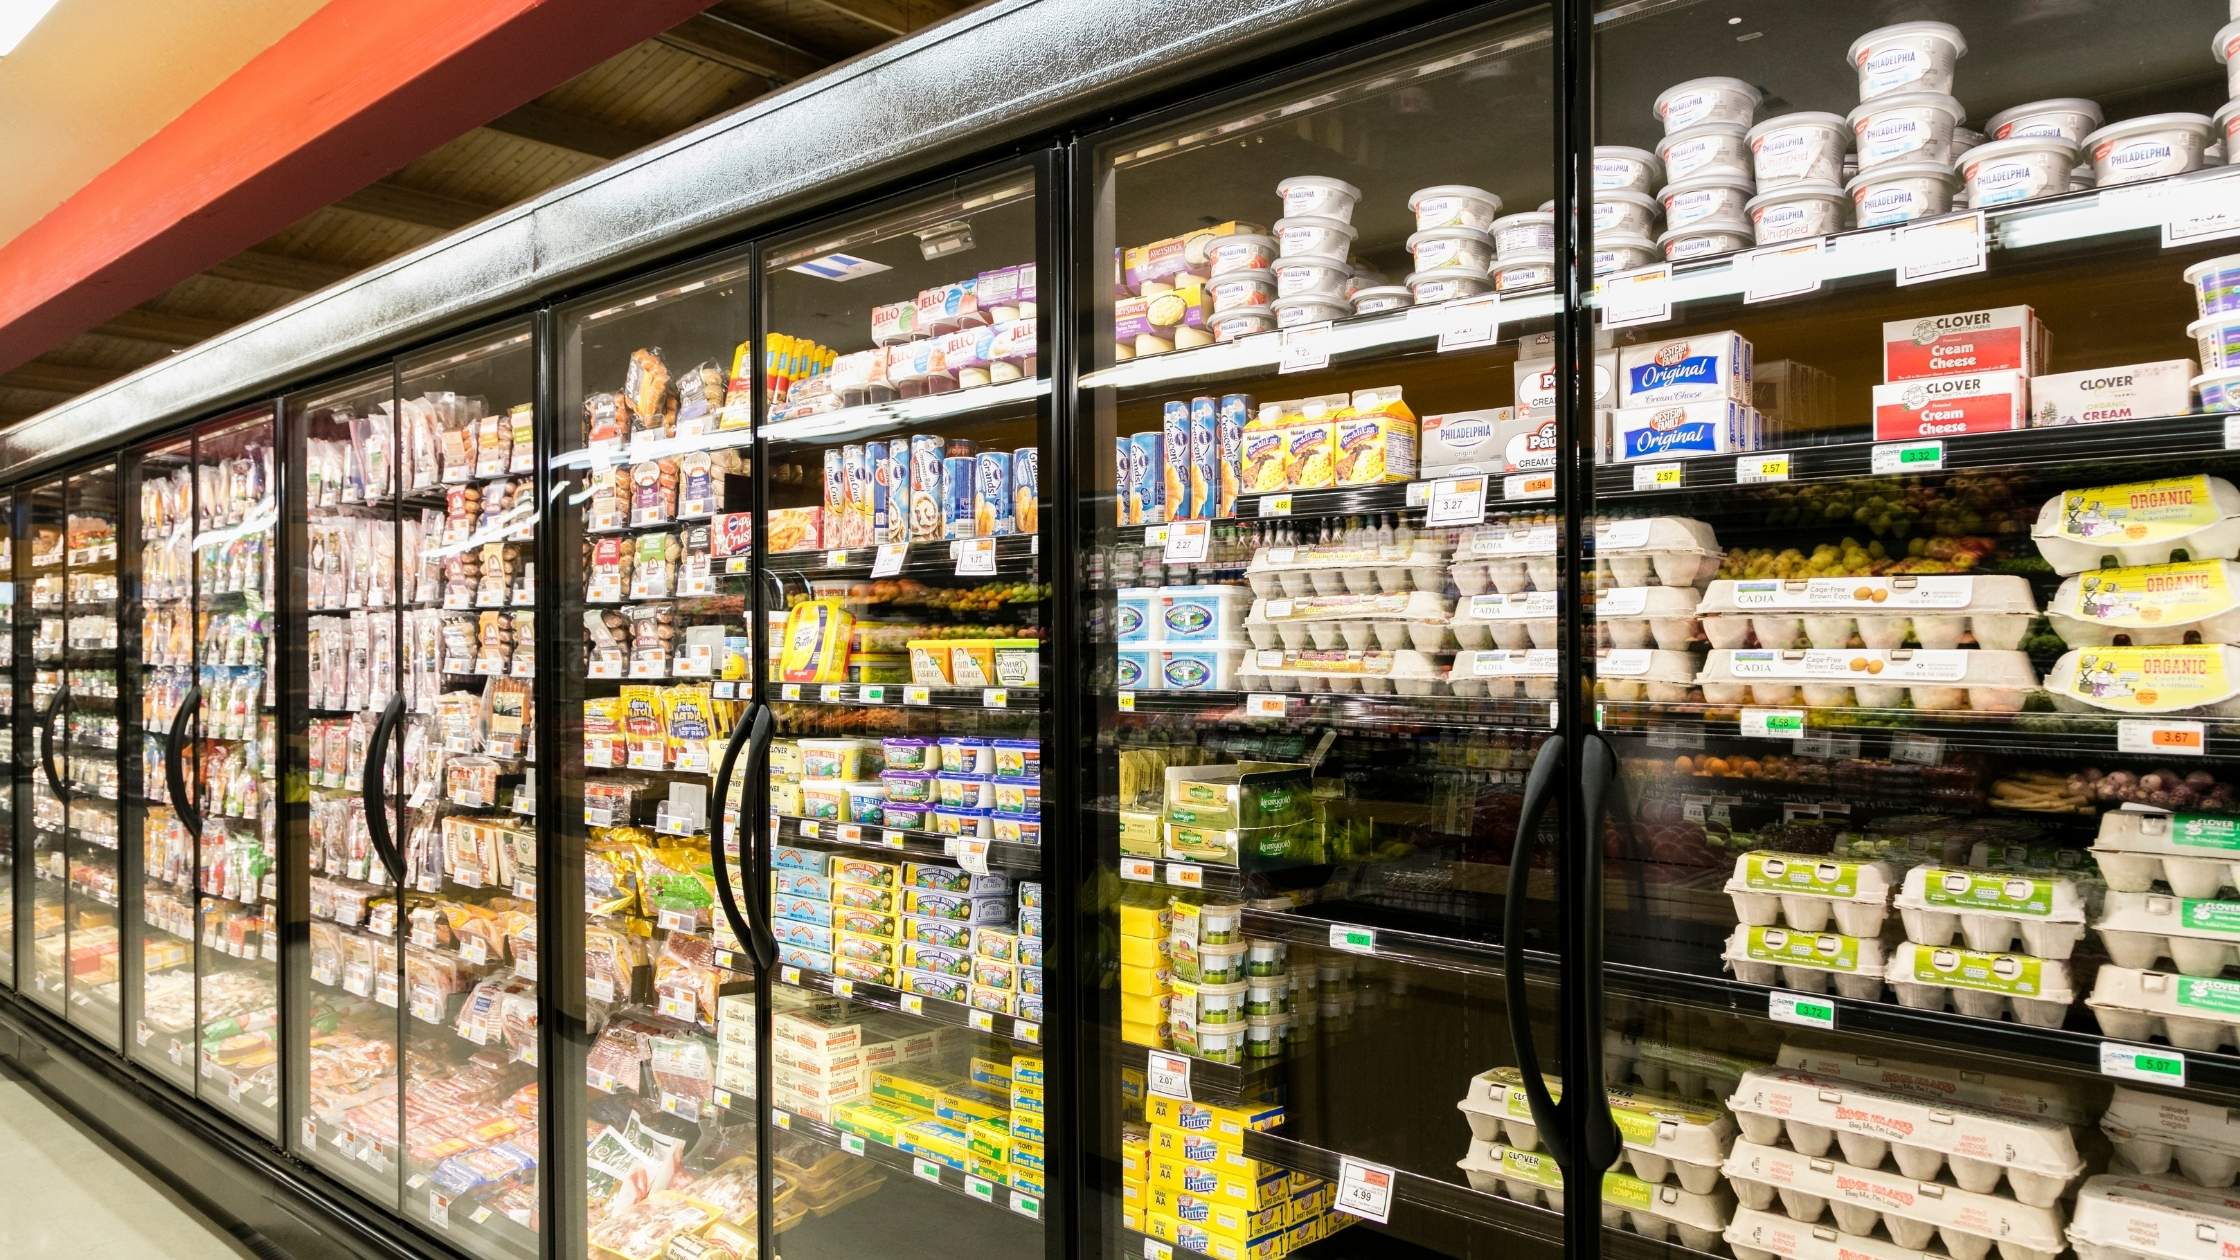
Chances are you don't think too hard about your refrigerator. It's simply a convenient appliance where you can store perishable foods until you're ready to eat them.  However if you want to take the best advantage possible of this wonderful appliance there is an efficient way to store food in it to help things stay fresh just a little longer.

One side benefit of an organized refrigerator is that you’ll always know where things are, or at least where they’re supposed to be.  And chances are if you’re keeping things organized you’re less likely to be growing science experiments in the back corner that eventually need to be thrown out.  So utilizing your fridge effectively can also help reduce food waste.

Here are the best refrigerator efficiency tips so you can get the most out of your fridge:

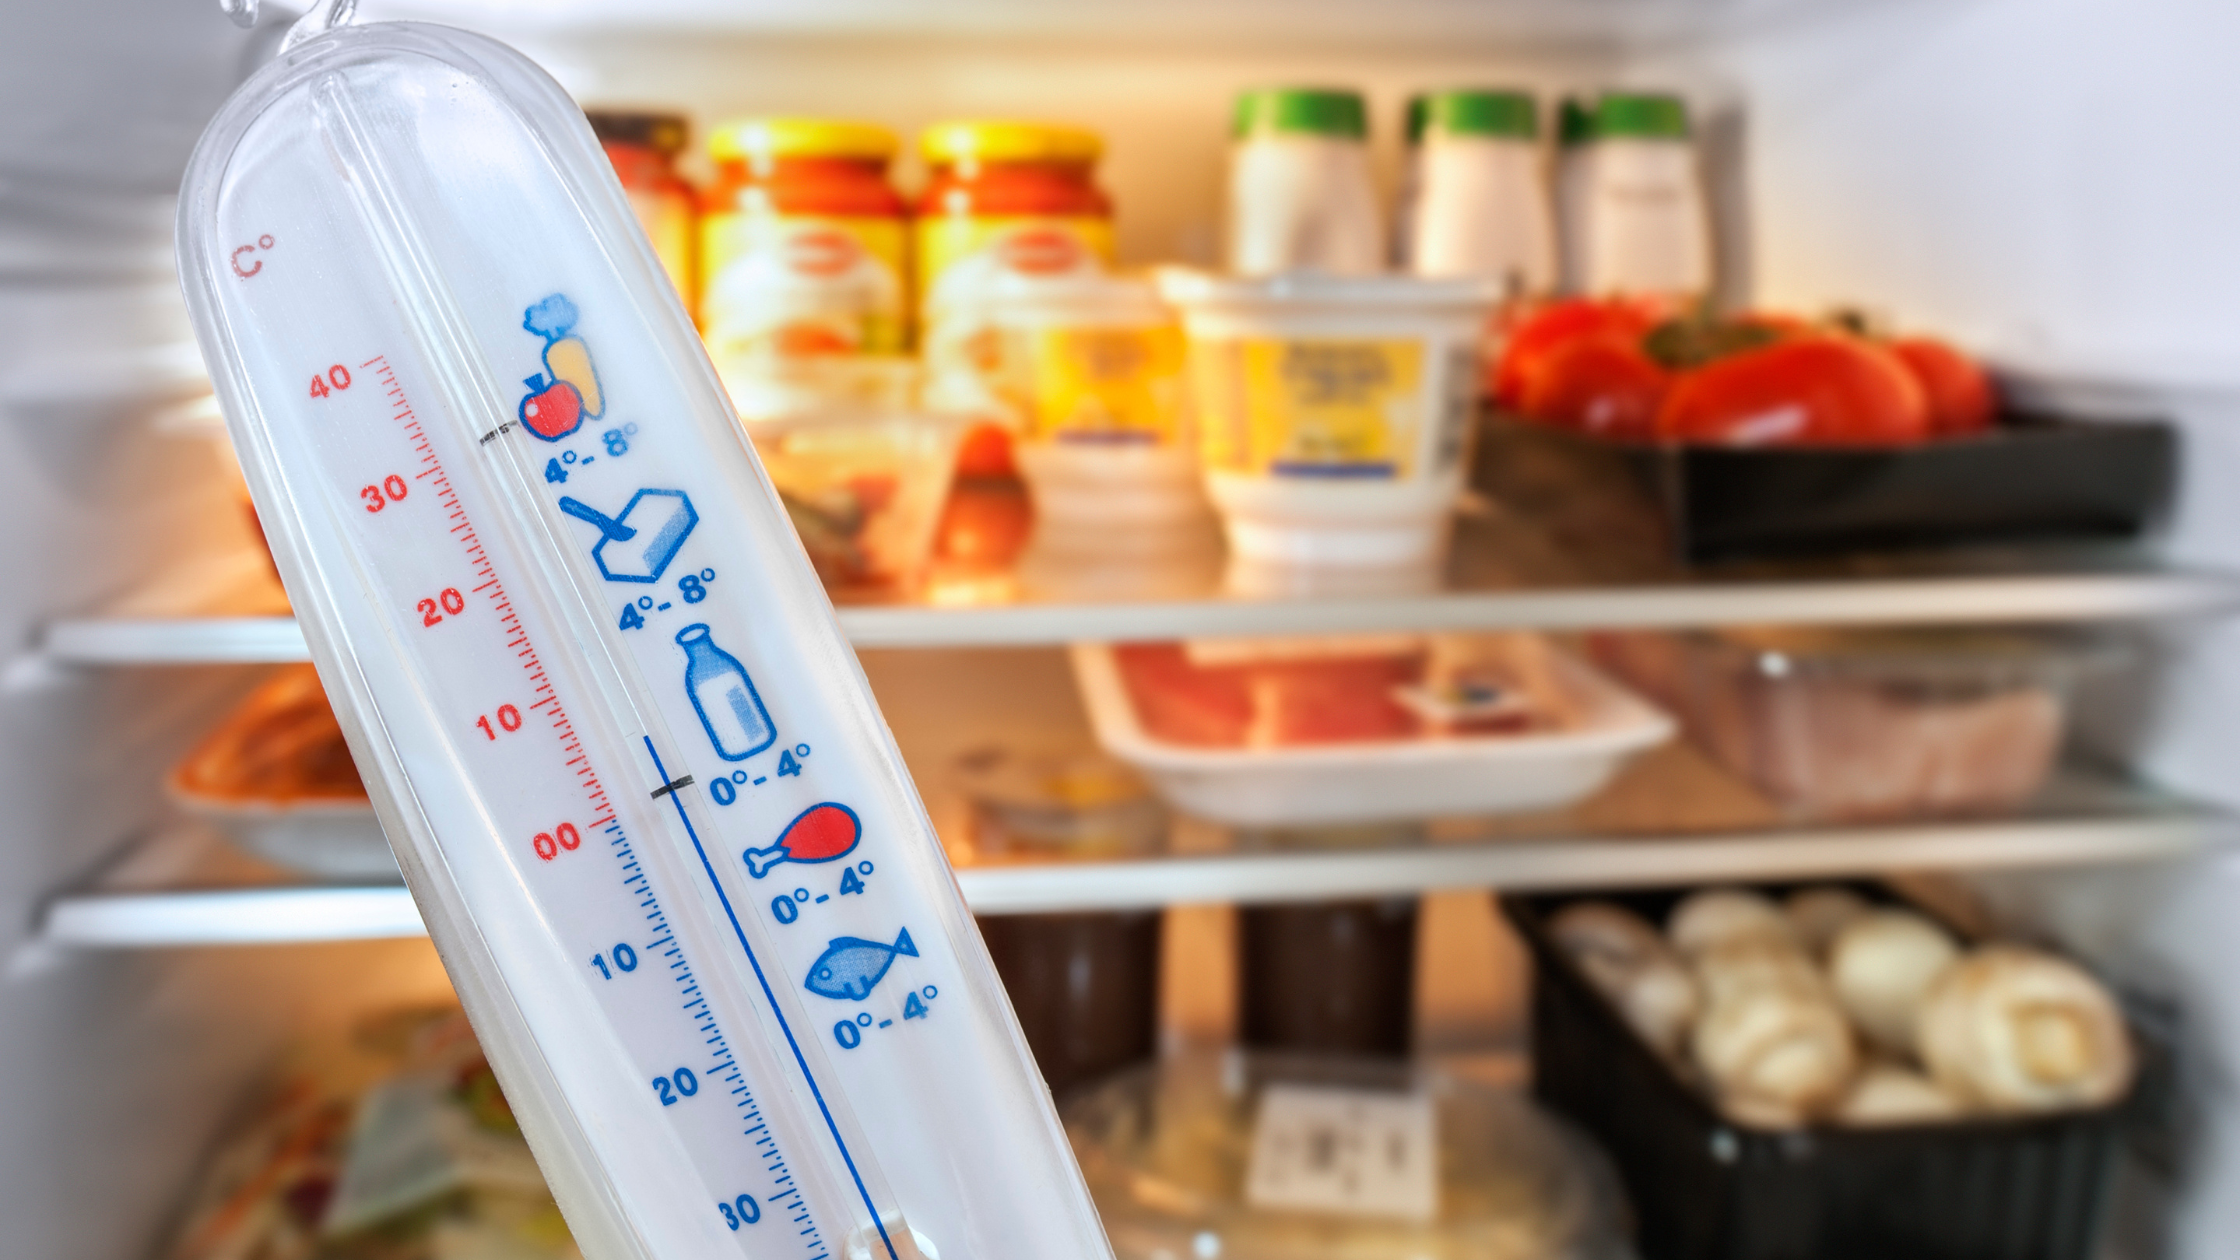
1.One of the best things you can do is purchase a refrigerator thermometer and use it to figure out which shelves in your refrigerator are the coldest. This admittedly does take a while but once you know it will help you be as efficient as possible in storing food in your refrigerator.  I prefer an analog face as I have concerns about digital and how it will eventually function in the cold

2. The coldest part of the fridge tends to be the back of the shelf closest to the freezer. If you have a side-by-side it tends to be that side. This section is where you should be storing things like milk and raw meat to keep them as cold as possible

3. When storing raw meat in the refrigerator it is helpful to put a dish, a tray, a bowl, something below it in case it leaks. The last thing you want is to have to unload your entire refrigerator to sanitize it because you have meat juices on the shelving. This also applies if you use plastic baggies to marinate your meats. You need to have something under the bag in case it leaks. I want to encourage you to shift to glass containers for marinating and food storage instead of plastic.  Not only will is stop the leaks, it's better to not have plastic touching your food.

4. Condiments and items you use regularly should be stored in the door. This way you can access them quickly.  Because the door shelves are narrower you can spot them more quickly as well. It may be tempting to keep other things in the space however if you need the space for condiments and sauces do that first. Then store other items in the door according to highest use.

5. Many people keep things in the refrigerator that don’t belong there. The following things do best if they are stored outside the refrigerator:

  • Hot sauce
  • Worcestershire sauce
  • tomatoes
  • onions
  • potatoes
  • cooking oils
  • peanut butter
  • honey
  • coffee
  • garlic
  • avocados (unless they are close to overripe)
  • soy sauce
  • vinegar

The exception to this list, of course, is if the label says ‘refrigerate after opening.’

6. Using small bins in the refrigerator can help you keep certain items together to make them easier to find like jams, pickles or olives.  Bins are also good for things that don’t stack well such as tubes of pesto or oddly shaped things that don’t stand up right

7. In order to prevent the amount of time you have to rummage around in your fridge if possible taller things go in the back smaller things go in the front.  Obviously, this makes a lot of sense, the challenge, however, is when you live with other people who aren't as mindful about how things are stored in the fridge as you are.

8. Vertical space can be a problem in refrigerators. Certain things, like that bottle of wine you’re chilling, can lie on its side. This also applies to tetra-pack containers such as almond milk.  Simply be sure that the container is not overly full and if there is a pour spout that it’s pointing up in order to reduce the potential for drips or leaks.

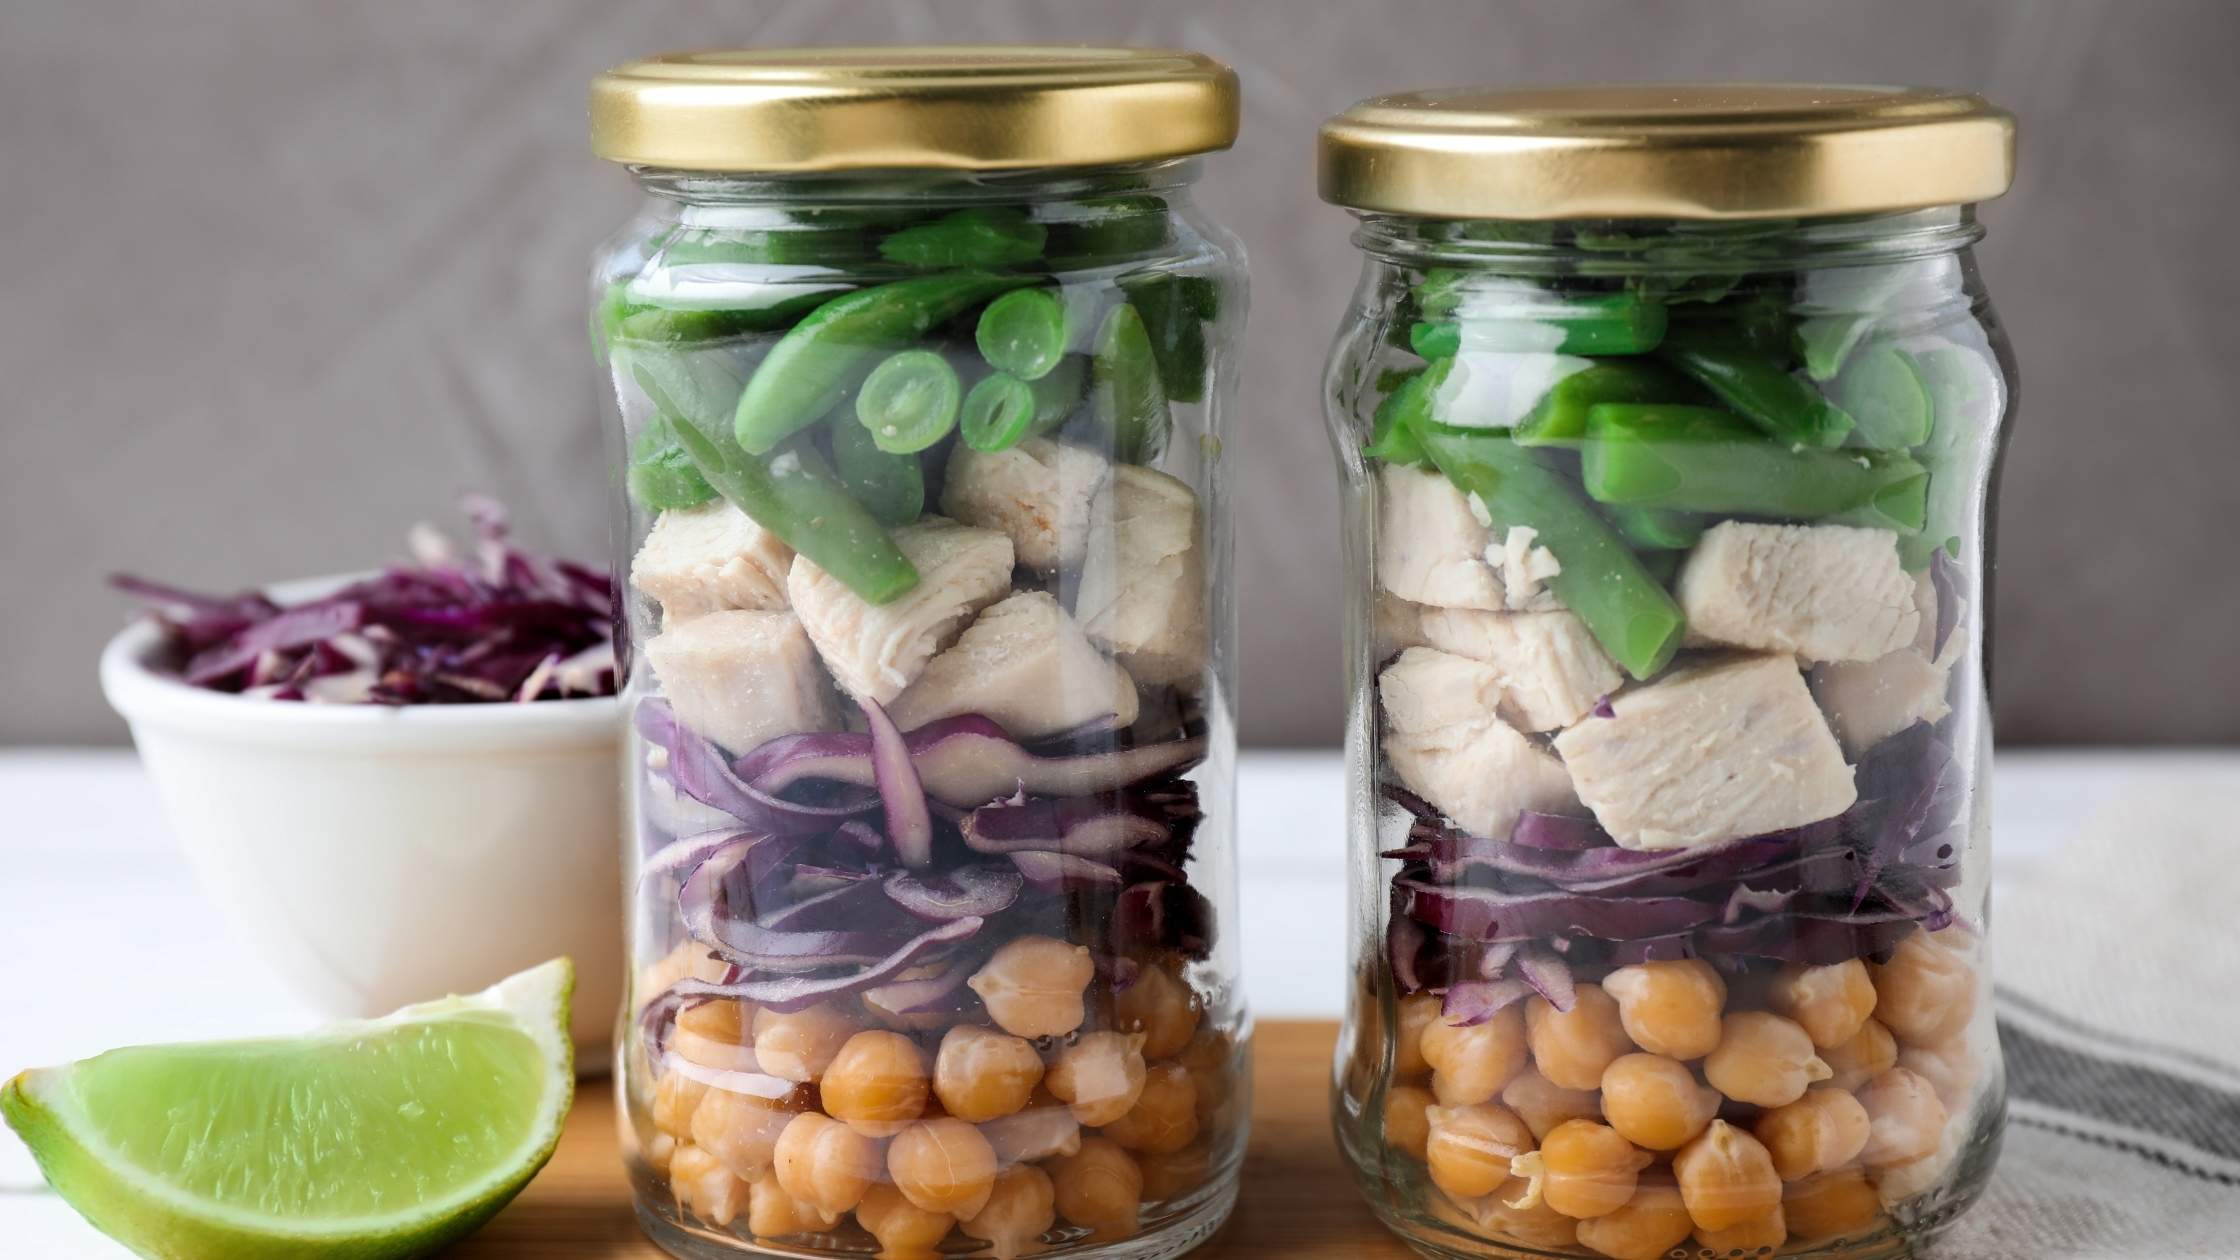
9. My favorite refrigerator containers are clear glass because this allows you to see what’s actually in there. I am also a fan of assembling leftovers into meal portions. Instead of putting all the meat in one container, all the vegetable number one in another container, and all of vegetable number two in another container. Create a meal and put that in the refrigerator for a quick grab and reheat access.  It’s also helpful if you stack all of your leftovers together that way people can see what’s available when they’re hungry instead of having to rummage all over the fridge.

Organizing your refrigerator is not a one-and-done proposition.  It gets used a lot and things can wind up shoved in for expediency rather than efficiency. It's a good idea to set aside a few minutes once or twice a month and re-arrange the fridge for maximum use and visibility.  Chances are because you’ve done this once you’ll know where things ought to go and it shouldn’t take as long to set the fridge to rights.

The Fridge and Freezer Food Storage E-Guide is available for FREE  when you sign up for the Preparedness Pantry Masterclass

Scrap Cooking Carrots And Brussels Sprouts

As we wind down toward the end of summer the Farmer's Markets are filled with a bounty of produce.  All the delicious colors and flavors of the season are on display. Every time I go to the market I seem to come home with an overflowing market basket that is more than the two of us can eat in a reasonable period of time.

This post is my tip-to-tail use-everything-you-can vegetable experiment.


Food Preservation 

Having more fresh produce than you can eat is actually a blessing in disguise. This allows you to preserve it for out-of-season enjoyment.  You're buying it when it's at peak season and therefore usually fresher and less expensive, but you can enjoy it anytime.  

There are a lot of different ways to preserve food:

  • Canning – Whether you're doing water bath or pressure canning this does require jars, lids, and a few pieces of equipment plus recipes to make sure your percentages are correct.
  • Dehydrating – You can do this in the oven or purchase a dehydrator.  You'll need extra water stored in order to rehydrate foods.
  • Fermentation – No special equipment is needed but you will need to know what you're doing to make sure things are properly preserved
  • Freezing – You'll need freezer safe containers for this method and it can be limited by freezer space
  • Freeze Drying – This requires special equipment and creates good long term storage.  You'll need to have extra water available to rehydrate items.
  • Smoking/Curing/Salting – You'll need a space where foods can sit while you prepare them this way. Again, knowing what you are doing is important.

My two favorite ways to preserve food at the moment are canning and dehydrating.  Nothing against any of the other methods, these are simply the two that I am most familiar and comfortable with.


Start With Canning


The vegetables I had on hand that I wanted to use in some way were carrots and Brussels sprouts. Both of which I bought at the farmer's market. I actually purchased more than we needed so I would have some available to preserve for winter.  

Lately, however, I've been learning more about food preservation methods and about scrap cooking where you use just about everything.  I've been enjoying the book Scrappy Cooking by Joel Gamoran and decided that I was going to use both vegetables to their absolute fullest and see how it worked out. 

For the carrots, I went simple and a family favorite.

Dilly Carrots

Ingredients
  

  • Carrots cut into julienne slices for 6 jars (about 5 pounds)
  • 3 ½ cups apple cider vinegar
  • 3 ½ cups water
  • 1/3 cup pickling salt
  • 6 cloves of garlic 
  • 6 sprigs of dill
  • 3 teaspoons of mustard seed

Instructions
 

  • Sterilize jars, rings and lids
  • Bring vinegar, water and pickling salt to a boil
  • In each jar place 1 clove of garlic, 1 sprig of dill, and ½ teaspoon of mustard seed
  • Add julienned carrots (really squeeze them in there)
  • Ladle brine into the jar leaving 1/4” head room
  • Clean top of jar and add lid and ring
  • Hot water bath 10 minutes
  • Remove from heat and let sit until jars “plink” and lids seal
  • Store in a cool, dark place


For the Brussels Sprouts I followed a suggestion from a friend and made something called Frogs Balls.  These are simply parboiled Brussels sprouts preserved in a bread-and-butter-pickle type brine.  I used this recipe.  

Getting Scrappy


Because I needed to wash and peel the vegetables I decided to make use of the trimmings.  Normally I put these into a bag in the freezer. Eventually, when I have enough plus a chicken carcass, I use them to make bone broth.  This time I decided to branch out and try something else.  I set aside the carrot peels and Brussels sprouts leaves in one pile.  In the other pile I put the tips and tails of the carrots plus the trimmed ends of the Brussels sprouts.

For the peels and leaves I simply put them into the dehydrator.  I currently have a Nesco brand dehydrator which has no timer and no heat setting.  I simply let it run overnight. In the morning they were nice and crispy.

At this point they go into a jar where they get conditioned.  Conditioning, as I've learned, is where you take dehydrated items, put them into a jar, and shake them well every day for about a week.  You do this in case there is any moisture. By shaking the jar you are rotating the contents to try and evenly distribute any residual moisture throughout the jar.

Because I didn't have a particular use for dehydrated carrot peels and Brussels sprouts outer leaves. I decided the best use for them is to make a vegetable powder which can be added to soups, casseroles, and other dishes.  A quick buzz in the not-for-coffee-coffee-maker and I had my powders.  I set them aside in their jars to condition for another week. Apparently for optimal dehydration procedure you should condition anything you dry for a week and then also condition for another week any powders you've made from it.


Cooking Scrappy


While things were being dehydrated and powdered I still had the tops and tails to contend with.  Joel's book assures me that roasted Brussels sprouts ends are fabulous.  After reading the recipe I decided I wanted to do something a little different and came up with this dish.  This is not a real recipe because I pretty much invented it as I went along.  It came out very tasty, however, and is something I plan to make again. Next time I'll keep better track of the ingredients and quantities as I make it.

Scrap Ends and Onion Something

Ingredients
  

  • ½ red onion, about 1 cup, sauteed in olive oil
  • 2 cloves garlic, minced and sauteed
  • Add ends of carrots and Brussels sprouts (these had been blanched as part of the process before canning/dehydrating)
  • Add ½ cup-ish of water 
  • Add – tomato paste, curry powder, cilantro, salt and pepper
  • Add more water  to keep it moist but not overly wet
  • Cook until everything is thoroughly heated and the carrots and Brussels sprouts ends are soft

    Yum!

All in all this experiment was, in my opinion, very successful. I not only had no scraps from the carrots or the Brussels sprouts, I made a new dish that was really tasty. I'm also grateful for the ability to have the powdered vegetables. These are a great addition to any preparedness pantry.

Don’t Do This: Dehydrating Bone Broth

 
I’m a big fan of sharing mistakes. Especially the ones I make that are related to food. We all make mistakes, it’s part of being human. I’m sharing in the hopes you will learn from my experience and not make the same mistake.  
 
I may have mentioned over the last few weeks that I’ve become reacquainted with my dehydrator.  I’m re-learning how to store food this way plus making some delicious snacks. But not everything comes out the way I think it will. 
 
In the manner of the book Make The Bread Buy The Butter I’d like to share something that I don’t think you should do. I mean you can, it’s possible, I just don’t recommend it.
 
I’ll start by telling you the what...I don’t think it’s worth it to dehydrate bone broth.
 

Here’s the Why

 
Sometimes my curiosity and meandering mind runs away with my brain. My general thought process went something like this...
 
  • We’ve had a couple of power outages already this year.  Now it’s hurricane season.  There might be another power outage
  • What if I want bone broth? After all, I drink 1-2 cups a day!
  • Hmmm...I’ve been dehydrating so many things I bet you can dehydrate bone broth.  
  • This would be so much less expensive than buying it already dehydrated. Plus I’d have my bone broth which I like a lot
::Internet search on dehydrating liquids:: Yup! It’s possible
 

How to Dehydrate Bone Broth

I wasn’t sure how much bone broth I was going to dehydrate but I imagined a LOT.  I figured I’d start with my usual 1 gallon batch. At this point it’s important for you to know that when you are dehydrating foods you cannot have a lot of fat in the mixture.  Fat does not dehydrate. If there’s too much it will go rancid. So, moving forward with my big plan…
 
  1. Make one gallon of bone broth (I almost always have a “broth bag” going in my freezer)
  2. After straining, chill the broth to make the fat rise to the top and skim it off 
  3. Carefully ladle 1 cup of broth at a time onto the fruit leather/liquid trays (this was so I would know what the ratio was -- 1 cup of broth equals how much dehydrated broth?). Please note I was mindful enough to ladle it all next to the dehydrator instead of carrying loaded trays across the kitchen and possibly slopping bone broth all over the floor. I give myself brownie points for that.
  4. Turn on the dehydrator and run until the broth is done (your mileage may vary depending on your dehydrator)
  5. Take the trays of dehydrated bone broth to the counter to scrape it off and into a jar
 

The End Result

This, dear reader, is where the fun began.  First of all, dehydrated bone broth does not easily part with the tray on which it has been sitting for 10-12-14 hours. No indeedy, it chips off slowly and laboriously. 
 
Second, it turns out dehydrated bone broth is sticky. Yup. As in I wound up wearing a fair amount of it.  It would chip off the tray and somehow bits of it would magnetically attach themselves to me. 
 
Hours later (not really but it felt like it) I finally had my bone broth. It was completely dehydrated, flaked up, and safely ensconced in a jar. Where a quick measurement indicated that approximately 1 tablespoon of dehydrated broth flakes was the equivalent of one cup of liquid broth. I’m also pretty sure I licked more than a cup’s worth off my hands when I was done.
 
Between the hours it took to make the broth, the hours it took to dehydrate it, and the time wrestling…um...chipping the stuff off the trays I’m not sure how many hours it was but it was too many.  I make bone broth on a regular basis and will continue to do so. I do tend to store some in my freezer but given that I have other items in there there’s not a lot of room for more bone broth. 
 
So my advice is to make the bone broth, maybe even store some in the freezer, and buy the dehydrated bone broth for longer term storage.

Realistic Food Budget Tips


With the rising cost of groceries many people are beginning to look more closely at their grocery budget. Unfortunately costs are probably going to continue for a while due to supply chain shortages and reduced resources. 

Although you want to save money on groceries this is not the time to revert to buying poor quality food solely to reduce your costs.  You still want to make sure you are nourishing your body and eating as well as possible.  

The idea of reducing your food budget needs to start with knowing where you are and what you’re actually spending.  You can calculate your family’s current grocery amount using the USDA Official Food Plans: Cost of Food at Home chart.  Once you know what your amount is you can begin to make changes from there.

While you’re working on a food budget, whether this is the first time or something you’ve done regularly, you need to keep it realistic. Be mindful of how many people you are feeding as you work to create a sustainable real food budget.


Food Budget Tips

Eating Out Costs

Figuring out how much you are spending on groceries doesn’t just mean what you buy for your pantry.  More than 30% of each food dollar in the United States is spent on eating out. You need to remember that when planning your food budget.  

If you eat out, either getting take-away or sitting in a restaurant, those costs should be part of your food budget.  Some eating out expenses, such as a vacation or trip to visit friend or family, may be more difficult to anticipate, but they should be included in the total.  

Track Your Spending

In the beginning of your planning it’s helpful to know what you’re typically spending your food dollars on.  Was it snacks, highly processed foods, or convenience foods.  It seems counterintuitive but real food can be a good buy.  That’s because it has higher nutrient density and you’re likely to be satisfied faster when you eat real food versus processed foods.  

As an example, a bagel or muffin and a cup of coffee seems like it’s not that expensive.  It’s also not nourishing.  When you eat a high carb, over processed breakfast this can spike blood sugar and you’ll find yourself feeling hungry mid-morning for a snack of some time.  When you have a real food breakfast you’re getting protein, healthy fats, and more nutrition.  You’re more likely to be able to make it through your morning until it’s time for lunch. This is not only better for your nutrition, it’s better for your budget as you’re not spending money on snacks. 

Meal Planning

One of the biggest ways to save money on groceries is to know what you’re going to eat.  Meal planning is really useful when it comes to making seasonal, inexpensive, real food meals.  Having a plan for shopping and cooking, and sticking to it, will help you get a handle on your food budget. 

As part of your meal planning look at doing some kitchen DIY.  There’s a great book, Make The Bread, Buy The Butter, that breaks down what’s worth it and what’s not when it comes to making things from scratch.  

One thing that can be a great way to save money is making your own bone broth, condiments, and salad dressings.  When you stop to consider the cost of the prepared items at the grocery store and the pennies it costs to make it at home, all of a sudden it makes sense to take the time to do it yourself. 

Consider making meals that you can cook once and eat again is a great way to save money. Simple yet nourishing and delicious foods are a great way to feed your family and manage your grocery budget.  Chili, soup, and stew are great choices for this strategy.  I’m also a big fan of what I call sequential eating — creatively using leftovers to make another meal.  When you meal plan it becomes easy to know what you’re going to make next with your leftovers. 


Shopping Tips


Farmer’s Markets

Buying fresh foods, produce, eggs, dairy, and sometimes meat, from a farmer’s market can be another way to get better quality food.  This tip may or may not be less expensive than the grocery store however you’re getting truly fresh food and you’re supporting your local farmers.  If you buy a large amount of fresh produce from the farmer’s market you can freeze it and have seasonally fresh food out of season.  

The Convenience Factor

The grocery store and food producers thrive off charging a hefty price to do things for you.  Think about if you really need it and/or the convenience it offers.  Or can you make it yourself.  Pre-shredded cheese for example or pre-cut vegetables are a premium price at the grocery store.  You can easily buy a block of cheese or a bunch of vegetables shred/cut it yourself for a big grocery savings. 

Get the Biggest Bang For Your Grocery Buck

If you're going to buy organic fruits and vegetables get the ones that really matter, the dirty dozen. Those are the twelve fruits and vegetables that are most likely to be contaminated by pesticides.  The grocery store would love to convince you that you need to buy everything organic but that’s not necessarily true.  If budget is a factor save your money by not purchasing those organic bananas and buy organic strawberries instead.

Buy Organic Dairy

From a health perspective I truly deeply believe that organic dairy is the way to go.  It has no added hormones, no antibiotics, and the cows are not fed pesticide-laden grain.  What goes into that cow goes into its milk, so it makes sense to not drink or eat those products by choosing organic dairy.  Having said that, it's not always easy to find or afford 100% organic dairy products, I truly understand that.  If you cannot add organic dairy to your budget it is important that you at least purchase products that are free of rBGH.  This hormone was created to make cows give more milk.  But it doesn't go away just because the cow has been milked.  So we consume it right along with the cheese or yogurt or whatever dairy product we are eating.  Check out the RGBH Free Dairy list and see how your brand stacks up.

Buy More Whole Foods

Yes those organic apples may seem more expensive.  But how much is that applesauce?  And how much more applesauce can you eat than whole apples?  Orange juice?  Did you know that there is an average of four oranges in one eight ounce glass of juice?  That glass goes down pretty easy but I think most people won't sit there and eat four oranges in one sitting.  On average the more whole foods you buy the more nutrient dense your dietary intake.  Overall this should equate to less money spent at the grocery store.

Eat Less Meat

Somehow we have become convinced that we NEED meat and we have to serve it at almost every meal.  Nothing could be further from the truth.  Most Americans eat far too much meat.  We could stand to eat more beans and other legumes which are a great source of protein with less environmental impact and far less expensive.  A package of lentils costs less than a dollar at my local grocery store and makes five cups cooked.  That's a LOT of lentils and a lot of protein.

Waste Less

Reducing your food waste is probably the biggest money saver out there.  According to the USDA more than one third of the food that is grown is wasted.  Some resources put that at more than $1,800 per family per year.  That’s a lot of money and lot of food.  Stop for a moment and think about how much food you may have thrown out in the last week, two weeks, a month?  That's all food that you paid for.  You probably even cooked it, increasing its value more as you spent time and energy to create the dish which rotted in the back of the fridge before being sent to the landfill.   Planning and being more mindful can help you avoid food waste.  

Be Mindful

Remember that not every budget will be the same.  Food costs vary widely across the country.  They also tend to fluctuate with the seasons and availability of certain foods.  Then there’s the issue of how many people you are feeding and what their dietary needs are (if there’s a special dietary requirement). Before you begin to look at your food budget, you need to consider all of these things. 

Remember also that creating a budget is just one step.  Budgets can and do change depending on changes in your family system, income changes, if you are traveling, etc.  Once you’ve learned to create a food budget that works for you I encourage you to revisit it at least a couple of times a year to see how you’re doing and if you need to make any additional changes. 

Finally, it’s important to remember that if you are making changes to your eating habits and to your grocery budget, you need to make shift gradually and sustainably.  Change does not happen overnight.  In order to be successful with the changes you are making you want to shift one thing at a time.  Once you’ve mastered on change you can make another.  Over time you will find that you’re continuing to improve your grocery shopping habits.

Sources

"Over A Third Of The U.S. Food Dollar Is Spent On Eating-Out Services". Ers.Usda.Gov, 2021, https://www.ers.usda.gov/data-products/chart-gallery/gallery/chart-detail/?chartId=58354. 

"Food Loss And Waste". Usda.Gov, 2021, https://www.usda.gov/foodlossandwaste.  

"Food Waste In America In 2021: Statistics & Facts | RTS". Recycle Track Systems, 2021, https://www.rts.com/resources/guides/food-waste-america/.

State, Chuck. "The Average American Household Wastes $1,866 Of Food Per Year - Futurity". Futurity, 2020, https://www.futurity.org/food-waste-united-states-sustainability-consumers/. 


Related articles:
Healthy Budget-Friendly Ideas For When You Hate To Cook
Clean Eating On A Budget 
lacto-fermented condiments

Be Prepared To Make Condiments

Preparedness is a big topic these days and many people are looking at purchasing packages of food that are good for long term storage. The biggest challenge with pre-made prepared foods is all of the chemicals and additives that are in them. Of course, making a list of foods to have on hand for those times when you need it is important. But when you're putting that list together consider skipping the condiments.

Making condiments

I'm not saying don't have condiments on hand. However, I do believe it's better to know how to make your own condiments. This way you'll have them on hand fresh and tasty, plus you'll avoid all the negative ingredients found in many condiments. And truthfully even those without too many harmful additives don't last that long. By knowing how to make your own condiments and having a few simple, easy to store ingredients on hand you'll always have delicious, nourishing condiments available.

You'll need to remember that when fermented the condiments may have a slight bubble to them or may seem to separate slightly. They may also have a slightly tangy smell. Do not eat them if they are fuzzy, discolored, or smell really bad/moldy.  If you've done it right, this should not happen.

Needed ingredients

When making lacto-fermented condiments you start with a basic condiment recipe. Then you add some sort of liquid that helps with the fermentation process.  The two best options are whey, the liquid that's left over from making yogurt, or the liquid you have when you make homemade sauerkraut.  You often have quite a bit of either of these left over after making the item. You can store it in a jar in the fridge until you need to use it to make recipes like these condiments below.

Lacto-fermented Ketchup
Print
Ingredients
  1. 6-ounces organic tomato paste (one small can)
  2. ½ c. whey (strained from yogurt or made from starter)
  3. 1-2 tablespoons whey
  4. 1/4 cup apple cider vinegar (raw & unfiltered)
  5. 1 tablespoon honey
  6. 2 teaspoons molasses
  7. ½ teaspoon of sea salt
  8. ½  teaspoon onion powder
  9. ½ teaspoon garlic powder
  10. generous pinch each allspice, cloves, and nutmeg
Instructions
  1. Blend all ingredients (except 1-2 T. whey) together in a food processor until well combined
  2. Place in a jar and top with 1-2 tablespoons of whey to cover completely
  3. Cover jar and let sit at room temperature for 2-3 days
  4. After fermenting store in the refrigerator
The Ingredient Guru, Mira Dessy https://theingredientguru.com/


Quick and Easy BBQ Sauce
Print
Ingredients
  1. 1 cup ketchup (see above)
  2. 2 tablespoons mustard (see below)
  3. ½ cup honey
  4. 1 ½ tablespoons molasses
  5. ½ teaspoon sea salt
Instructions
  1. Mix all ingredients together in a sauce pan and heat gently until just under a boil
  2. Remove from heat, cool and jar
  3. Store in the refrigerator
The Ingredient Guru, Mira Dessy https://theingredientguru.com/
Lacto-fermented Mustard
Print
Ingredients
  1. ½ cup mustard seeds
  2. ½ cup sauerkraut brine (leftover/filtered from live kraut)
  3. 2 tablespoons apple cider vinegar (raw & unfiltered)
  4. 1 clove garlic, minced
  5. 1 tablespoon honey
  6. ½ teaspoon sea salt
Instructions
  1. Blend all ingredients in a food processor
  2. Place in a jar, cover, and let sit at room temperature 1-2 days
  3. Store in the refrigerator
The Ingredient Guru, Mira Dessy https://theingredientguru.com/


Lacto-fermented Mayonnaise
Print
Ingredients
  1. 1 egg
  2. 1 cup olive oil, divided
  3. 11⁄2 teaspoons mustard powder
  4. 1 teaspoon sea salt
  5. 3 tablespoons tarragon vinegar (can substitute white wine vinegar and a few fresh tarragon leaves)
  6. 1 tablespoon whey
Instructions
  1. Place the egg, 1⁄4 cup oil, mustard, and salt into a container
  2. Blend well. (A stick blender is the best tool for this.)
  3. When well blended, drizzle in another 1⁄4 cup olive oil and blend well again.
  4. Add the tarragon vinegar; blend well
  5. Slowly add the remaining olive oil and blend well
  6. Gentle blend in whey until completely incorporated
  7. Place in a jar, cover and let sit at room temperature for 8 hours
  8. Store in refrigerator
The Ingredient Guru, Mira Dessy https://theingredientguru.com/
Olive Oil Dressing/Marinade
Print
Ingredients
  1. 3 cups organic extra virgin olive oil
  2. 1/4 Cup  apple cider vinegar  (raw & unfiltered)
  3. 3 tablespoons dry oregano
  4. 2 tablespoon dry basil
  5. 2 tablespoons dry parsley
  6. 2 teaspoons sea salt
  7. 1 teaspoon garlic salt
Instructions
  1. Blend well in a blender
  2. Store in the refrigerator
Variations
  1. Add ½ cup mayonnaise to make a creamy dressing
  2. Add ¼ cup mustard and substitute 1 clove fresh garlic for the dried
  3. Add ½ cup ketchup, 1 teaspoon paprika and substitute red wine vinegar for the apple cider vinegar to make a Catalina dressing
The Ingredient Guru, Mira Dessy https://theingredientguru.com/
strawberries

Ingredients In Strawberry Jam

Who doesn't love strawberry jam?

When strawberries are fresh and in season there's nothing like them. That ripe, fragrant, delicious fruit that tickles your nose and makes your tastebuds sing.  Strawberry season is also the perfect time of year to consider making your own strawberry jam.  To illustrate why I've done a quick rundown on several brands of strawberry jam available at my local grocery store.

Just a few notes

About strawberries

Strawberries are one of the Dirty Dozen.  Put together by the Environmental Working Group every year, this list shows the 12 fruits and vegetables most likely to be contaminated by pesticides.  In the case of strawberries, it's overwhelming.  

Just last year the USDA examined pesticide levels in food. Strawberries were found to contain a wide variety of fumigants that were linked to developmental problems in children, cancer, hormonal disruption, neurotoxicity, and even some which were toxic to honeybees.  

All of this adds up to make it vitally important that we choose organic strawberries. And strawberry products. Like jam.

What's in the jar?

As with any jar, the lid most likely contains BPA.  Heat, pressure, and food contact are some of the ways that BPA can be transferred to the food.  It's nearly impossible to avoid.

When looking at labels I deliberately did not choose those jars which contained artificial sweeteners.  I believe these to be so toxic to the body that no one should eat them.  Ever.  So it did not make sense to include them in this post.  I do want to point out, however, that there were just as many jars that contained artificial sweeteners as there were jars without.

Making strawberry jam

Strawberry jam is super easy to make on your own. Canning itself is a simple, albeit hot and humid, process.  When I teach canning classes I usually teach how to make strawberry jam because it's so easy.  After learning how to make it, invariably, the students say, “Is that it?  That's so easy.”  Yes it is.  If you have a good source of organic fresh strawberries near you, consider making your own jam.

This very simple recipe comes from The Ball Blue Book.  My copy is rather old, tattered, and stained.  But the recipes are still delicious.  This is a great book to start with if you're just learning about making jams, jellies, pickles, and chutneys.  There's a host of good recipes in this book.

It is important when using this recipe to measure the amount of strawberries first and then crush.  If you do it the other way you will make a delicious strawberry sauce but it won't set.  If you have the opportunity to pick your own strawberries try to get some that still have the white tips on them.  I find that these help to make it set better.

It's also important to use evaporated cane juice crystals and not sucanat.  I'm assuming that it's because of the higher mineral content, but I have not had success using sucanat in canning. 

Simple Strawberry Jam

Servings 4 pints

Ingredients
  

  • 2 quarts strawberries, washed, hulled, and crushed
  • 6 cups evaporated cane juice crystals

Instructions
 

  • Combine berries and sugar in a large sauce pot.
  • Bring slowly to a boil stirring until sugar dissolves.
  • Cook rapidly until thick, about 40 minutes.
  • As mixture thickens, stir frequently to prevent sticking.
  • Pour hot into hot jars, leaving 1/4 inch head space.
  • Adjust caps.
  • Process 15 minutes in a boiling water bath. 

Canning…not That Kind

Recently I was invited to a canning event where I could learn about dry pack canning.  It was loud, fascinating, fun, and definitely a bit of work.

We assembled in the early evening at the warehouse.  We were instructed on the different stations on the assembly line and how to operate the machine (for those who were doing that).  We then all trooped over to the sinks to wash our hands and put on nets (two for the guys with beards), gloves and aprons.  Next we lined up in our spots along two different assembly lines.

The responsibilities were:

  1. opening the large containers that the dry goods were in
  2. filling the #10 cans almost to the top
  3. adding an oxygen absorber for long term storage
  4. running the machine to seal the lid
  5. labeling the cans
  6. checking the inventory
  7. boxing the cans. 

My spot was at the end of the line and my responsibilities went something like this:

  • write the date on the label
  • put the label on a can
  • check inventory to see how many of that particular can goes in a box
  • put the cans in the box
  • label the box
  • do it again

While the canner was running it was very loud in the warehouse and all conversation either stopped or was limited to the person standing next to you.  Otherwise it was not too noisy.  Although there was an occasional lull in the process as one part or another of the line got backed up, we spent a fairly solid couple of hours processing dry food.  While it was obvious that many of the others had done this before, they were very supportive of those of us who were new to the process.  Overall we still managed to be quite an efficient team and the lines moved along fairly smoothly.

The items that we canned were:  rolled oats, rice, macaroni, dried apples, black beans, pinto beans, refried beans, non-instant milk powder, dried carrots, and dried onions.  I was fascinated to learn that the shelf life for these dry good in this type of can is quite long.  Some of these foods, because they are so dry, and with the use of an oxygen absorber, can last for up to 30 years in the can.

Many people use these dry goods as part of their pantry system, rotating the cans through as needed.  Instead of purchasing their dry goods in bags or boxes, they purchase them in cans which are vermin proof and watertight.  Other people purchase these items as a part of an emergency food storage system.

It was work, but it was also fun.  I had the opportunity to chat with a number of the people there and really enjoyed our conversations.  I also learned something new that I hadn't known before.  Maybe next time I can run the canner.

Raspberry Vinegar

Raspberries are coming in to season.  Their fragrant luscious aroma greets me every time I walk into the produce section of my local grocery store.  And their plump juicy red fruit temps me.  I love raspberries and truly miss the raspberry bed I had in Connecticut.  It was stocked with four different varieties each bearing at a different time pretty much ensuring a summer full of fresh flavorful berries.

Sadly the drought here in Texas has done a number to my fruit bushes.  The trees seem to be holding their own but the elderberries, raspberries, blackberries, blueberries and goji berries are all shriveled and I'm not sure they're going to make it.

Raspberries are such a wonderful fruit because not only are they tasty, they're so versatile.  They go great in fruit salads, eaten fresh, baked into scones or crumbles, on top of oatmeal, in a smoothie, the list goes on.  Plus a little as one half a cup provides 4 g. of fiber, over 25% of your daily value for vitamin C and just over 20% of your daily value for manganese. One of my favorite, extravagant ways to use raspberries is to make a raspberry vinegar.  This way I can enjoy that fragrant summer flavor all year long.

This is my favorite recipe using raspberries from Fancy Pantry which is one of my best-loved preserving cookbooks.

Raspberry Vinegar

By Fancy Pantry cookbook

Ingredients
  

  • 8 C. raspberries, cleaned, rinsed and drained
  • 3 C. white wine vinegar

Instructions
 

  • The recipe calls for the raspberries to be used in two portions.  You can freeze 4 C. for later.
  • Crush 4 C. raspberries and place them in a sterilized, heatproof 2 quart jar
  • Add vinegar and and cover the jar
  • Set the jar in a deep saucepan and fill with water to come halfway up the jar
  • Set over medium heat and bring the water to a boil
  • Reduce the heat and keep the water simmering for 20 minutes
  • Remove the jar and set aside, uncovered to cool the contents
  • When cool, add a lid to the jar and set it aside
  • Shake the jar every day for 2 weeks
  • Strain the jar to remove old raspberries, it is okay to lightly press the berries to extract all the juice
  • Crush 4 C. raspberries and pour infused vinegar over them
  • Repeat the scalding as done above
  • Let the vinegar rest for two weeks, shaking every day
  • Strain the vinegar discarding the fruit, it is okay to lightly press the berries to extract all the juice
  • Line a funnel with an unbleached coffee filter and place in a sterilized bottle
  • Filter the vinegar into the bottle
  • Cap or cork the bottle and store in a cool dark pantry

Notes

The vinegar may develop sediment as it stands, this is okay but the vinegar can be re-filtered if you wish

Grape Jelly

Warning: rant ahead!

I'm so aggravated I cannot even tell you.  This morning I went to the grocery store for a few items.  One of them was grape jelly, requested by my daughter. It's her favorite flavor. Since we've moved away from Connecticut we no longer have the same access to wild grapes so I'm no longer making grape jelly.

The grapes that I've managed to find here in Texas have, for the last two years, been very thick-skinned and dry due to the lack of rain so no grapes there either. I did plant grapes in my garden but they're table grapes not jelly grapes so I'm not sure they'd work well.

My frustration? NOT ONE SINGLE jar of grape jelly at the grocery store came without HFCS. Several even had HFCS as the number one ingredient. Seriously? That number one ingredient means that the majority of the jelly isn't even grapes, it's HFCS. That is insane.

First of all grape jelly is incredibly easy to make. Grapes are very high in pectin. Throw them together with a little water, the right amount of sugar, heat to the correct temperature, and voila! Grape jelly!

Even more upsetting to me is the fact that many of the grape jellies at the grocery store come with artificial flavorings.  I'm not exactly sure why as to my mind grapes have a pretty distinctive taste all their own.

Needless to say, I did not buy any grape jelly (luckily she also likes orange marmalade so that's what she got) and I'm going to have to work a little harder to find a good source of either muscadines or concord grapes to start making my own jelly again.

For those who have access to good grapes for jelly making here's a great recipe from the book Preserving Memories: Growing Up in My Mother's Kitchen. In the interest of full disclosure, I'll tell you that this book was written by my mom. I'm not recommending it because she wrote it (honestly). It really is one of my favorite canning/preserving books and my first go-to when I'm looking to make something. 

To get all of the great commentary, hints, and tips you'll have to get the book, but here's the recipe:

Grape Jelly

Ingredients
  

  • 10 C. or more Concord grapes (approximately 8 lbs.)
  • 1 apple (optional)
  • 2 C. water
  • Sugar

Instructions
 

  • Wash the Concord grapes.
  • Cut the apple into quarters -- peel, core, and all -- then chop coarsely.  Set aside.
  • Put a couple of cups of grapes int a large stainless-steel pot, then crush them with a potato masher of the bottom of a clean glass jar.  this provides a small amount of juice and prevents scorching.
  • Add the water.
  • Add the cut-up apple.
  • Heat the fruit mixture slowly to the boiling point, reduce the heat, and simmer until the seeds come free from the pulp.
  • Line a large colander with several layers of damp cotton cheesecloth.  Set the colander over a large pot or bowl and carefully pour the grapes and liquid into it. Allow the free-run juice to drip through the cheesecloth.  You may also use a chinois or jelly bag.  Do not press down on the fruit.
  • Measure the free-run juice.  Process into jelly 4 cups of juice at a time - a smaller batch means the jell point is reached more quickly, resulting in better flavor.
  • Taste a little bit of the juice.  For every 1 cup of reasonably sweet grape juice, measure out 2/3 cup of sugar.  If you used a greater percentage of under-ripe grapes and the juice is on the tart side, you can use 3 or 3 1/2 cups of sugar to 4 cups of juice.
  • Bring juice to a boil then add the sugar.  Boil to the jell point.
  • Fill and process prepared jars.

Food And Money

The USDA is predicting an increase in all foods for 2011; depending on the item it is expected to range from 2% for things like sugars and cereals to as high as 5.5% for dairy products.  If you are interested you can see the chart here.  Part of the increase is due to the higher costs for corn and soybeans.  Remember, it's a cycle, what we eat needs to eat.  I actually anticipate that the costs for meat will be much higher than currently predicted due to more people deciding to purchase meat and dairy that is organic to avoid the GMO contamination of corn and soy.  These are two of the most heavily GMO crops but our government doesn't identify that so the only way to avoid it is to purchase organic.

There are a number of ways that you can save money on your food bill in the upcoming year:

Plant a vegetable garden.  Using your space for edible gardening can be attractive and save you food dollar costs.  During both World Wars Victory Gardens were planted in every yard and public park all across the United States.  It's a concept that I think many people are rediscovering.

 Even if you buy a tomato plant at the garden center and plant it in a pot you will still get far more produce than if you purchase your tomatoes at the grocery store.  And believe me, they'll taste better.  We've just re-arranged our side yard and brought in a load of organic dirt, working on creating a better vegetable garden.  We've also put in herbs and a few fruits in the yard.  

Here are a couple of books that I think are great for backyard vegetable gardening

Mel Bartholomew is the authority on getting the most out of the smallest space. If you have any gardening space available, even just one square foot, you'd be amazed at what you can grow.


Rosalind Creasy shows you how to incorporate beauty and function in your garden by making your landscape edible.


If you live in an apartment or don't have access to a plot of ground you can consider container gardening.  Even one  reasonable size container can grow a lot of tomatoes and basil or peas and mint or…read the book.


And there seems to be an increase in folks growing food on rooftops and terraces.


If you shop at warehouse stores frequently the prices are good but the quantities are huge.  Don't buy more than you need, after all 50 pounds of potatoes is a lot, especially in a family like ours with just three people in the house.  Just because the price per pound is low, if you wind up throwing out rotten potatoes (or anything else) you've just lost money.  If you really want the item consider saving money by asking family, friends and/or neighbors if they want to share these items with you.  This way you'll both save money and there will be less waste.

And speaking of waste…


According to Jonathan Bloom, author of American Wasteland, Americans, on average, throw away half of their food.  Half!  That's a mind-boggling concept.  Knowing, really knowing exactly what is in your pantry is a great start, learning how to be mindful of it is the next step.  Jonathan has a lot of great information on his blog to help you avoid food waste.  Don't want to read the book (although I highly recommend it)?  There's an app for that — yup, a company called UniByte has created an app to help you better manage your food purchases so you will waste less.


If you do wind up with food waste, and some of it is inevitable such as potato peelings, egg shells, coffee grounds, and the like, consider composting.  This is also environmentally friendly in that the food scraps become usable dirt instead of going to the landfill where they cannot be used to grow more food.  

A little off the beaten path but for those who have access, inclination, and a sharp eye there is always the idea of foraging.  According to my friend Merriweather it is important to remember a couple of key points:

1.  Know what you are foraging.  Many edibles have an inedible counterpart that looks almost the same.  He points out that these inedibles wind up in either the “kill your kid dead” or “keep you on the toilet sick” category so it's important to be very sure of your identifications.

2.  Forage responsibly using appropriate tools to cut and dig rather than ripping and shredding.  This allows the plants to continue to grow and is the best way to forage.

3.  Make sure you have permission. Here in Texas, and probably elsewhere, plant rustling is against the law.  Getting a huge fine for public trespassing or theft is not going to help your grocery bill any.

While Merriweather sadly does not yet have a published book there are some great foraging books out there:


And last, but certainly not least, another way to save money at the grocery store is to learn to make your own.  One of my favorites is making my own granola which definitely saves money over the store-bought versions.  You can make your own pudding, soups, muffins, snacks, spice mixes, beverages, pickles, jams and much much more.  Currently I am fermenting kimchi on my kitchen counter, starting another batch of kefir and have just finished making another batch of bean sprouts.  These require very little hands on time and save quite a few dollars while providing healthful foods for my family.  Making your own has a number of benefits:

1.  It will save you money
2.  You will avoid extra packaging and commercial waste
3.  You will avoid additives, preservatives and chemicals (which you don't need in your diet anyway)
4.  Often when you make your own you make smaller batches so you are less likely to waste it

So here's to a new year, a new grocery budget, and new possibilities for your health.