Fermented foods have been around for centuries, and yet they seem so unusual to many people in our modern culture. With our focus on sanitized foods and industrialized production, we have lost our connection with the power of microbes and the benefits of fermented foods.
Fermentation is a process that preserves food and enhances its nutritional value by breaking down carbohydrates and proteins into more easily digestible compounds and also by creating beneficial microorganisms.
In this blog post, we will delve into the amazing health benefits of consuming fermented foods, the crucial role of gut health, and how to get started with fermentation. Before we dive in, let me introduce you to Karen.
Abou1t the Expert
Karen Diggs is a certified nutritionist, chef, writer, and expert in fermentation. She is the founder of Kraut Source, a company that produces fermentation kits and teaches people how to make their own fermented foods. Karen has also authored a book titled Happy Foods 100 Mood-Boosting Recipes.
With a passion for healthy and natural living, Karen's expertise in fermentation and nutrition has made her a sought-after speaker and consultant in the wellness industry.
Benefits of Kraut
Karen points out that if we don't have good digestion, it really doesn't matter what kind of food we eat. We could have a private chef cooking for us every night, but if our digestion is faulty, we will not be able to pull the nutrients from the dishes we are eating. This is why having a happy gut and good digestion is key to our overall well-being, immune system, and brain health.
Here are some of the amazing benefits of eating fermented foods mentioned in our interview:
- Fermented foods are rich in beneficial bacteria that can help support a healthy gut microbiome.
- Fermented foods are a great source of enzymes, vitamins, and fiber, making them nutrient-dense.
- Consuming fermented foods on a regular basis may lead to external benefits such as improved skin, hair, and nail health.
- Fermented foods have been a part of traditional diets across cultures and have been consumed for centuries due to their health benefits.
- Fermented foods are a form of prebiotics, which can help feed the good bacteria in your gut and support overall digestive health.
- Consuming fermented foods in moderation can help diversify the microbiome and improve overall immune function.
How much and how often should you eat fermented food?
When it comes to incorporating fermented foods into your diet, it's important to start slowly and gradually increasing your intake. For beginners, a small serving size of about a third of a cup with a meal is recommended. From there, you can gradually increase to two servings per day, such as with breakfast and lunch, and eventually, incorporate it into your dinner as well.
It's important to remember that fermented foods should be consumed in moderation as overdoing it can lead to discomforts like bloating or gas. Fermented foods should be viewed as a condiment and not a replacement for other nutrient-rich foods like vegetables.
Since everyone's gut microbiome is unique, it's best to listen to your body and adjust your intake accordingly. You can experiment with different types of fermented foods and serving sizes to find what works best for you.
Making Fermented Food at Home
Karen believes that sauerkraut is the easiest and most beginner-friendly fermented food to make at home. All you need is a head of cabbage, high-quality sea salt, and a glass jar. You don't even need to make a brine because the cabbage will release its own liquid when you massage it with salt.
Karen recommends using a small jar or a tool like the Kraut Source, which helps keep the food submerged under the liquid to prevent mold and promote healthy fermentation. She also encourages people to experiment with different vegetables like pickles or cauliflower if they don't like cabbage.
Ultimately, the key to incorporating fermented foods into your diet is consistency. Just like learning to bake bread, it takes practice and patience to become comfortable with fermentation. Karen's dream is for everyone to have a jar of sauerkraut fermenting on their kitchen counter, just like a coffee maker.
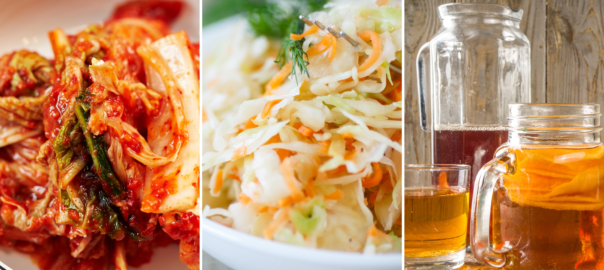
If you're not a fan of sauerkraut, don't worry. There are many other types of fermented foods to try, including kimchi, pickles, kefir, and kombucha. The key is to find what works for you and make it a consistent part of your diet.
Recipes
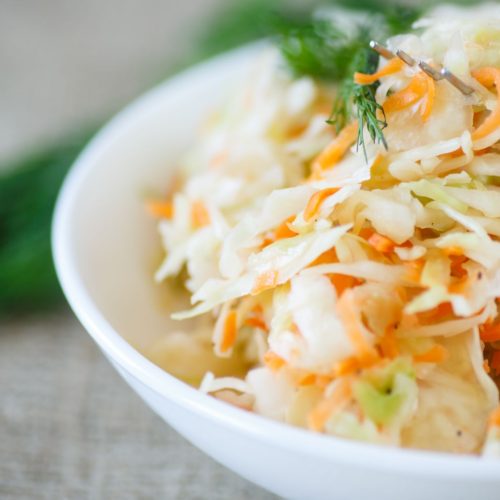
Classic Sauerkraut
Ingredients
- 1 head green cabbage, weighing about 1-1/2 lbs (680 g), cored and finely shredded
- 1 -1/2 Tablespoons (22.5 ml) high-quality sea salt
- 1 Tablespoon (15 ml) whole caraway seeds
Instructions
- Place the shredded cabbage in a large bowl. Sprinkle salt over the cabbage and massage by squeezing handfuls between your palms and fingers with a medium firm pressure. Do this for about 5 minutes. (The purpose of the massage is to help release juice from the cabbage. The longer you do so, the more cabbage juice will be released.)
- Add in the caraway seeds and place mixture into a quart-size, wide-mouth mason jar. Use a wooden spoon, pestle, or the end of a rolling pin to temper down the cabbage. Be sure to leave at lease 2 inches (5 cm) of clearance from the top of the cabbage and the opening of the jar. If you have time, let the mixture stand for 24 hours to help build up more liquid (see Note). This will help prevent overflow later.
- Place Kraut Source onto the jar. Allow to ferment for 7 - 14 days in a cool spot, away from direct sunlight. Check every few days that there is water in the moat, and top off as needed.
- Replace Kraut Source with the standard mason jar lid and ring. Transfer to the refrigerator.
Notes

Traditional Kimchi
Ingredients
- 1 head Napa cabbage, weighing about 2 lbs (900 g)
- 1/4 cup (60 ml) sea salt
- Filtered water
- 1 Tablespoon (15 ml) minced garlic
- 2 teaspoons (10 ml) fresh ginger, grated
- 1 teaspoon (5 ml) Sucanat or turbinado sugar
- 2 teaspoons (10 ml) fish sauce, optional
- 1 - 5 Tablespoons (15 - 75 ml) gochugaru* (Korean red pepper flakes)
- 8 oz (230 g) daikon, peeled and cut into small dices
- 4 stalks scallion, trimmed and cut into 1 inch (2.5 cm) pieces
Instructions
- Cut the cabbage lengthwise into quarters and remove the cores. Cut each quarter crosswise into 2-inch (5 cm) wide strips.
- Place the cabbage and salt in a large bowl. Using your hands, massage the salt into the cabbage until it starts to soften, then add enough water to cover the cabbage. Put a plate on top and weigh it down with something heavy, such as a can of beans, or a mason jar filled with water. Let stand for 1 hour.
- Rinse the cabbage under cold water and drain in a colander for about 15 minutes.
- Meanwhile, combine the garlic, ginger, sugar, and fish sauce, if using, in a small bowl and mix to form a smooth paste. Mix in the gochugaru, using 1 - 2 Tablespoons (5 - 10 ml) for mild, or up to 5 Tablespoons (25 ml) for a real kick.
- Combine the cabbage, daikon, and scallion with the paste. Mix everything together with your hands, or use a pair of tongs.(If you use your hands, gloves are highly recommended to protect your hands from chili stings, and smell.)
- Pack the kimchi mixture, including the liquid that has been released, into a quart-size, wide-mouth mason jar, pressing down on it firmly with a wooden spoon or rolling pin until the vegetables are level with the shoulder and there is 1 inch (2.5 cm) of brine above the top of the vegetables.
- Place Kraut Source onto the jar. Allow to ferment for 5 - 10 days in a cool spot, away from direct sunlight. Letting it ferment for up to 14 days is even better. Check every few days that there is water in the moat, and top off as needed (see Note).
- Replace Kraut Source with the standard mason jar lid and ring. Transfer to the refrigerator.Note: As Napa cabbage releases a lot of water, keep an eye on your kimchi during the first 24 - 48 hours. There should be about 1 inch (2.5 cm) of liquid above the top of the vegetables, so pour off excess if it looks like it will over flow.*Gochugaru, or Korean red pepper flakes, is widely available in Asian grocery stores.
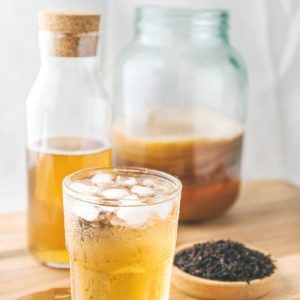
Kombucha
Equipment
- A clean pot for boiling water
- A steralized glass jar
- A coffee filter big enough to cover the opening of your jar
- A scoby
Ingredients
- 2 tea bags best not to use those with citrus (such as Earl Grey)
- 1⁄4 cup evaporated cane juice
- 3 cups water
- 1⁄2 cup distilled white vinegar or kombucha
- evaporated cane juice crystals, a lower processed form of sugar. It can be found at large grocery stores or specialty grocers such as Whole Foods and Trader Joes
Instructions
- Bring water to boil
- Add sugar, stirring until dissolved, then add tea bags
- Steep for 10-15 minutes, then remove tea bags
- Allow tea mixture to cool until room temperature
- Pour mixture into a glass jar (do not use metal or plastic to avoid contamination)
- Add the culture and the vinegar or kombucha from the last batch
- Place the coffee filter over the top of the gallon glass jar and secure it with a rubber band
- Place in a dark undisturbed place for seven to ten days
- After fermentation is complete two cultures will appear in the mixture.
- Filter Kombucha to remove particles these particles are not harmful but some people do not like drinking their kombucha with goopy consistency particles in it.
- You will also get a less cloudy looking beverage if you filter it.
- Set aside scobys with some brewed kombucha for the next batch or to start your Stockpile.
- Refrigerate and enjoy!
Notes
Final Thoughts
In conclusion, fermented foods are an excellent way to support a healthy gut microbiome and improve your overall health. Starting with sauerkraut is an easy and accessible way to get started, and making it at home in small batches can be a fun and rewarding experience.
If you're interested in learning more about fermented foods and Karen's work, you can visit her website for more delicious recipes and gut-healing tips, krautsource.com, or email her at karen@krautsource.com. As Karen likes to say, "we can ferment a better world together."