
Most of us take good bone health for granted… until we have a problem. Maybe you’ve had poor results on a bone scan. Or you’ve experienced an unexpected fracture.
In our youth, our bones are continually growing stronger. But as we age, we can develop problems. The volume of minerals in our bones can drop, lowering our bone mineral density (BMD). And this puts us at greater risk of fracture.
There are two diagnosable conditions that result from bone loss: osteopenia and osteoporosis. Osteopenia occurs when bone mineral density (BMD) drops below normal. In the US, 54% of postmenopausal women have osteopenia. And osteopenia can lead to osteoporosis.
Osteoporosis is a serious loss of bone density that increases the risk of fracture. And it affects a staggering 10 million Americans.
Women are at greatest risk of osteoporosis, especially white and Asian women in menopause. In fact, women have a greater risk of bone fracture than breast cancer, heart attack, and stroke combined. But it’s not just women. Men are affected too. They are more likely to break a bone due to osteoporosis than to get prostate cancer.
Symptoms of Bone Loss
In the early stages of bone loss, you likely won’t have any noticeable symptoms. That’s why your doctor will order your first bone scan at about age 65 if you are a woman and at age 70 if you are a man. If you have increased risk of bone loss, it’s a good idea to get your first scan at closer to 50.
Your bones are constantly being renewed. When you’re younger your bones are being renewed faster than they are broken down. So your bone density increases. People hit maximum bone density at about age 30. But from then on, we lose bone mass faster than it’s created.
Once bones are weakened you may start to experience:
- Back pain — sometimes caused by fractures or collapsed vertebrae
- Fragile bones that break easily
- Stooped posture
- Loss of height
Obviously, not everyone develops osteoporosis as they get older. Your risk depends on a variety of factors. If you build up good bone mass in your youth, the losses you experience as you age will make less of an impact.
Your Diet Matters
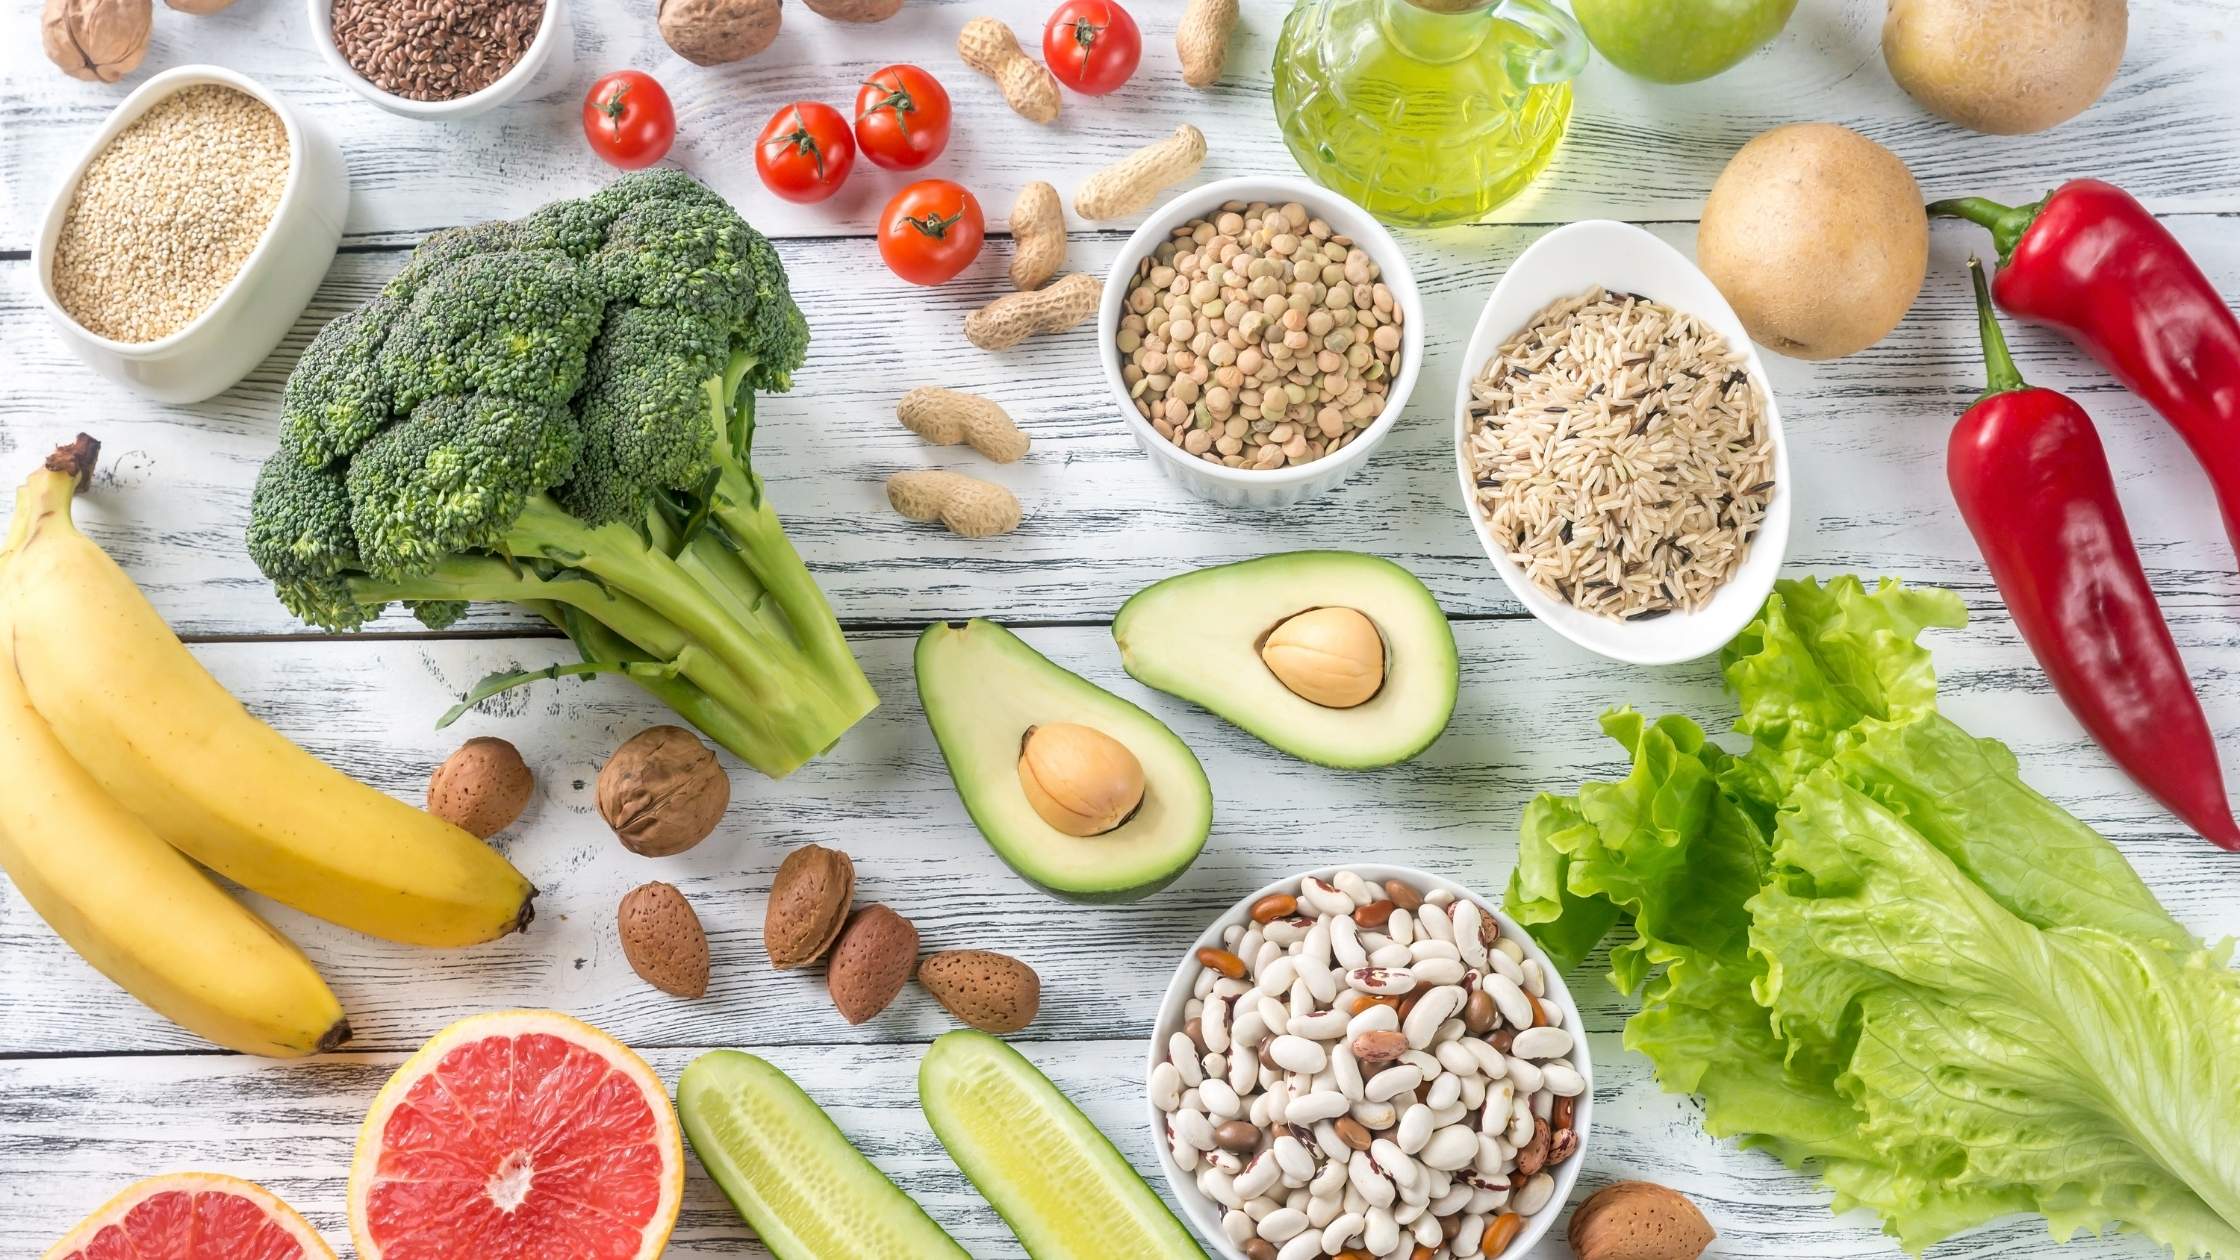
There are foods that can contribute to bone health. Nourishing whole foods which add bone-building nutrients into your diet. By eating a diet rich in minerals and other supportive nutrients, you can boost your bone health at any stage in life.
These bone health heros include;
- Calcium (and it’s NOT just about milk or dairy products)
- Magnesium
- Potassium
- Vitamin D
Making simple changes in your diet can make a big difference. Click here for some delicious recipes - to add more bone health heros to your diet.
You can always make a difference in your health and well-being by adjusting your food and lifestyle choices. It’s never too late to improve your health by adding in the nutrient-rich foods that your body needs!
Recipes
These are a few of my favorite recipes that incorporate the bone health heros. They’re a delicious way to support your body and your bones!

Tahini Dressing
When it comes to calcium sesame seeds are a nutritional powerhouse. This recipes is so tasty and super simple to whip together. You can have a healthy salad dressing in just minutes!
Ingredients
- 1/2 cup tahini, stirred
- 1/2 cup water
- 1/3 cup fresh lemon juice (about 2 lemons)
- 2 cloves garlic, minced
- 1 teaspoon sea salt
Instructions
- Blend all ingredients well
- Serving size 1 tablespoon
- Store in the refrigerator up to 2 weeks
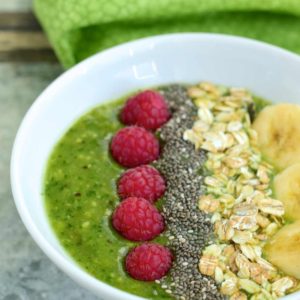
Collard Greens Smoothie Bowl
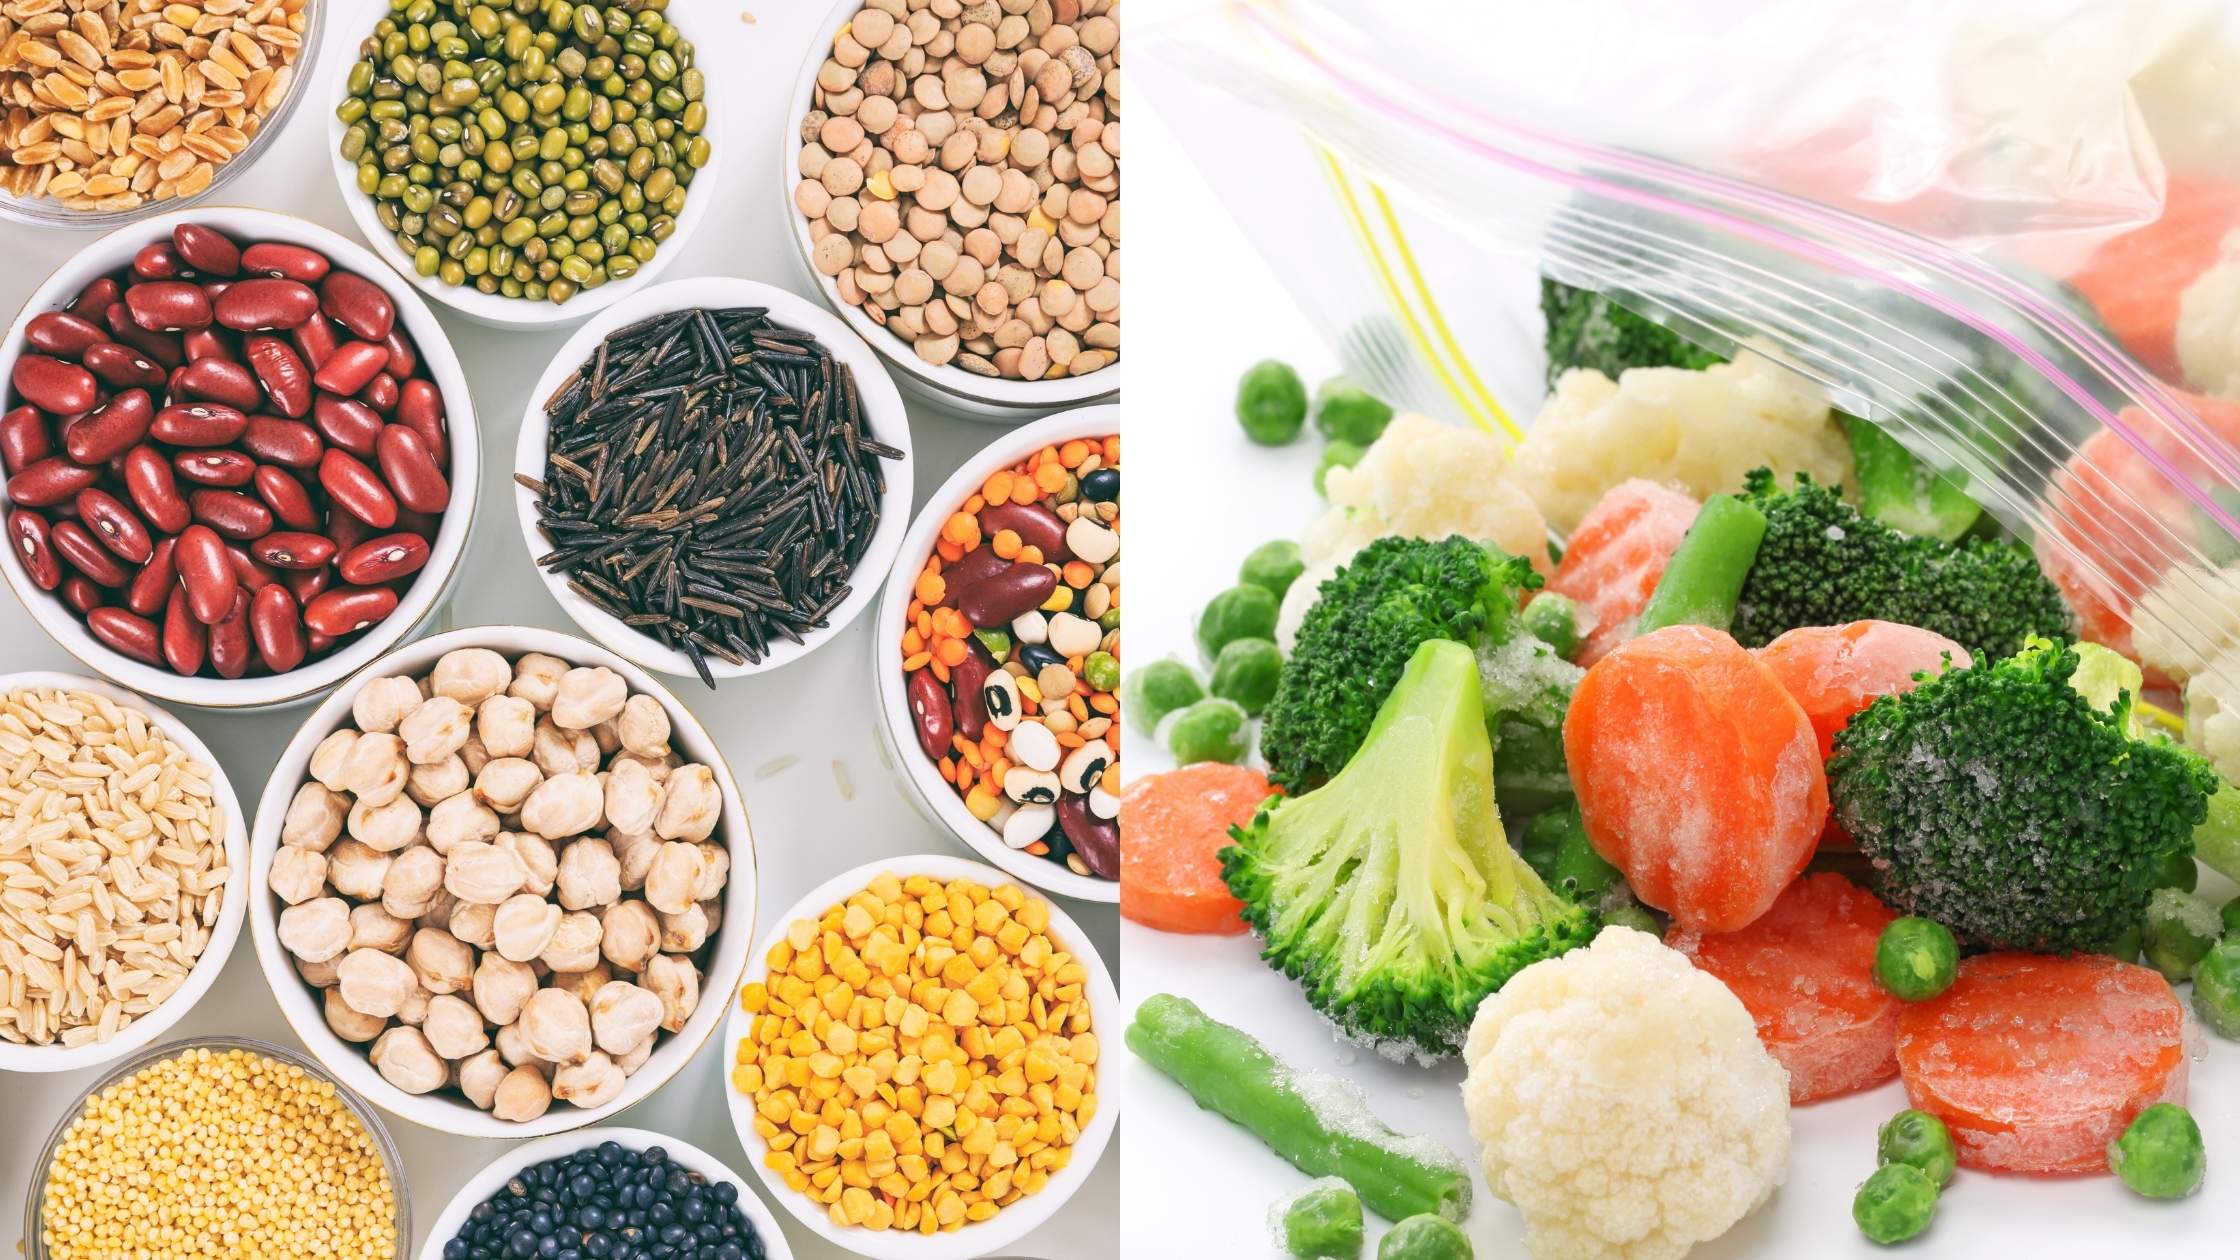
If you're looking for a delicious way to get your greens on look no further than this simple and nourishing Collard Greens Smoothie Bowl. With the addition of green tea, you're skipping high sugar choices like juice. By using frozen fruit and avocado, you also don't need ice to get the correct consistency.
Ingredients
- ½ cup chopped collard greens, washed
- 1-½ cups frozen raspberries
- ½ cup green tea
- 3/4 cup pineapple chunks
- 1/4 cup frozen avocado chunks
Instructions
- Blend all ingredients together. If needed add a little more green tea.
- Garnish with your choice of toppings. Some of my favorites are:1 tablespoon shredded coconut1 tablespoon seeds - pumpkin, flax, chia, hemp, or sunflower1 peeled and sliced kiwifruit½ tablespoon cacao nibs1 teaspoon bee pollen
- Feel free to substitute kale or spinach for the greens. And any berry works well in this recipe.
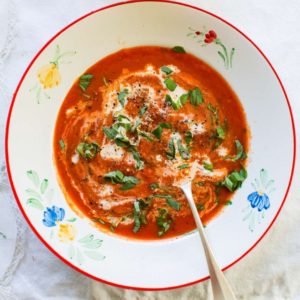
Roasted Vegetable Soup with Tomato and Fennel
And who doesn't love tomato soup? This soup tastes even better the second day, so be sure to make a lot (this recipe doubles or even triples with ease) to ensure you have leftovers.
Ingredients
- 1½ lbs. Roma tomatoes, halved
- 2 medium red bell peppers, deseeded and quartered
- 1 large fennel bulb, thinly sliced
- 2 large carrots, cut in half lengthwise
- 2 medium shallots, outer skin removed and halved
- 4 cloves garlic, smashed and peeled
- 2 T. extra virgin olive oil
- Sea salt and black pepper, to taste
- 2 T. fresh thyme leaves
- 4 c. organic chicken bone broth
- ½ c. full-fat coconut milk
- ½ c. fresh basil leaves, thinly sliced
Instructions
- Preheat oven to 400°F
- Line a large, rimmed baking sheet with parchment paper or a baking mat and set aside
- Arrange the tomatoes, red peppers, fennel, carrots, shallots, and garlic in a single layer on the prepared baking sheet
- Drizzle with olive oil and season with salt and black pepper, to taste
- Toss to combine and sprinkle veggies with fresh thyme leaves
- Place baking sheet in preheated oven and roast until vegetables are tender and lightly charred, approximately 20-25 minutes
- Transfer the roasted veggies and any juices from the baking sheet to a large soup pot and add the bone broth
- Cook over medium heat, stirring occasionally, until hot and and bubbly
- Remove from heat
- Using an immersion blender, blend contents of the soup pot until completely smooth
- Stir in the coconut milk and fresh basil, and serve
- Enjoy!
Notes
Safety Tip: If you don’t have a stick or immersion blender, it is possible to use a blenders to process the cooked veggies and liquid. However it is important to be sure your blender lid is vented properly to prevent the hot liquid from exploding when you turn on the blender.


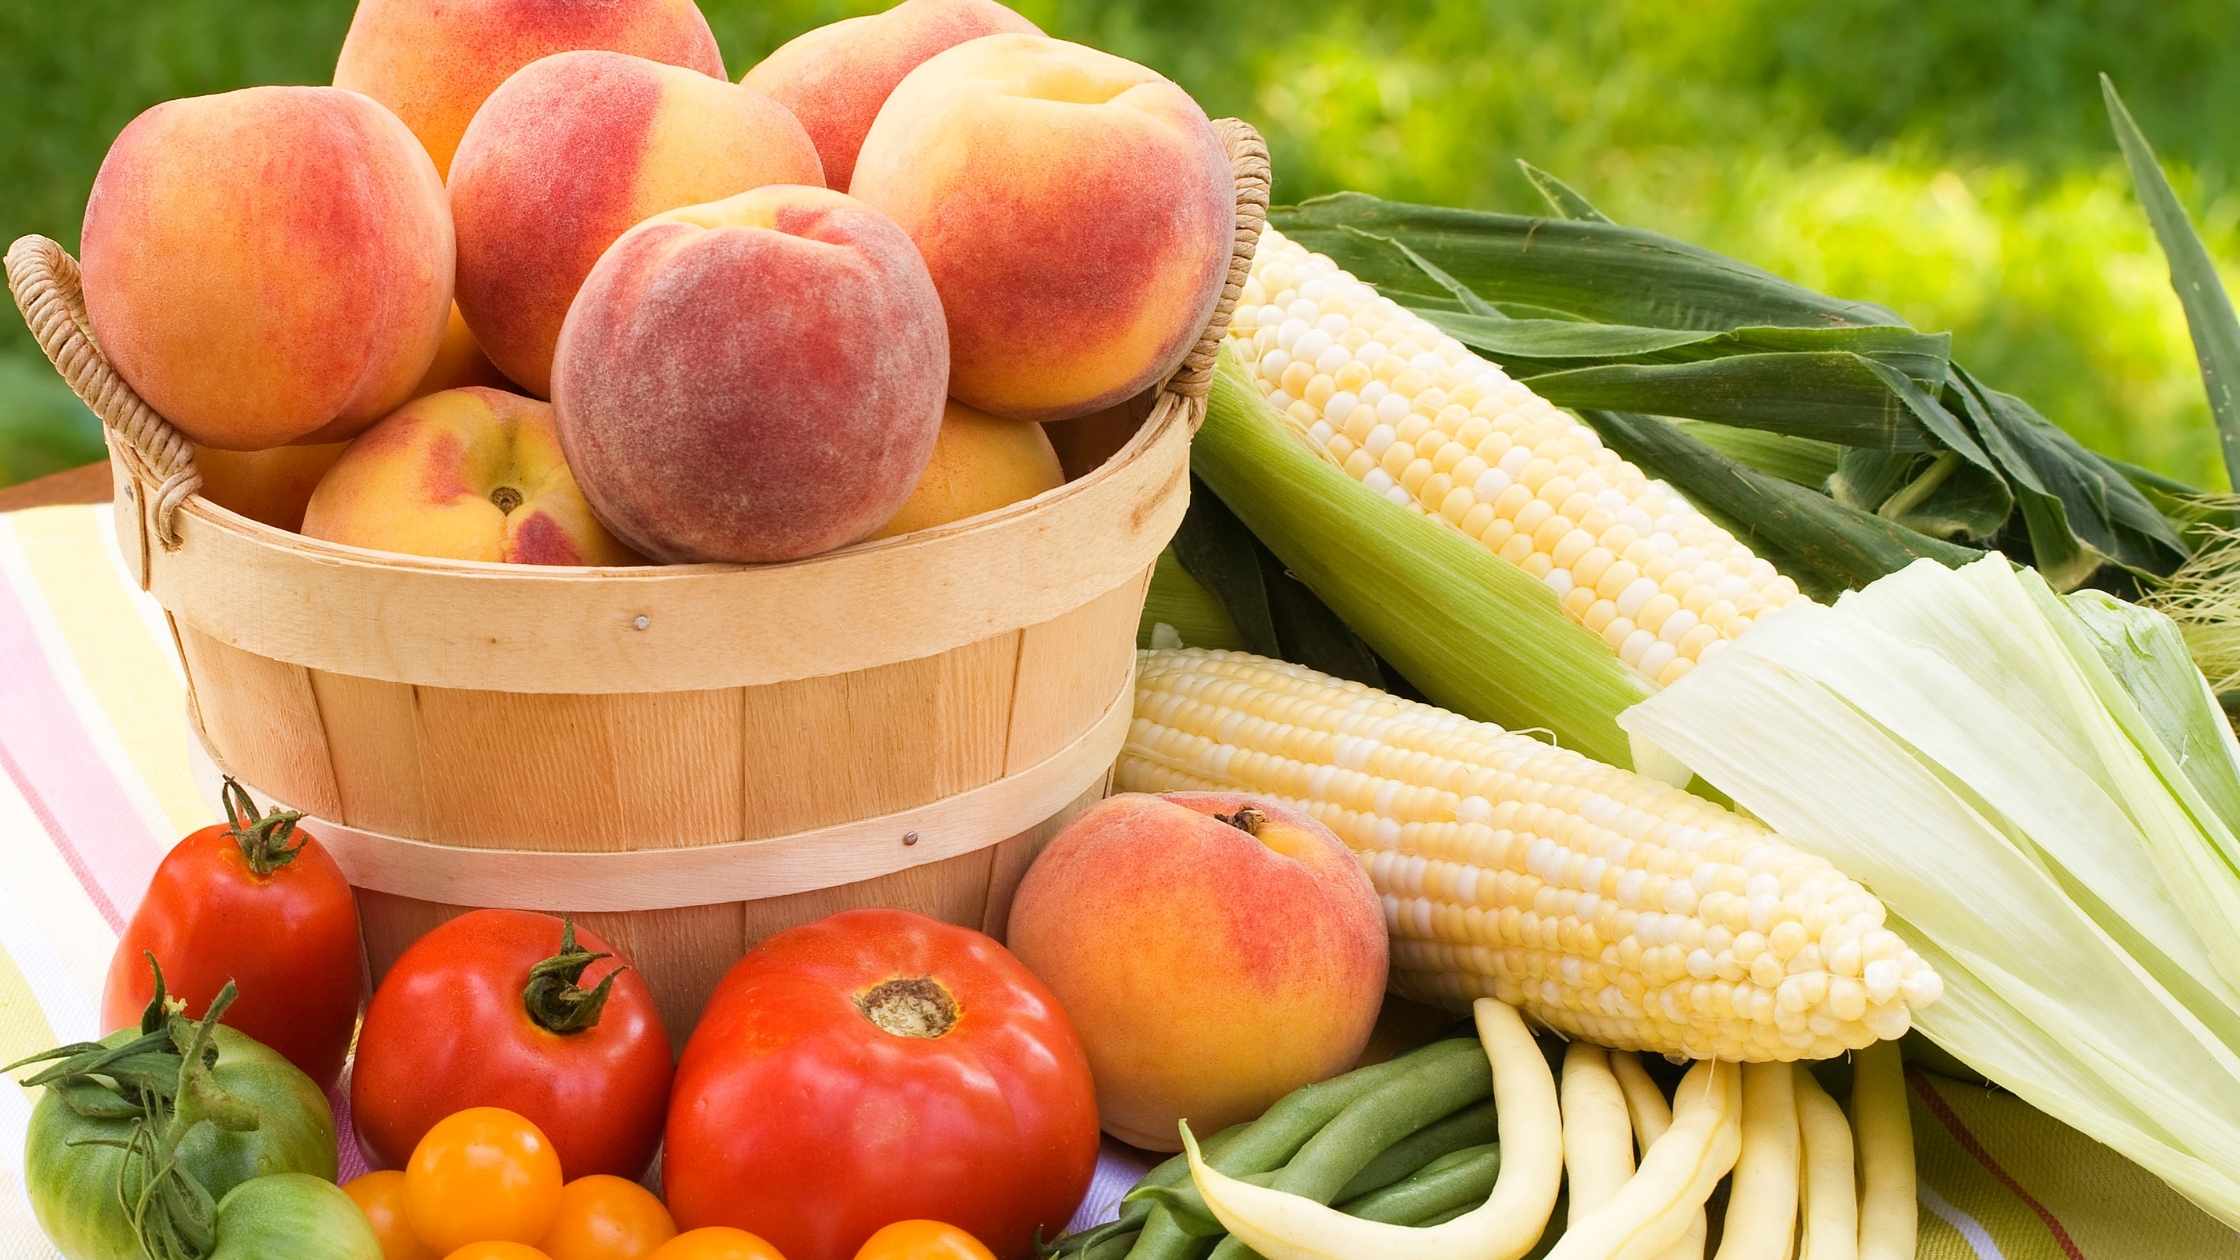


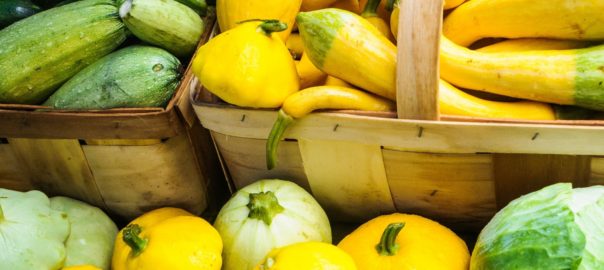
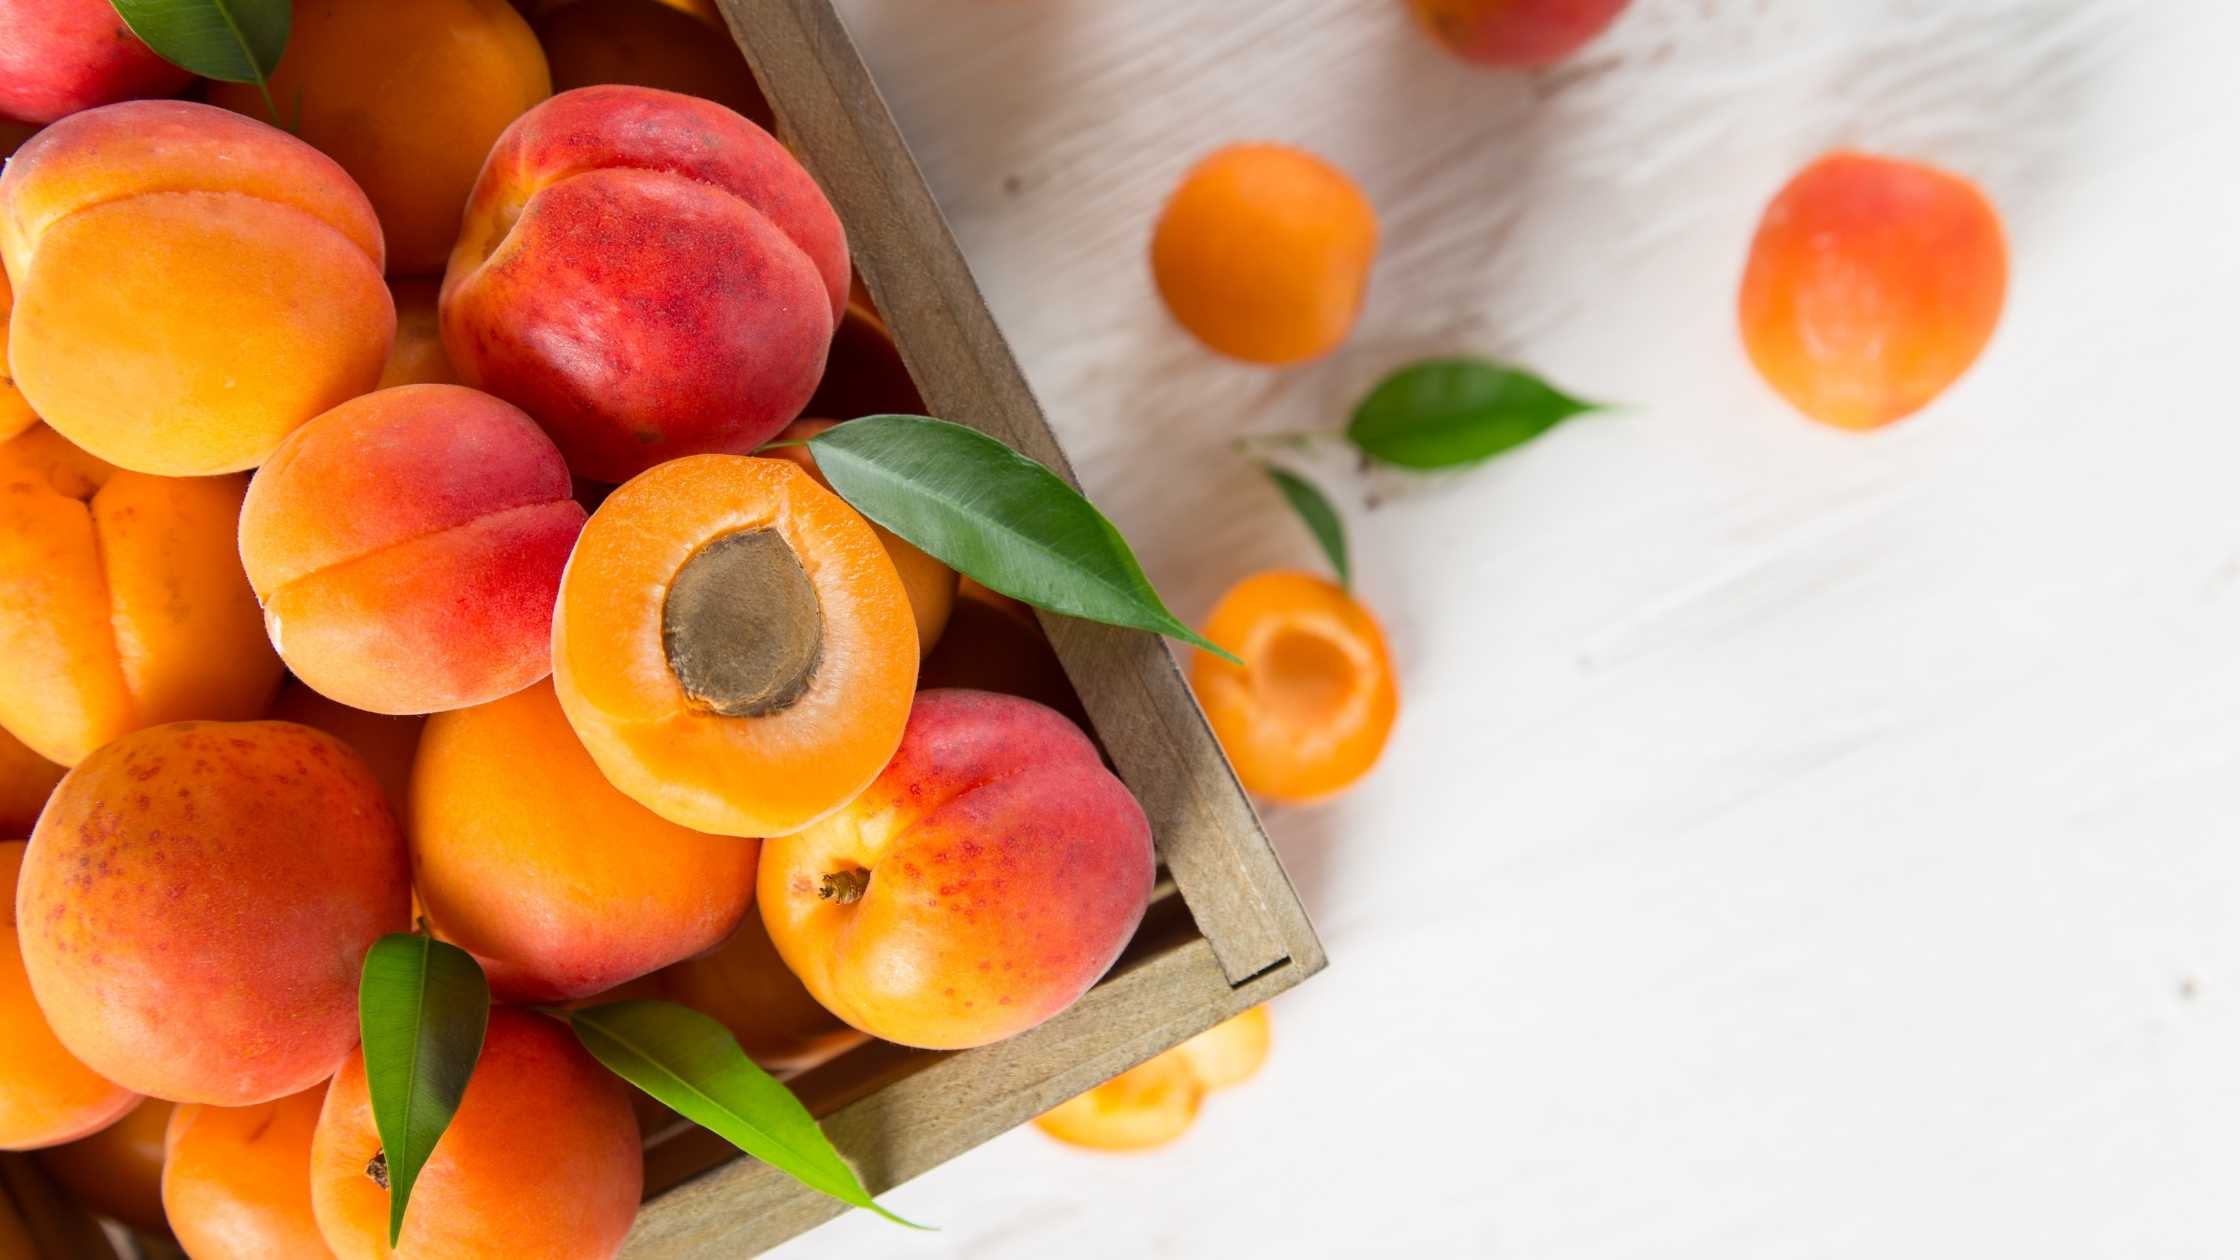


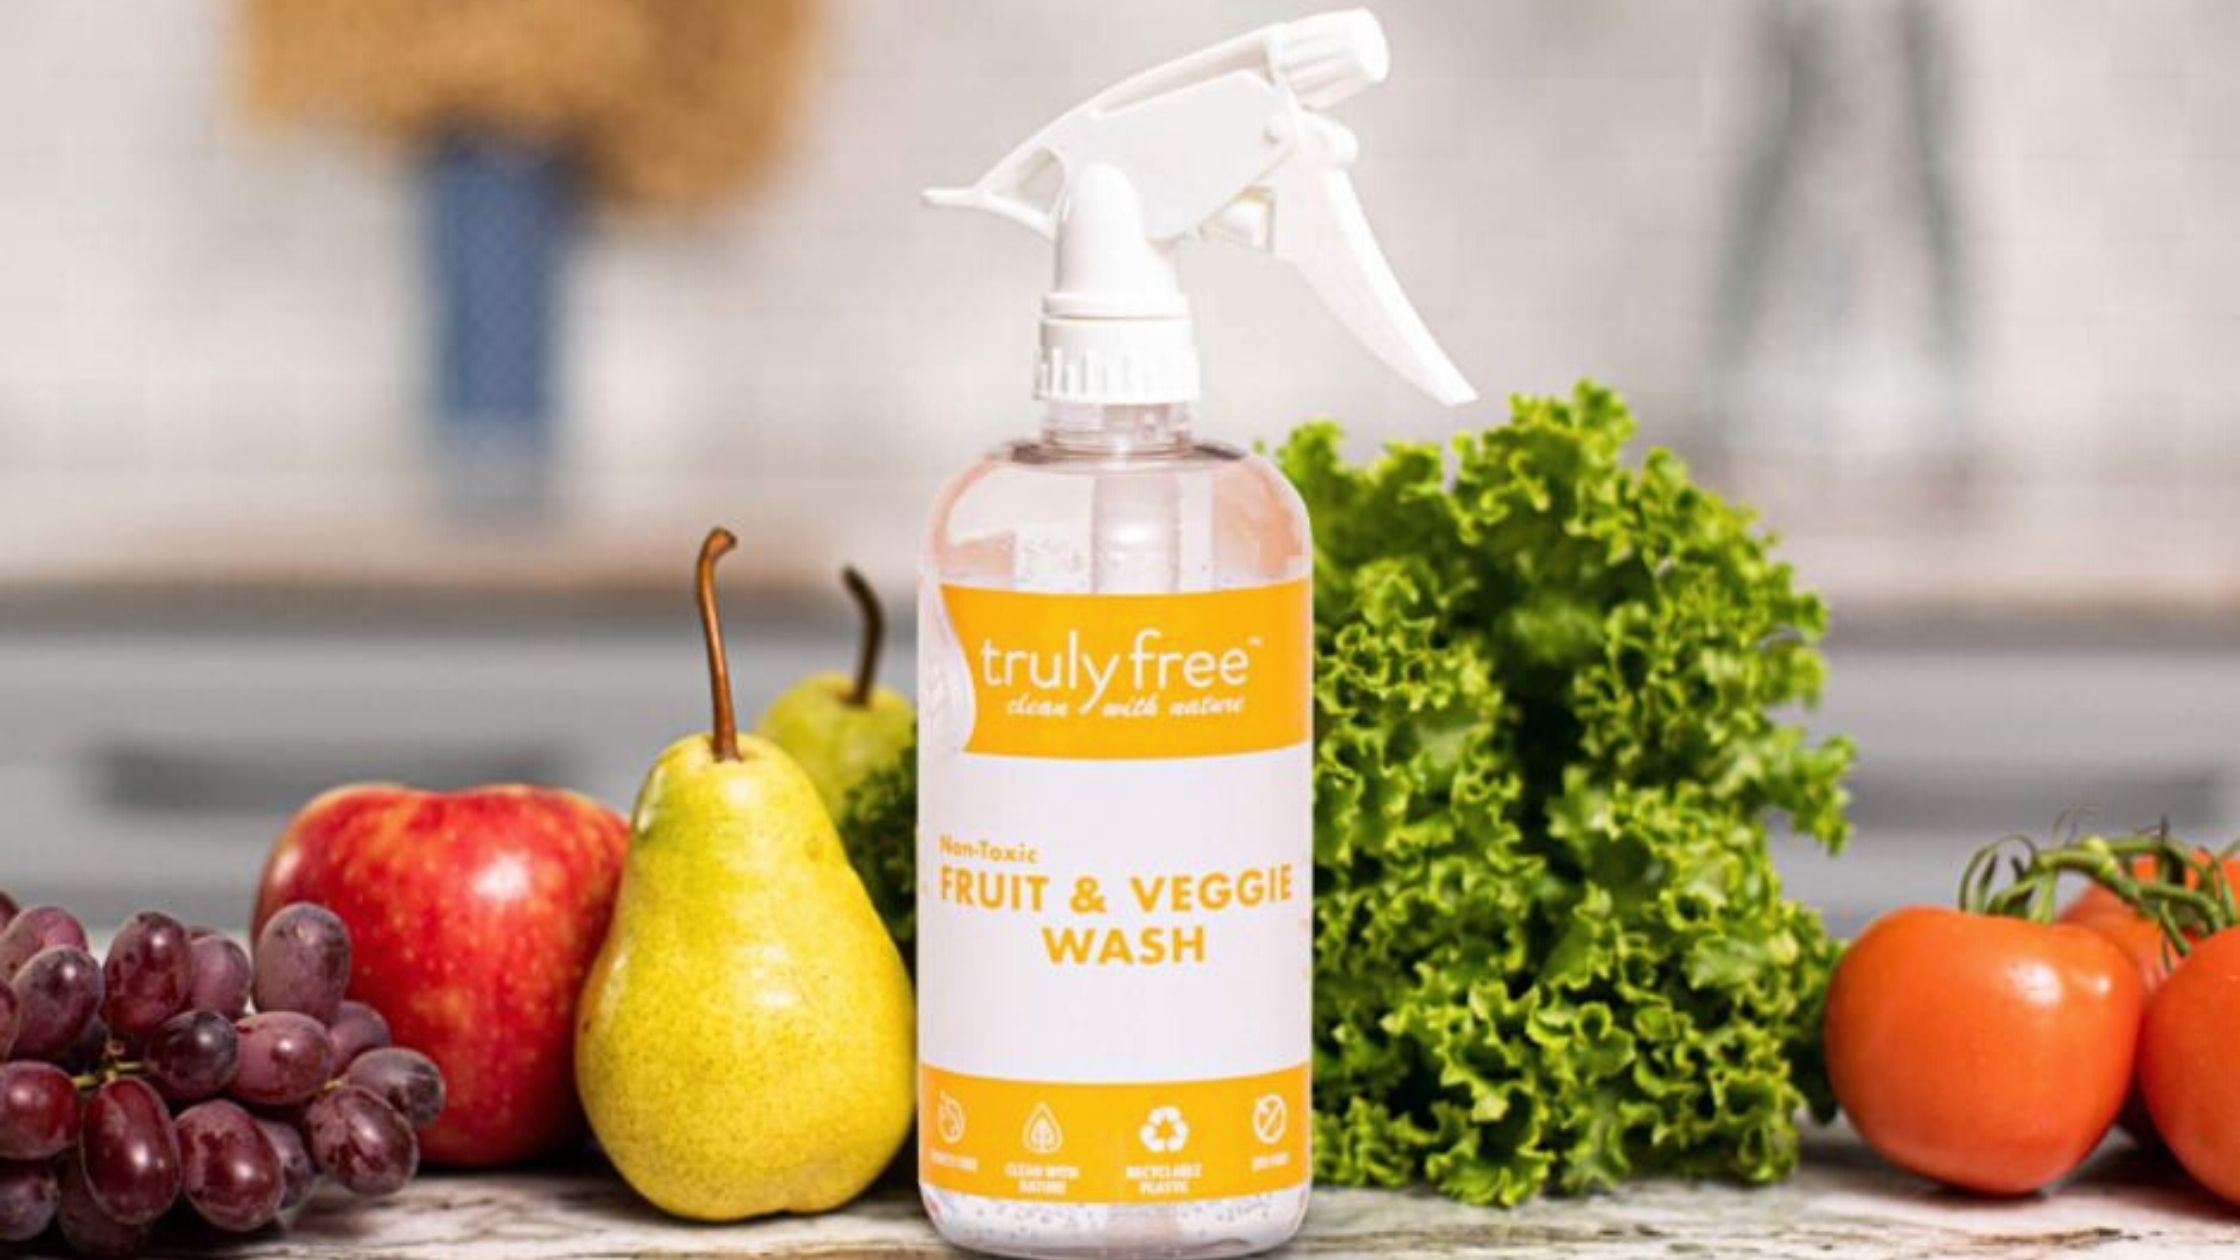 When eating fresh, in-season produce, don’t forget to wash it first.
