Category Archives: baking


Phyllo Pear Galette

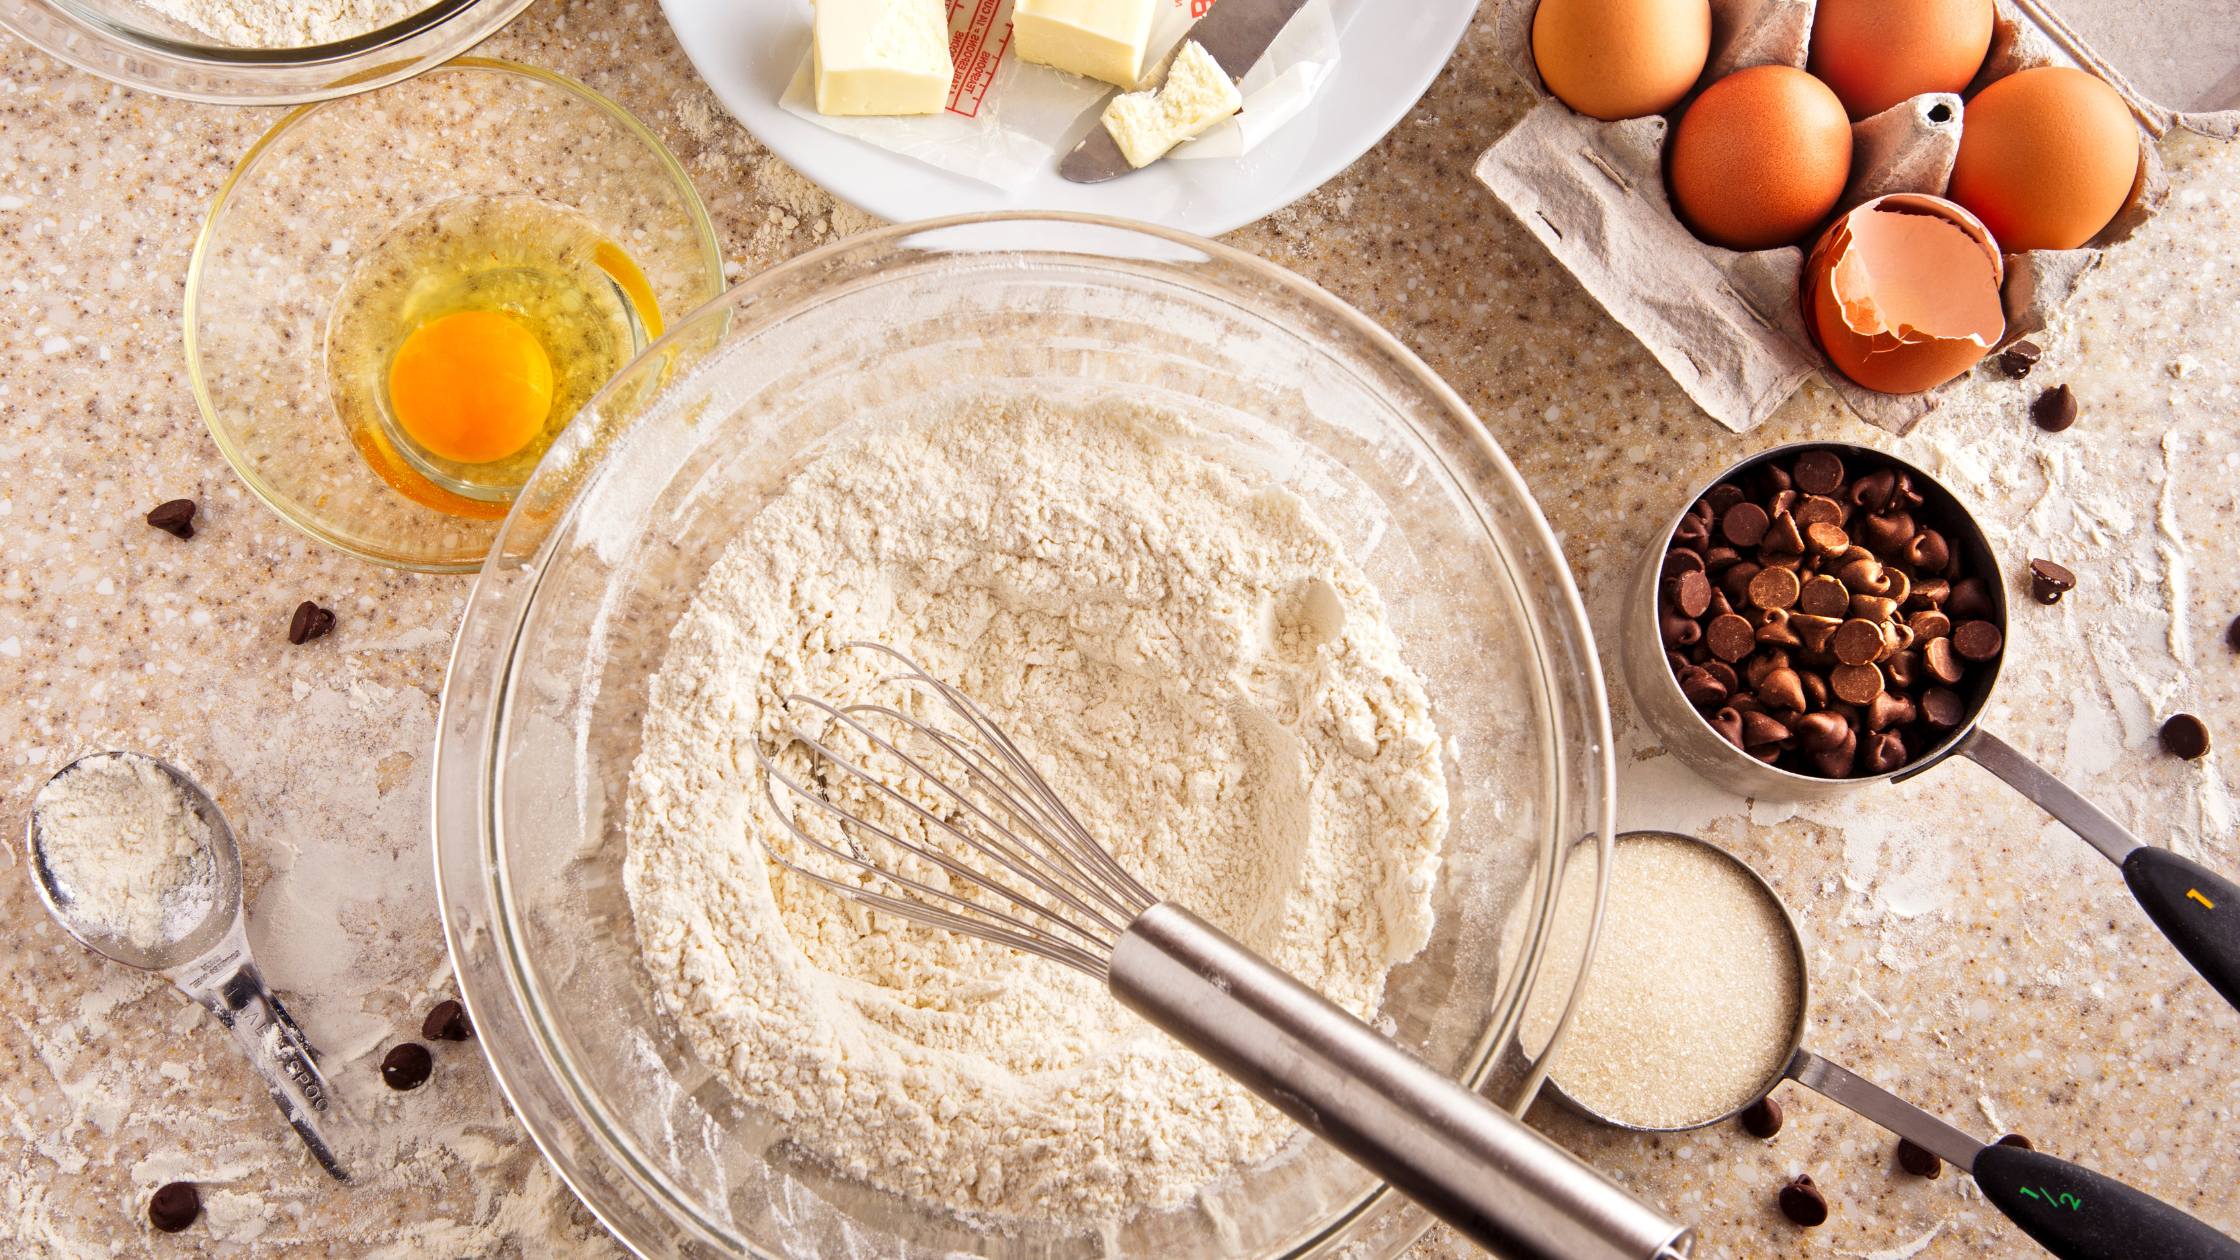
A recent combination of extra phyllo dough and some pears that were just right turned into a marvelous dessert.  First I have a confession to make, I'm not very good at making pie crusts.  Because of that I rarely make two crust pies.  Aside from the obvious increase in calories there's the need to roll out two crusts.

As I was looking at my pears and thinking about a pear tart I realized that phyllo might be an excellent flaky “crust” and I could make a galette style tart instead.  According to the Food Dictionary at Epicurious the definition is: “Hailing from France, a galette is a round, rather flat cake made of flaky-pastry dough, yeast dough or sometimes UNLEAVENED dough. The term also applies to a variety of tarts, both savory and sweet, and there are as many variations as there are French regions. They may be topped with fruit, jam, nuts, meat, cheese, etc.”  My galette turned out even better than I imagined and is something that I will definitely make again.  
Phyllo Pear Galette
8-10 sheets thawed phyllo dough
1/4 C. butter melted
3 medium pears, peeled, cored, and sliced
1/4 C. raisins
1/4 C. sucanat
1 T. lemon juice
2 t. lemon zest
1 t. cinnamon
preheat oven to 350 F
mix pears, raisins, sucanat, lemon juice, zest. and cinnamon together and set aside
working one layer at a time brush the bottom of a pie dish with butter and layer in one sheet of phyllo
brushing butter on each sheet layer them one at a time into the pie dish using damp paper towels to keep the edges moist
arrange pear mixture in the dish
fold the edges of the phyllo over the mixture
brush top edges with butter
bake 30 minutes
Enjoy!

Dough Flying Everywhere

I recently came across a video of Richard Bertinet's slap-and-fold method of working bread dough. You can find the video here.

As with the No Knead Bread phenomenon that swept the foodie sites a couple of years ago, I wanted to modify this to work for me. What that means is I wanted to use fresh ground, whole grain flour. I decided to try this new method with an overnight soaked dough that I like because it has great flavor and usually turns out pretty fluffy. I wanted to know how the slap-and-fold method would affect the consistency of the dough.

My first challenge was how wet the dough was. Halfway through the slapping and folding I realized that perhaps a fluffy dough was not the dough to be doing this with, I probably should have started with a more rustic dough. Also, it might have made sense to try it with all-purpose flour, as the recipe calls for, but I didn't. The flour I used was fresh ground, 1/2 spelt, 1/2 hard red wheat, soaked overnight in buttermilk.

After I mixed in the rest of the ingredients I followed the instructions and began to slap the dough against the counter. I dutifully resisted the urge to add more flour. The dough was very wet and it was tempting to add flour at least to clean off my hands. It took a while to learn to control the dough. I must be the world's messiest dough slapper because there was dough everywhere. Little bits would fly off and stick to the back wall, to the underside of the cabinets, as well as all around me onto the floor. it also seemed to take a rather long time for the dough to become cohesive. But I persisted. I know that I worked the dough far longer than the video suggested was necessary but I did eventually get a nice smooth ball of dough which I returned to the bowl and covered to let rise.

The dough took longer than expected to rise, about 2 hours. Punched down, formed into two boules and set to rise again. This rise seemed normal. I baked it in the oven and it seemed to turn out well. As the picture shows it made two really lovely boules, nice and fragrant, soft crust, dense crumb with a rich flavor. The bread turned out really well and was worth the effort.

I'm not convinced that I'm going to start slapping dough on a regular basis but I am going to try this again. I plan to back up and start with Mr. Bertinet's sweet dough recipe and then try again to modify it to whole grains. It was fun to experiment with the dough and see the results; it's also fun to think about what will happen with other changes and then try those ideas out.

I believe we need to do more than simply eat our food, we need to enjoy it. So I encourage you to play with your food, savor it with all of your senses; that includes thinking about how it's made.

Be well.

Pizza Pizzazz

My friend Karen just asked me for a pizza dough recipe. This recipe is one of my favorites in part because it is very versatile and works up so quick. The original recipe was published in The Tightwad Gazette by Amy Dacyczyn as Cuban Bread; I modified it to use for pizza, calzones, parmesan sticks, anything that requires a pizza-type dough. The “big” difference, as far as I can tell, between pizza dough and bread dough is the addition of oil. This helps create a chewy, denser crust and adds some of that delicious flavor. The addition of ground ginger may seem a little strange but it's a tip I learned from my Uncle Joe. He claimed that the ginger “aggravated” the yeast and helped it to rise the dough. Research shows that he was right and the tiny bit of ginger does not seem to have a measurable flavor effect. Give it a try.

Pizza Dough

5 C. whole wheat flour
1 T. yeast
2 C. hot water
1 T. salt
1 T. sugar
1/2 t. ground ginger
2 T. olive oil

mix together 3 C. wheat flour, yeast, salt, sugar and ginger
make a well in the center of the flour mixture
add water and oil
stir together
add in remaining flour until a smooth dough has been formed
grease the dough (I grease the dough instead of the bowl to ensure complete coverage)
cover with a towel and let sit one hour or until doubled in bulk
turn out onto a floured surface
punch down the dough
knead 4-5 times and start making pizza

And if you're making a lot of pizza I have quadrupled this recipe before and it still works fine.

Enjoy!

edited: It was pointed out that I forgot the pizza baking directions so here's the second half of the recipe.

preheat the oven to 400 degrees F
(note: I like to use unglazed floor tiles in my oven as a pizza stone, they give great coverage and hold the heat very well)
have cornmeal ready to sprinkle on the pizza peel to help prevent the pizza from sticking
if you don't have a peel you can put the cornmeal directly on the tiles, just be careful transferring the pizza into and out of the oven

Cut the dough in half and roll out into your pizza base
mix together 1/4 C. olive oil and 1 clove crushed garlic
brush some olive oil mixture onto the top of the pizza base
par bake the crust for 5-7 minutes until base starts to bubble
take out of the oven, crush the bubbles
top with your favorite sauce, toppings and cheese
return to the oven and bake another 10-12 minutes until done

picture courtesy of freedigitalphotos.net

Maple Syrup: How Is It Made, Grades, & Oat Pie Recipe

Recently at the grocery store, I overheard a conversation.  The couple standing in the middle of the aisle were looking for Grade B maple syrup and couldn't find it.  They also were wondering what the heck the difference was between Grade A and Grade B.

Having lived in Vermont before and having spent some time in a sugar shack (just tasting mind you, not cooking) I thought I would share a little information about maple syrup.

About Maple Syrup

Maple syrup is made from the sap of the sugar maple tree.  In the spring when the weather warms up the sap starts "running".  At this point, the trees are tapped and the sugar shacks start boiling to create the syrup.  We don't often think about it when buying those small containers of maple syrup at the grocery store, but it takes 40 gallons of sap to make one gallon of syrup. And the average maple tree produces approximately 10 gallons of sap.  Once they start boiling in the sugar shack they don't stop until the sap stops. That includes shifts to cover 24 hours a day until there's no more to boil.  As you can imagine, this can make for some very long days.

Grades of Maple Syrup

There are five grades of maple syrup, Grade A Light Amber is the fancy grade and the one most people use.  Grade A Medium Amber and Grade A Dark Amber are darker, obviously and they have a slightly different taste.  Grade B is even darker and thicker than Grade A Dark Amber and has a more pronounced flavor.  It is more often used for cooking because of the more intense flavor.  The last grade is Grade C, or commercial, which is for flavorings and other commercial uses.
 
When we lived in Vermont and my kids were little they used to love seeing the smoke curling out of the sugar shack down the road. That meant that there was an opportunity to stop by for a sip. And if they had the time we could also sometimes make sugar on snow, taking just a little of the fresh syrup and pouring it over a pan of snow to make a maple candy. 
 
If there was some already bottled we would buy a gallon and bring it home. Until I left Vermont I didn't really appreciate how lovely it was to buy syrup directly from the source and use it for baking and other recipes. The premium that you pay for bottle syrup is so high we are now back to purchasing small bottles and doling it out.
 
According to Ed, the guy who owned the sugar shack down the way, Vermont maple syrup is better than any other because they use more gallons of sap per gallon of finished product, boiling it thicker and making it more flavorful.  

Sweetening with Syrup

I never learned to drink coffee with maple syrup (which a number of people in Vermont do). I did, however, get a recipe from my friend Carol for a Maple Oat Pie which is a Vermont specialty.  I've modified the recipe slightly over the years but still call it Carol's Maple Oat Pie and think of her every time I make it (warning, this is not a low-calorie food but it sure is good).


Maple Oat Pie

Ingredients
  

  • 1 cup organic cane juice crystals
  • 1 cup organic butter
  • 3 eggs
  • 1 cup grade A maple syrup
  • 1 cup gluten free old fashioned oats
  • 2 teaspoons vanilla
  • pinch of sea salt
  • 1 cup crushed walnuts

Instructions
 

  • Preheat over to 325°F
  • Cream together sugar and butter
  • Add eggs one at a time
  • Add remaining ingredients
  • Pour mixture into unbaked 9" gluten free pie crust
  • Bake for 10 minutes
  • Reduce heat to 300°F and bake another 45 minutes or until set

Pie

Christmas is, as most of us over four feet high know, not just about the presents.  It's about a lot of different things; for many of us that includes family.  And food.  Lots of food.  And where there's food there is dessert.


We were fortunate to have a large family gathering.  My brother and his wife came to Texas where her father lives.  We drove out for the day, spending it with them plus an assortment of her family, cousins, kids and all; it was wonderful.

I didn't want to go empty handed and decided to make a pie.  Looking around my kitchen I decided that banana coconut custard pie was the order of the day.  Since I made this pie at 10:00 pm the night before I confess that I did use a pre-made pie crust.  Well, that and the fact that I am not very good at making pie crusts…I need to work on that.

The pie was delicious and so easy to make.  It turns out that Poppy's (my sister-in-law's father) favorite pie is anything-to-do-with-coconut.  He tried to hide the pie in the refrigerator to keep for later.  I guess I'll be making this again for the next time I see him.

Banana Coconut Custard Pie

8″ pie crust, baked
3/4 C. evaporated cane juice crystals
1/3 C. oat flour
1/4 t. salt
2 ripe bananas
1 can coconut milk (I prefer Thai Kitchen brand as they have no preservatives, bleaching or added sugars)
3 egg yolks, beaten
2 T. butter
1 1/2 t. vanilla
1 C. shredded coconut

To make the custard:

mix together sugar, flour and salt in a pan
turn burner to medium heat
shake coconut milk to mix and slowly pour in to dry ingredients
mix well to avoid lumps
stir continuously until mixture start to bubble
remove from burner
slowly add 2-3 T. of hot mixture into egg yolks to combine
(this prevents curdling)
add egg yolks to milk mixture stirring well
put back on heat, bring back to a bubble
remove from heat
add butter and vanilla
put back on heat and cook 2 more minutes
remove from heat and let cool

Once the custard has cooled assemble the pie
slice bananas thinly and arrange on bottom of pie crust
sprinkle with 1/2 C. shredded coconut
pour custard over the top of the bananas and coconut
sprinkle remaining 12/ C. shredded coconut on top of pie

Bake 350 degrees F for 15 minutes
chill for one hour before serving

I hope that your holiday celebration was everything that you wanted it to be and that you too were surrounded by family, friends and good food.

Be well.

Baking Subtitutions

 
I love to bake; I've been baking for decades and have made a wide assortment of baked goods for family, friends, fundraisers, and more.  As a baker, one thing you quickly learn is the need to be able to make substitutions if you don't have what you need on hand. This is a list of my favorite baking swaps. I encourage you to print this out and either keep it in a binder or tape it to the inside of your baking cupboard so you always have it handy.
 
Note: The chart below assumes ingredients are organic, whole fat, or best quality as needed.
Ingredient Substitutions
Ingredient Amount Substitution
Arrowroot Powder 1 Tbsp 1 Tbsp flour or cornstarch
Baking Powder 1 tsp 1/2 tsp cream of tartar + 1/4 tsp baking soda
Baking Soda 1/2 tsp 2 tsp baking powder
Brown Sugar 1 cup Light - 1 cup sugar + 1 Tbsp molasses
Dark - 1 cup sugar + 2 Tbsp molasses
Butter 1/2 cup 1/4 cup applesauce or Greek yogurt
1/3 cup + 2 tsp pumpkin puree
Buttermilk 1 cup 1 cup milk + 1 Tbsp vinegar (let sit 5 minutes)
Cream Cheese 8 oz 8 oz ricotta
Cream of Tartar 1/4 tsp 1/2 tsp lemon juice
Egg 1 1 Tbsp ground flaxseed + 3 Tbsp hot water
2 Tbsp arrowroot + 3 Tbsp hot water
3 Tbsp aquafaba
1/4 cup applesauce or mashed banana or yogurt
Half and Half 1 cup 1 Tbsp melted butter + 1 cup milk
Honey 1 Tbsp 1 Tbsp maple syrup or molasses or golden syrup
or silan (date syrup)
Lemon Juice 1 tsp 1/2 tsp apple cider vinegar
Mayonnaise 1 cup 1 cup sour cream or plain Greek yogurt
Milk 1 cup 1 cup alternative milk
3/4 cup heavy cream + 1/4 cup water
Olive Oil 1 cup 1 cup avocado oil or coconut oil or melted butter
 
If you find yourself regularly making substitutions to recipes you use often I encourage you to write directly in the cookbook or on the recipe card so you always have the needed substitutions available.
 
Don't forget to also grab a copy of my free Kitchen Conversions handout!