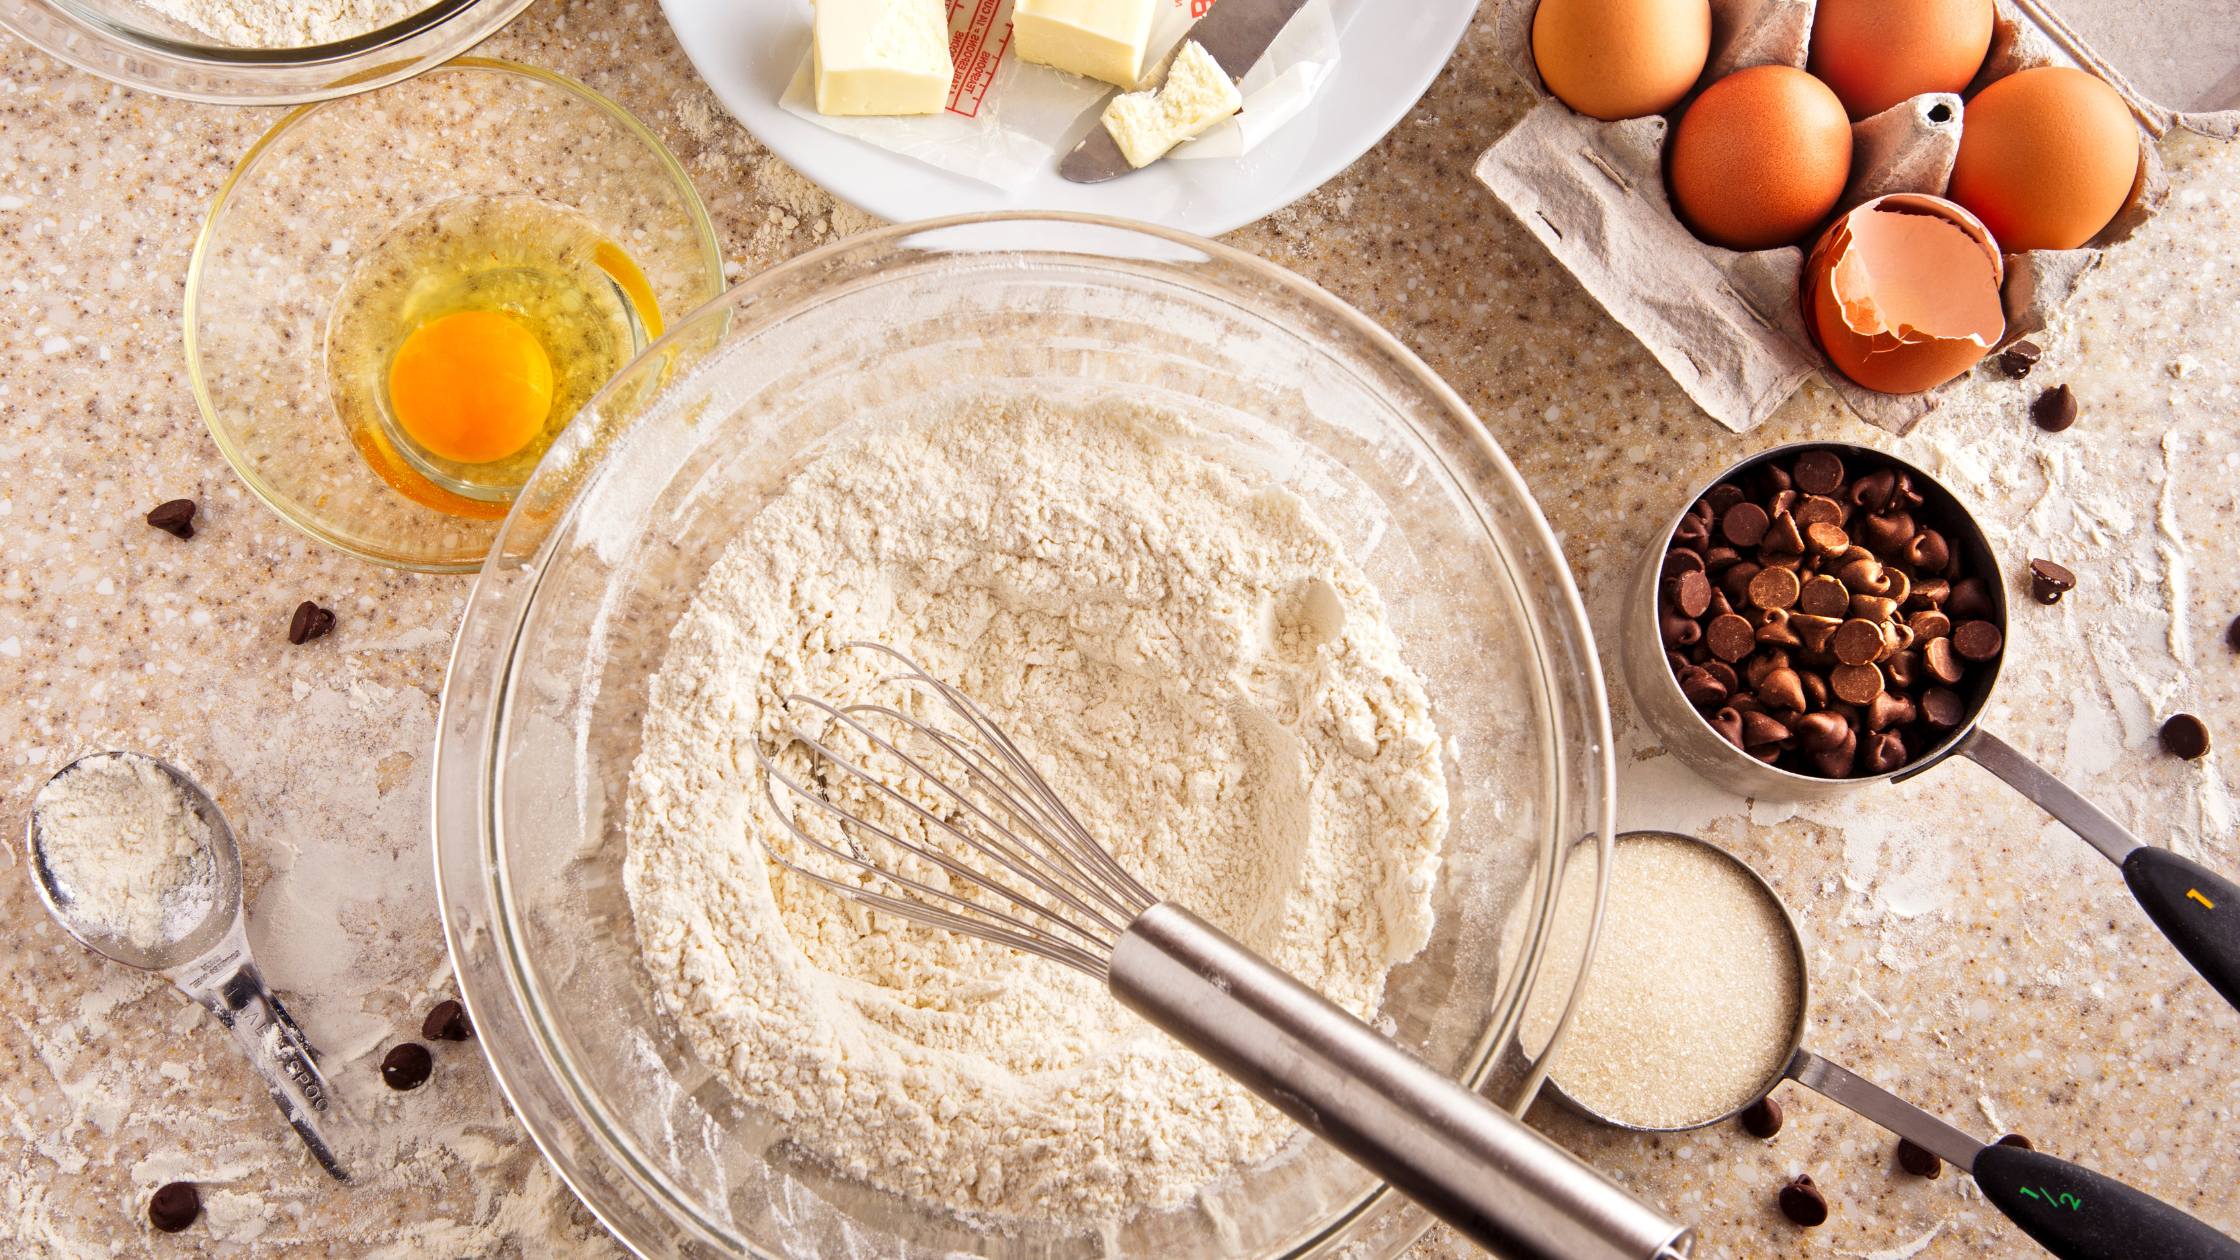
For many people learning to cook is a fun activity; often it's something you learn when you're growing up. In the beginning you learn by simply following the recipes. That's why baking is sometimes equated to science, it has to do with the exactness of the recipes. That science-type focus can make it difficult to understand what to do when it comes to changing a recipe though.
Why do you need to know how to change your recipes? Maybe you've run out of certain ingredients, or, need to make dietary changes to your recipe. Making these substitutions is not always easy and actually can be somewhat challenging. You need to understand the differences between ingredients, which can be subtle and often requires trial and error.
Below are some guidelines to help you get started when it comes to switching up your ingredients.
Baking soda or baking powder?
Before we get into the substitutions I feel it's important to clarify the difference between baking soda and baking powder. A lot of people think they're interchangeable. They can be but you need to be aware of how they each function in order to know if the substitution will work. Some recipes may call for both while other recipes may call for just one of them.
Baking soda, also known as sodium bicarbonate, requires acidity plus heat in order to create the rising action. However, this means that when you're using baking soda you need to be able to pop the recipe into the oven as soon as possible after mixing to take maximum advantage of the rising ability.
Baking powder, on the other hand, is essentially baking soda pre-mixed with an acidifying agent such as cream of tartar plus a drying agent, or starch, of some kind. Single-acting baking powder becomes active immediately after it is mixed with liquid. So the batter does need to be put into the oven as soon as possible.
Double-acting baking powder has a split reaction, partly when the liquid is added, and then a second reaction when the batter is exposed to heat in the oven. Because of this, recipes using double-acting baking powder can be held aside for a short while before you bake them.
Baking powder can be a good substitute for baking soda. If you only have baking soda and need baking powder you'll need to add 2 parts cream of tartar to 1 part baking soda; as an example, 1 teaspoon cream of tartar plus ½ teaspoon baking soda creates the correct ratio.
Substitutions
I've made some great doorstops/hockey pucks in my time by switching everything in a recipe and not understanding where or how I needed to make further changes. Keeping notes along the way is important. It can help you understand the evolution of your recipe and help prevent those inedible disasters.
I will share from personal experience that if you try to change everything at once you may find that you get an unpleasant result, so be careful when swapping. I usually change the flour first, then the fat, then the sugar.
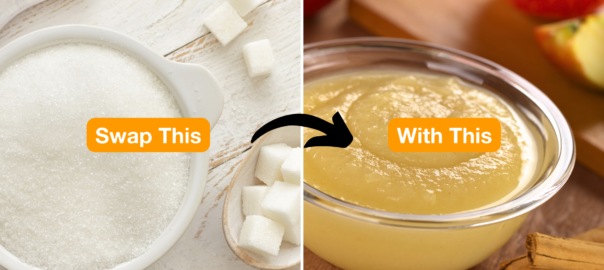
Sugars
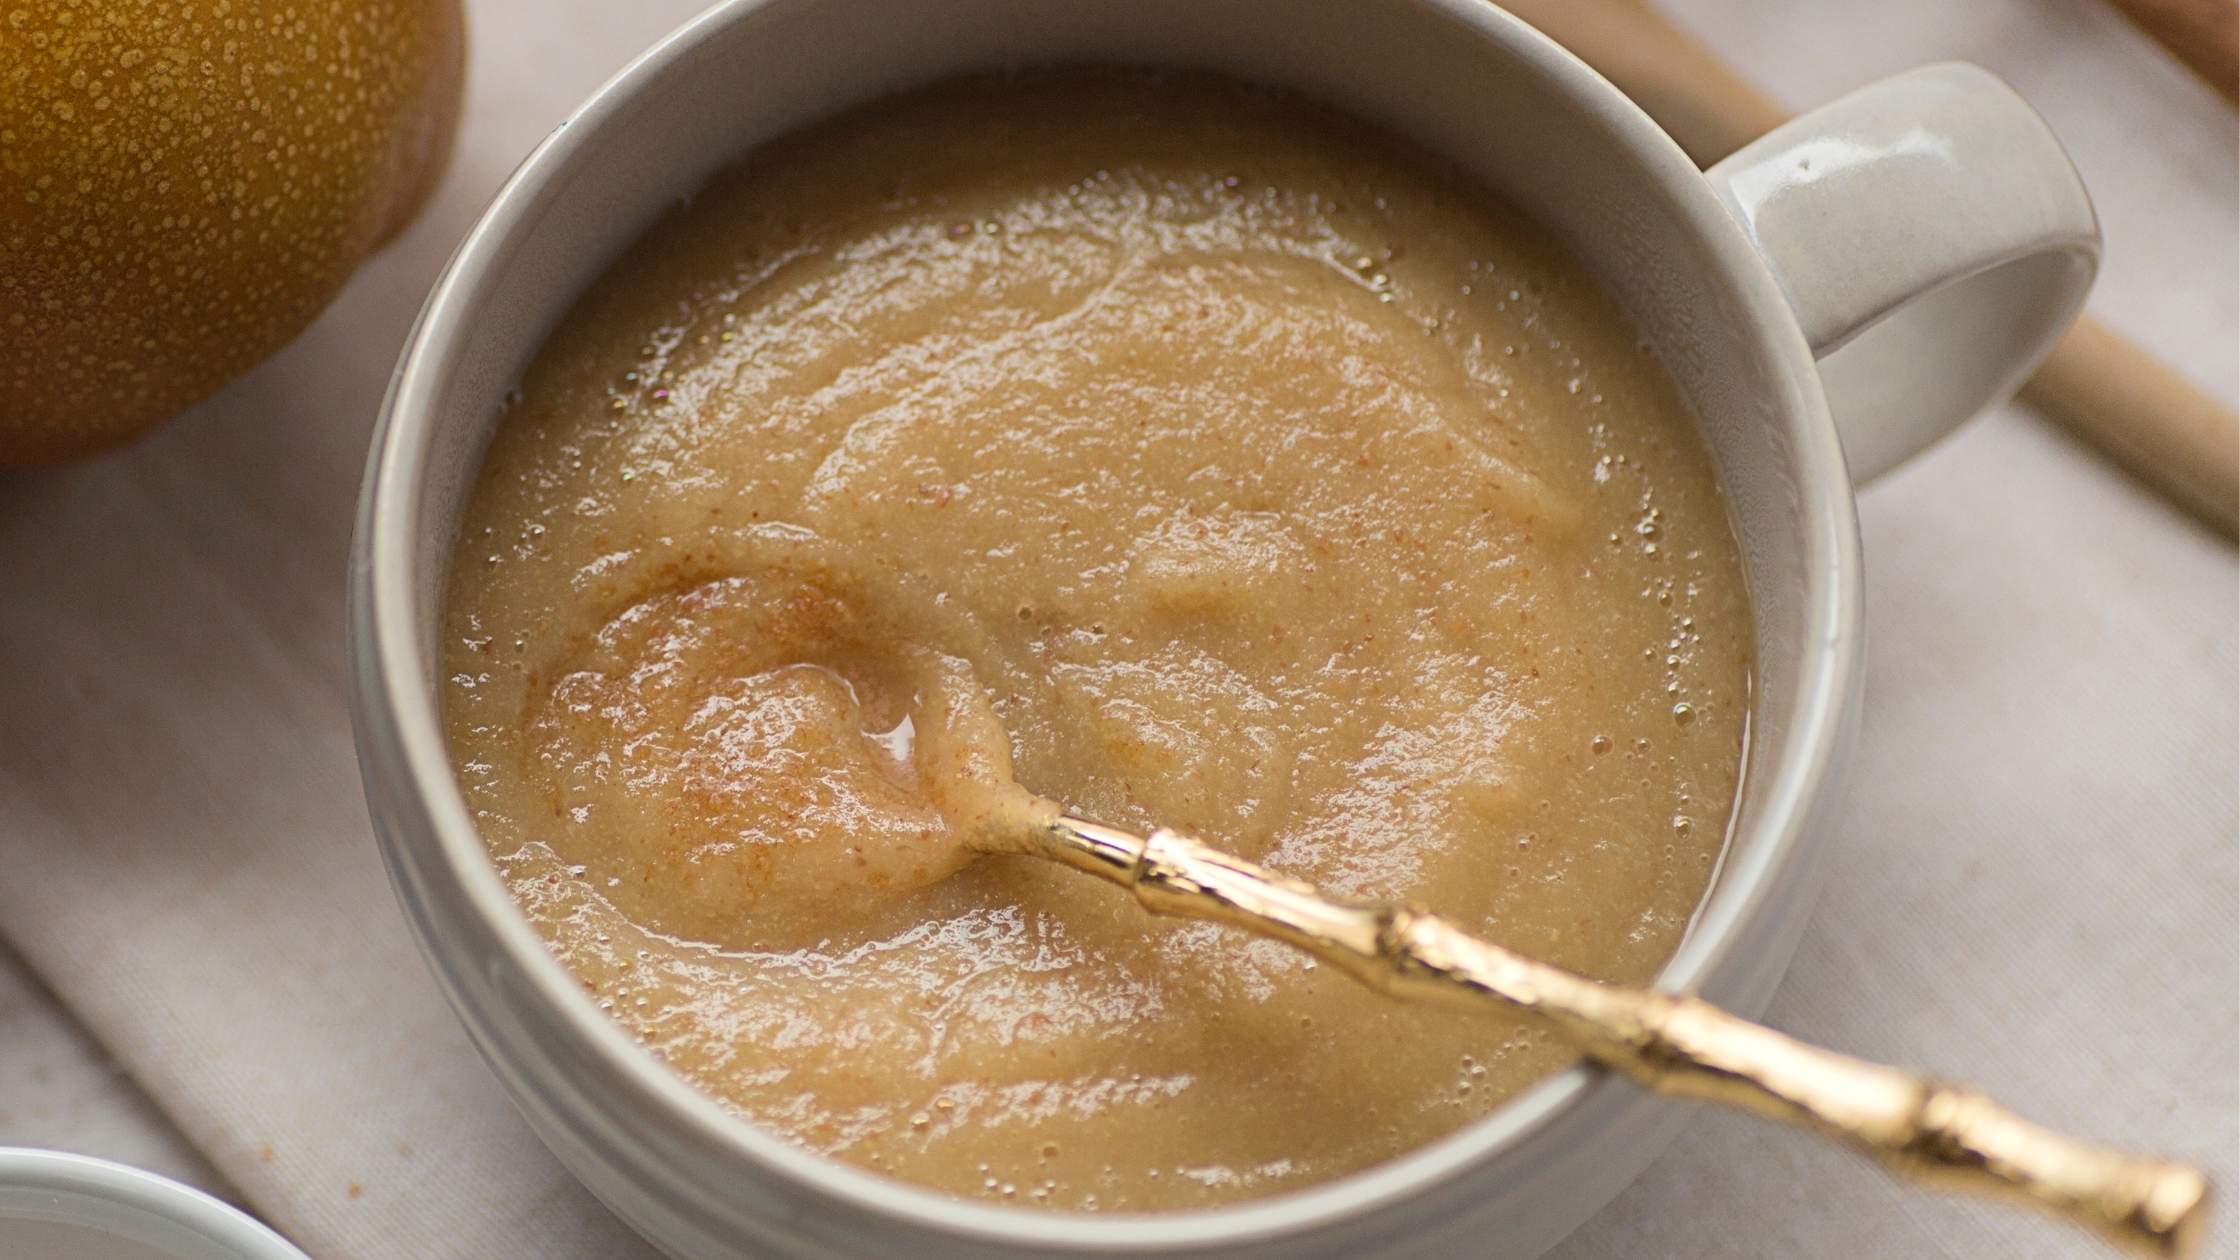
1 cup of sugar → substitute 1 cup of applesauce
You'll need to reduce the liquid in the recipe by ¼ cup – good for cookies, muffins, and quickbreads
2 Tablespoons sugar → ½ teaspoon vanilla extract
Good for any baked goods, up to 4 tablespoons of sugar
1 cup sugar → 2 Tablespoons stevia powder or 1 teaspoon liquid stevia
The recipe may need further modification to make up for the loss of the volume of sugar
Flour/Starch
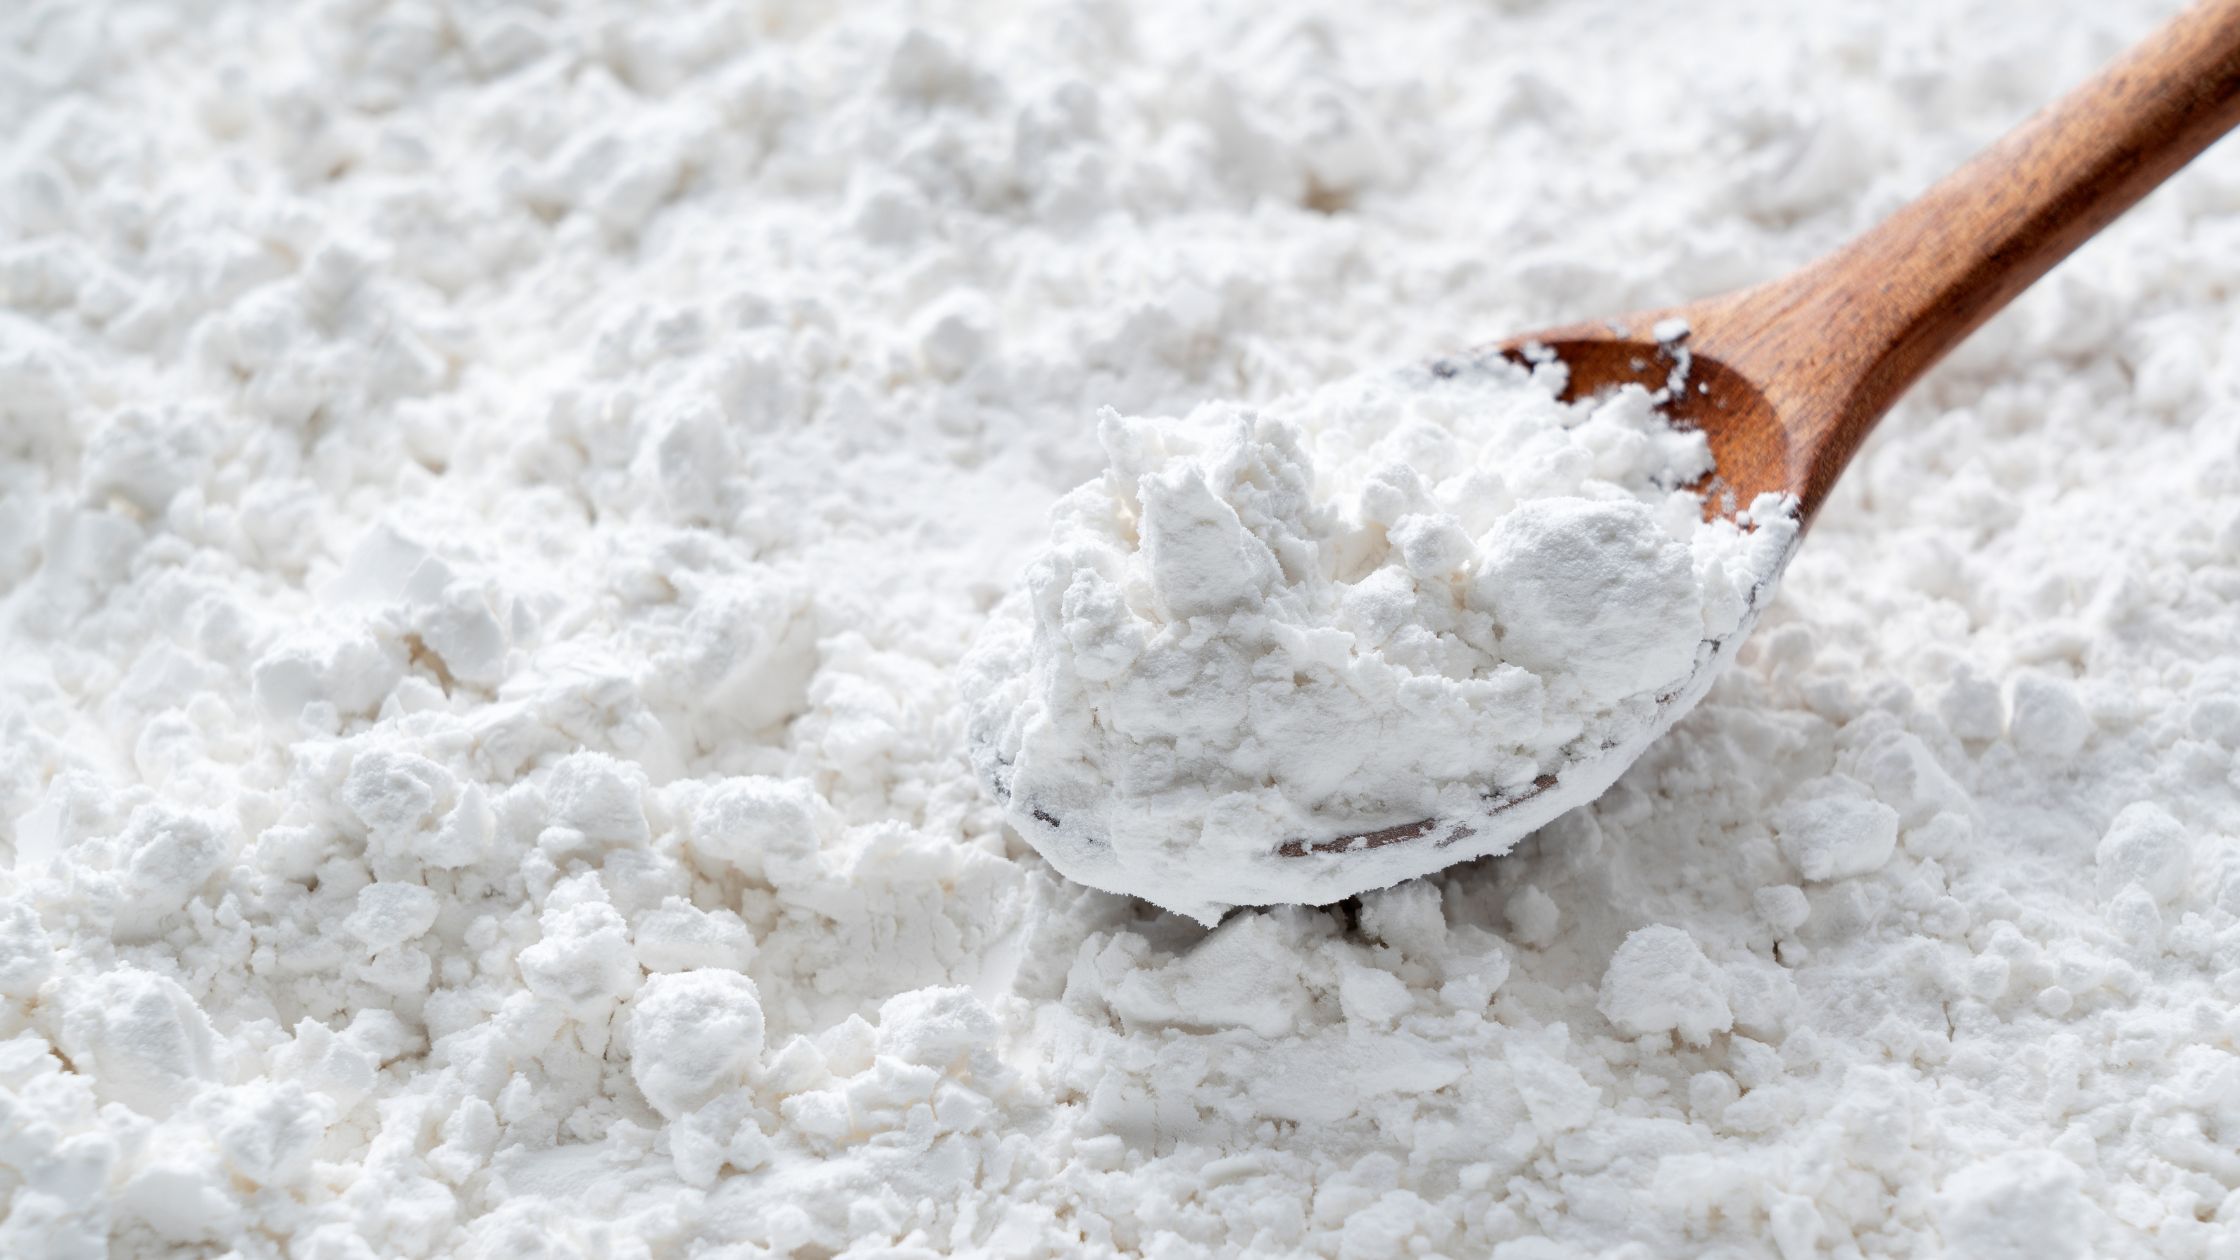
7/8 cup white flour → 1 cup whole wheat flour
You may need to let the batter sit for a few minutes to allow the extra fiber to absorb some of the liquid in the recipe
1 cup white flour → 1 cup mashed black beans
Wonderful in brownies
1 cup white flour → 1 cup nut flour + ½ teaspoon baking soda or baking powder
1 cup white flour → 1/3 cup coconut flour + 1 egg + a splash of water
Good for pancakes, cookies, and cake
1 cup white flour → 1 cup gluten-free flour blend
Depending on the recipe you may need to add tapioca starch or xanthan gum to make up for the loss of gluten
Fat and Dairy
1/2 cup oil or butter → ½ cup applesauce
Good for muffins or quick breads
1 cup butter → ¾ cup prunes + ¼ cup boiling water blended together
Good for brownies and other chocolate-flavored baked goods
1 Tablespoon butter → 3 Tablespoons ground flax seeds + 1 Tablespoons water
Let the mixture sit for 8-10 minutes to thicken before adding to the batter
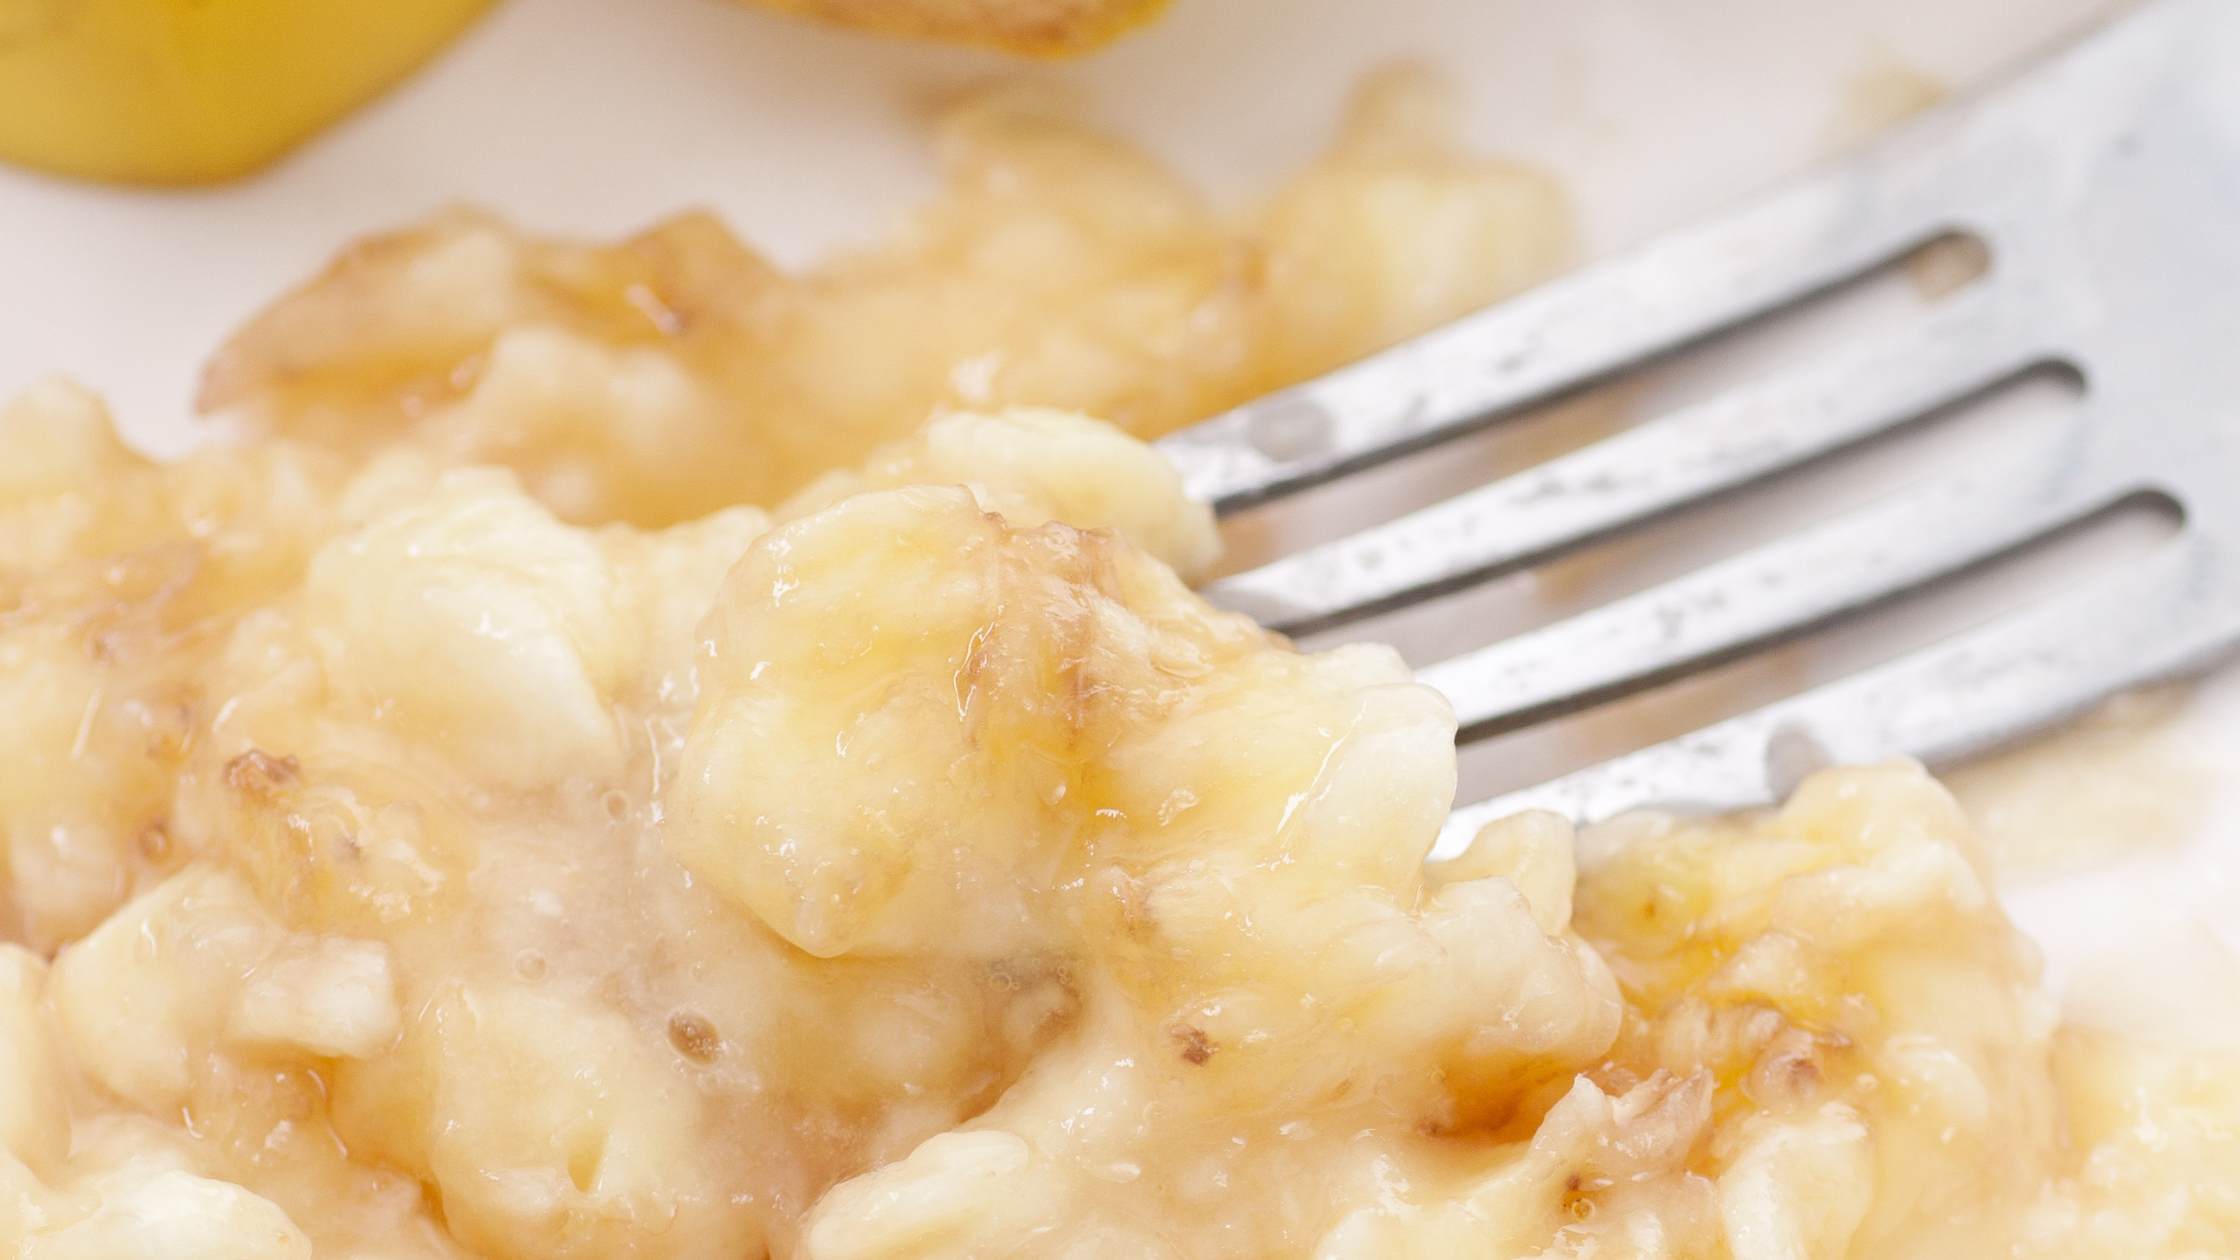
1 cup oil or butter → 1 cup mashed banana
Good in brownies, muffins, or cookies
1 cup buttermilk or kefir → 1 cup whole milk + 1 Tablespoon fresh lemon juice
Let the mixture sit for at least 5 minutes to sour
1 cup milk → ½ cup evaporated milk + ½ cup water blended together
If you need a slightly thicker consistency you can use a little more evaporated milk and a little less water
Eggs
The video below is a great resource for how to make substitutions for eggs.