Category Archives: pantry


Cherry Jam

Cherries were very reasonably priced at the grocery store leading me to buy an extra five pounds to make cherry jam.  I like making my own jam because then I know exactly what's in it.  And I manage to avoid all of the nasty ingredients that I do not want in my pantry, HFCS, artificial flavors, artificial colors, etc.  that I complained about in a recent post on grape jelly.

Jam is very easy to make.  I've taught a lot of people how to make it and invariably the response is, “That's it?”  Yes.  That's really it.  It's not that hard, it just seems complicated because most of us don't can food anymore.  Honestly I don't even make that much these days.  Now that the kids are older and most of them out of the house we just don't go through jelly, jam, chutneys, and pickles the way we used to.  So I tend to save my efforts for the more expensive items.  Like cherries.

After washing and draining the cherries comes the task of pitting them.  Without fail every single time I make cherry jam I wonder why the heck I have never invested in a cherry pitter.

I need one because, first it takes a doggone long time to pit five pounds of cherries.  Second if you've ever tried to get cherry juice out of a white blouse you'll appreciate that my fingernails look none too clean for at least a day or two afterwards.

Another challenge is trying to pit the cherries without attracting the attention of other people in the house.  Invariably five pounds of cherries turns into a fair amount less after certain unnamed people start eating them faster than you can pit them.

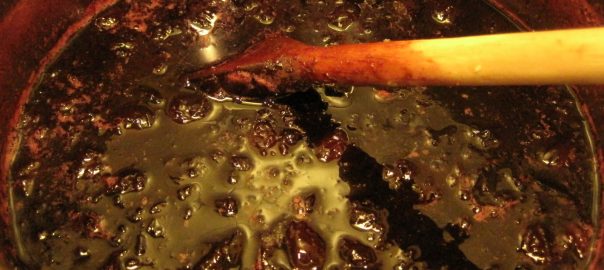
To make the jam simply combine the cherries with lemon peel, lemon juice, sugar, and pectin and let it cook for a while on the stovetop until it thickens.  There are lots of great recipes for cherry jam out there.  The one I use comes from the Ball Blue Book which is a great resource for recipes and information on preserving all kinds of things.

My other favorite canning/preserving book are:

Once you've created jam you put it into sterilized jars, hot water bath it and then you're done.  One of my favorite sounds is the little plinking noises made by the lids sealing after their hot water bath.
 
The jars will keep for up to two years in the pantry.  Each time we take one out and eat it we are reminded of the sweet, juicy taste of summer.  Believe me, in the middle of winter the hot, steam-filled kitchen and huge pots a-boiling on the stove are a far distant memory.  It's all worth it.


Food Storage

Becky wrote and asked about storing food.  She's starting to make more of her own foods and would like to purchase in bulk but is not sure how to store things.  This is a brief post but one that shares my experience and what I do.  The storage that I am talking about here is dry storage, I'm assuming that if you have a freezer or even two freezers you are already using them to full capacity.

dry beans in jars | photo: dancesincreek

For smaller items (seeds, beans, herbs, etc) I collect glass jars.  Lots of them.  I confess that I have aspirations of being one of those wonderfully well organized people who has all their jars coordinated and they are the same so they all fit neatly on the shelf.  The truth is, well, let's just say a little more practical.  It's a mis-matched hodgepodge of jars.  I use smaller jars for smaller things and bigger jars for larger quantities.

If it is something that requires a good seal (such as agar agar) I will sometimes cut a piece of wax paper to put over the top of the jar before placing the lid on it.  Obviously things kept in jars do better stored in a cool dark place.

I like using glass jars, even though they are more breakable, because I feel that they are the best, least contaminating containers.

For large quantities I use five gallon buckets.  Although they are plastic, it is not possible to store very large quantities in other containers.  Many people can get five gallon buckets for free from their local grocery store.  In the bakery section simply ask for their buckets; the grocery stores throw them away.  These are food safe buckets.  Sometimes they come with some of the contents (frosting, etc) still stuck to the inside, but washing them out is a small price to pay.

For the lid I use something called a gamma seal.  This is a great thing to create a water-tight, air-tight, vermin-proof seal.  I like them in part because they are spin-on/spin-off rather than a rip-off-your-fingernails-prying-the-lid-open.  Essentially there is a threaded plastic ring which snaps onto the rim of the bucket.  The lid then threads into the ring.  If I am planning on very long term storage (more than six months) for the contents of a bucket I will add oxygen absorbers to help the contents last longer.  The trick with the oxygen absorbers is to figure out how much airspace is left in the bucket so you know how many absorbers to use.

I find that a five gallon bucket easily stores twenty-five pounds of dry goods.  I use mine to store grains such as hard wheat, barley, oats, and buckwheat.  I also use these buckets to store sucanat and evaporated cane juice crystals.  Due to the weight I don't stack them more than three high.

In order to make sure that I am staying on top of my large scale dry goods I write the contents of the bucket on a piece of scotch tape with weight and the date it needs to be used by.  This piece of tape is placed on the rim of the lid.  This way the buckets are clearly marked and when I go into them and I can see how much I still have left.  The tape sticks well enough to be used but comes off easily enough if the information needs to be changed.

Raspberry Vinegar

Raspberries are coming in to season.  Their fragrant luscious aroma greets me every time I walk into the produce section of my local grocery store.  And their plump juicy red fruit temps me.  I love raspberries and truly miss the raspberry bed I had in Connecticut.  It was stocked with four different varieties each bearing at a different time pretty much ensuring a summer full of fresh flavorful berries.

Sadly the drought here in Texas has done a number to my fruit bushes.  The trees seem to be holding their own but the elderberries, raspberries, blackberries, blueberries and goji berries are all shriveled and I'm not sure they're going to make it.

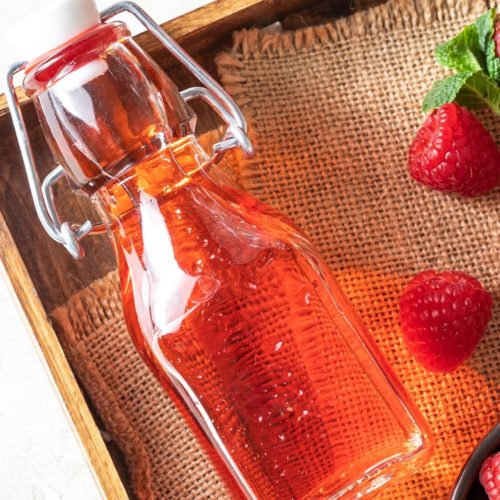
Raspberries are such a wonderful fruit because not only are they tasty, they're so versatile.  They go great in fruit salads, eaten fresh, baked into scones or crumbles, on top of oatmeal, in a smoothie, the list goes on.  Plus a little as one half a cup provides 4 g. of fiber, over 25% of your daily value for vitamin C and just over 20% of your daily value for manganese. One of my favorite, extravagant ways to use raspberries is to make a raspberry vinegar.  This way I can enjoy that fragrant summer flavor all year long.

This is my favorite recipe using raspberries from Fancy Pantry which is one of my best-loved preserving cookbooks.

Raspberry Vinegar

By Fancy Pantry cookbook

Ingredients
  

  • 8 C. raspberries, cleaned, rinsed and drained
  • 3 C. white wine vinegar

Instructions
 

  • The recipe calls for the raspberries to be used in two portions.  You can freeze 4 C. for later.
  • Crush 4 C. raspberries and place them in a sterilized, heatproof 2 quart jar
  • Add vinegar and and cover the jar
  • Set the jar in a deep saucepan and fill with water to come halfway up the jar
  • Set over medium heat and bring the water to a boil
  • Reduce the heat and keep the water simmering for 20 minutes
  • Remove the jar and set aside, uncovered to cool the contents
  • When cool, add a lid to the jar and set it aside
  • Shake the jar every day for 2 weeks
  • Strain the jar to remove old raspberries, it is okay to lightly press the berries to extract all the juice
  • Crush 4 C. raspberries and pour infused vinegar over them
  • Repeat the scalding as done above
  • Let the vinegar rest for two weeks, shaking every day
  • Strain the vinegar discarding the fruit, it is okay to lightly press the berries to extract all the juice
  • Line a funnel with an unbleached coffee filter and place in a sterilized bottle
  • Filter the vinegar into the bottle
  • Cap or cork the bottle and store in a cool dark pantry

Notes

The vinegar may develop sediment as it stands, this is okay but the vinegar can be re-filtered if you wish

Eat White Food

I frequently spend a lot of time asking people to eat the colors of the rainbow.  There are so many tasty colorful foods that I am at a loss to understand how the Standard American Diet came to be mostly beige.  On my Facebook Fan Page I often push colorful foods.  For the most part this means fruits and vegetables that are higher in nutrients, tasty and easy to incorporate into the diet in their whole food form.

Today however I'm here to advocate for white foods; at least some of them.  I'll still be one of the first to tell you that white rice, white pasta, white bread, white potatoes and that ilk are primarily simple carbs and not a great choice.  But there are some other white foods that are fabulous and should definitely be part of your nutritionally dense, healthy eating plan.

Cauliflower ] photo: Liftarn

Cauliflower – A cruciferous vegetable that is loaded with vitamin C, cauliflower also provides vitamin K, and some folate.  It's also got a type of phytonutrient called glucosinolates which are a good choice for detoxification activity within our bodies.  Antioxidant and anti-inflammatory properties make cauliflower high on the list for cancer prevention and heart health while it's high levels of fiber make it a great choice for supporting healthy digestion.  You can eat it raw, steamed, baked, roasted, and cooked.  Don't forget about the greens, these are also edible and make a great addition to a stir fry or curried greens.

Parsnip | photo: A.Cahalan

Parsnips – A root vegetable that is loaded with fiber, parsnips also provide vitamin C, vitamin K and folate.  They have a wonderful mineral content that includes calcium (yes folks, 1 C. of parsnips gives you 5% of your RDV for calcium), magnesium, phosphorus, potassium, and manganese.  I've read that before people knew that potatoes were edible, parsnips were one of the prized root vegetable for their mild, delicious flavor.  They can be eaten raw, cooked, mashed, steamed, and make a wonderful addition to a root vegetable medley or a carrot, sweet potato, parsnip latke.

Garlic | photo: geocachernemesis

Garlic – Another wonderful root vegetable garlic is a fabulous antiviral, antibacterial, antifungal, cancer fighting, immune system boosting food that needs to be a part of your diet.  If chopped and let to sit for a few minutes oxidization boosts the powerful antioxidant allicins.  Many people, myself included, when feeling a little under the weather, will chop a clove or two of garlic and swallow it down raw (do not do this on an empty stomach as it may cause digestive upset).  Delicious, healthy, easy to use in a vast array of dishes, it's one white vegetable that belongs in your pantry.  As tasty as it is, it's no wonder that there's a recipe for chicken with 40 cloves of garlic.

White Onion | photo: multadroit

Onions – there are all different types of onions so it seems a bit odd to single out the white ones since I tend to use them all.  The white ones include sweets, cipollinis, shallots, pearl onions and more.  Try them all, they're delicious and so good for you. High in chromium, which is great for your blood sugar, onions also have a high level of sulfur compounds which makes them a great choice as a heart healthy, immune boost, cancer fighting, anti-inflammatory vegetable.  They also provide copper which is important for bone health.
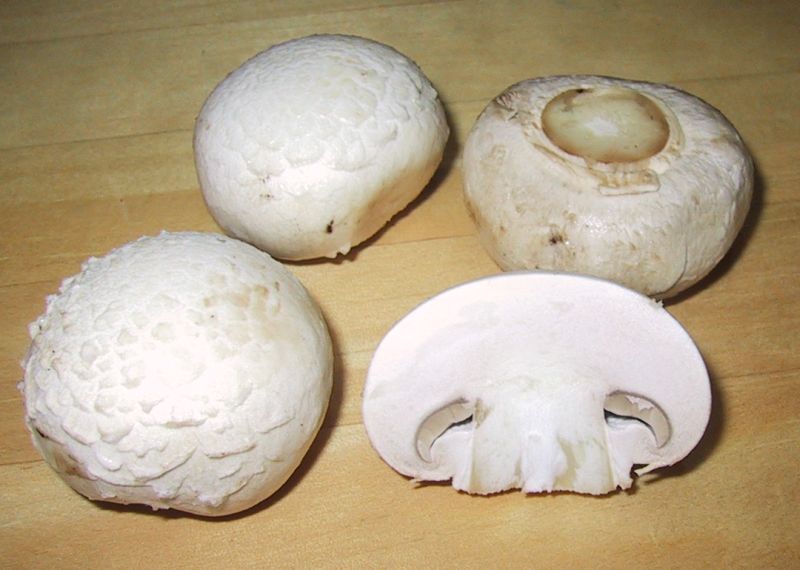
Mushrooms | photo: Chris 73

Mushrooms – everyone is going crazy for shitake, oyster, portobello, maitake and other mushrooms these days.  But that doesn't mean that you should discount those tasty white mushrooms.  They pack a nutritious punch with lots of fiber, vitamin B12 (especially important for vegetarians and vegans), potassium, copper, and selenium.  1/2 cup of mushrooms provides a whole lot of flavor yet only 7 calories. Another easy, versatile vegetable they can be used in many different ways in a wide variety of cuisines.

White Beans | photo: Rasbak

White Beans – This color covers a number of different kinds of beans, navy, great northern, cannellini, pea beans, and more.  A great source of protein, white beans also offer a great source of iron and fiber.  They are good for stabilizing blood sugar, good for your heart, your digestion and can be eaten so many different ways.  They pair well with an almost endless combination of vegetables, herbs, and spices.  One of my favorite ways to eat them is cold (after cooking) in a salad drizzled with a pesto dressing.

Celeriac | photo: AlbertCahalan

Celeriac – Sometimes referred to as celery root this tastes like a cross between celery and parsley.  It's great in combination with other root vegetables, goes great into a slaw, cooks up well in a casserole, and is another great choice to add to your diet.  Low in calories but high in vitamin C, vitamin K, vitamin B6, phosphorus, potassium, and manganese it's considered a detoxifying vegetable.  It may also help with blood pressure health and support bone health.

So eat a rainbow of food, whole foods that is, but don't forget white is all the colors of the rainbow and needs to be part of your plate too.

Food And Money

The USDA is predicting an increase in all foods for 2011; depending on the item it is expected to range from 2% for things like sugars and cereals to as high as 5.5% for dairy products.  If you are interested you can see the chart here.  Part of the increase is due to the higher costs for corn and soybeans.  Remember, it's a cycle, what we eat needs to eat.  I actually anticipate that the costs for meat will be much higher than currently predicted due to more people deciding to purchase meat and dairy that is organic to avoid the GMO contamination of corn and soy.  These are two of the most heavily GMO crops but our government doesn't identify that so the only way to avoid it is to purchase organic.

There are a number of ways that you can save money on your food bill in the upcoming year:

Plant a vegetable garden.  Using your space for edible gardening can be attractive and save you food dollar costs.  During both World Wars Victory Gardens were planted in every yard and public park all across the United States.  It's a concept that I think many people are rediscovering.

 Even if you buy a tomato plant at the garden center and plant it in a pot you will still get far more produce than if you purchase your tomatoes at the grocery store.  And believe me, they'll taste better.  We've just re-arranged our side yard and brought in a load of organic dirt, working on creating a better vegetable garden.  We've also put in herbs and a few fruits in the yard.  

Here are a couple of books that I think are great for backyard vegetable gardening

Mel Bartholomew is the authority on getting the most out of the smallest space. If you have any gardening space available, even just one square foot, you'd be amazed at what you can grow.


Rosalind Creasy shows you how to incorporate beauty and function in your garden by making your landscape edible.


If you live in an apartment or don't have access to a plot of ground you can consider container gardening.  Even one  reasonable size container can grow a lot of tomatoes and basil or peas and mint or…read the book.


And there seems to be an increase in folks growing food on rooftops and terraces.


If you shop at warehouse stores frequently the prices are good but the quantities are huge.  Don't buy more than you need, after all 50 pounds of potatoes is a lot, especially in a family like ours with just three people in the house.  Just because the price per pound is low, if you wind up throwing out rotten potatoes (or anything else) you've just lost money.  If you really want the item consider saving money by asking family, friends and/or neighbors if they want to share these items with you.  This way you'll both save money and there will be less waste.

And speaking of waste…


According to Jonathan Bloom, author of American Wasteland, Americans, on average, throw away half of their food.  Half!  That's a mind-boggling concept.  Knowing, really knowing exactly what is in your pantry is a great start, learning how to be mindful of it is the next step.  Jonathan has a lot of great information on his blog to help you avoid food waste.  Don't want to read the book (although I highly recommend it)?  There's an app for that — yup, a company called UniByte has created an app to help you better manage your food purchases so you will waste less.


If you do wind up with food waste, and some of it is inevitable such as potato peelings, egg shells, coffee grounds, and the like, consider composting.  This is also environmentally friendly in that the food scraps become usable dirt instead of going to the landfill where they cannot be used to grow more food.  

A little off the beaten path but for those who have access, inclination, and a sharp eye there is always the idea of foraging.  According to my friend Merriweather it is important to remember a couple of key points:

1.  Know what you are foraging.  Many edibles have an inedible counterpart that looks almost the same.  He points out that these inedibles wind up in either the “kill your kid dead” or “keep you on the toilet sick” category so it's important to be very sure of your identifications.

2.  Forage responsibly using appropriate tools to cut and dig rather than ripping and shredding.  This allows the plants to continue to grow and is the best way to forage.

3.  Make sure you have permission. Here in Texas, and probably elsewhere, plant rustling is against the law.  Getting a huge fine for public trespassing or theft is not going to help your grocery bill any.

While Merriweather sadly does not yet have a published book there are some great foraging books out there:


And last, but certainly not least, another way to save money at the grocery store is to learn to make your own.  One of my favorites is making my own granola which definitely saves money over the store-bought versions.  You can make your own pudding, soups, muffins, snacks, spice mixes, beverages, pickles, jams and much much more.  Currently I am fermenting kimchi on my kitchen counter, starting another batch of kefir and have just finished making another batch of bean sprouts.  These require very little hands on time and save quite a few dollars while providing healthful foods for my family.  Making your own has a number of benefits:

1.  It will save you money
2.  You will avoid extra packaging and commercial waste
3.  You will avoid additives, preservatives and chemicals (which you don't need in your diet anyway)
4.  Often when you make your own you make smaller batches so you are less likely to waste it

So here's to a new year, a new grocery budget, and new possibilities for your health.

Green Tomato Chutney

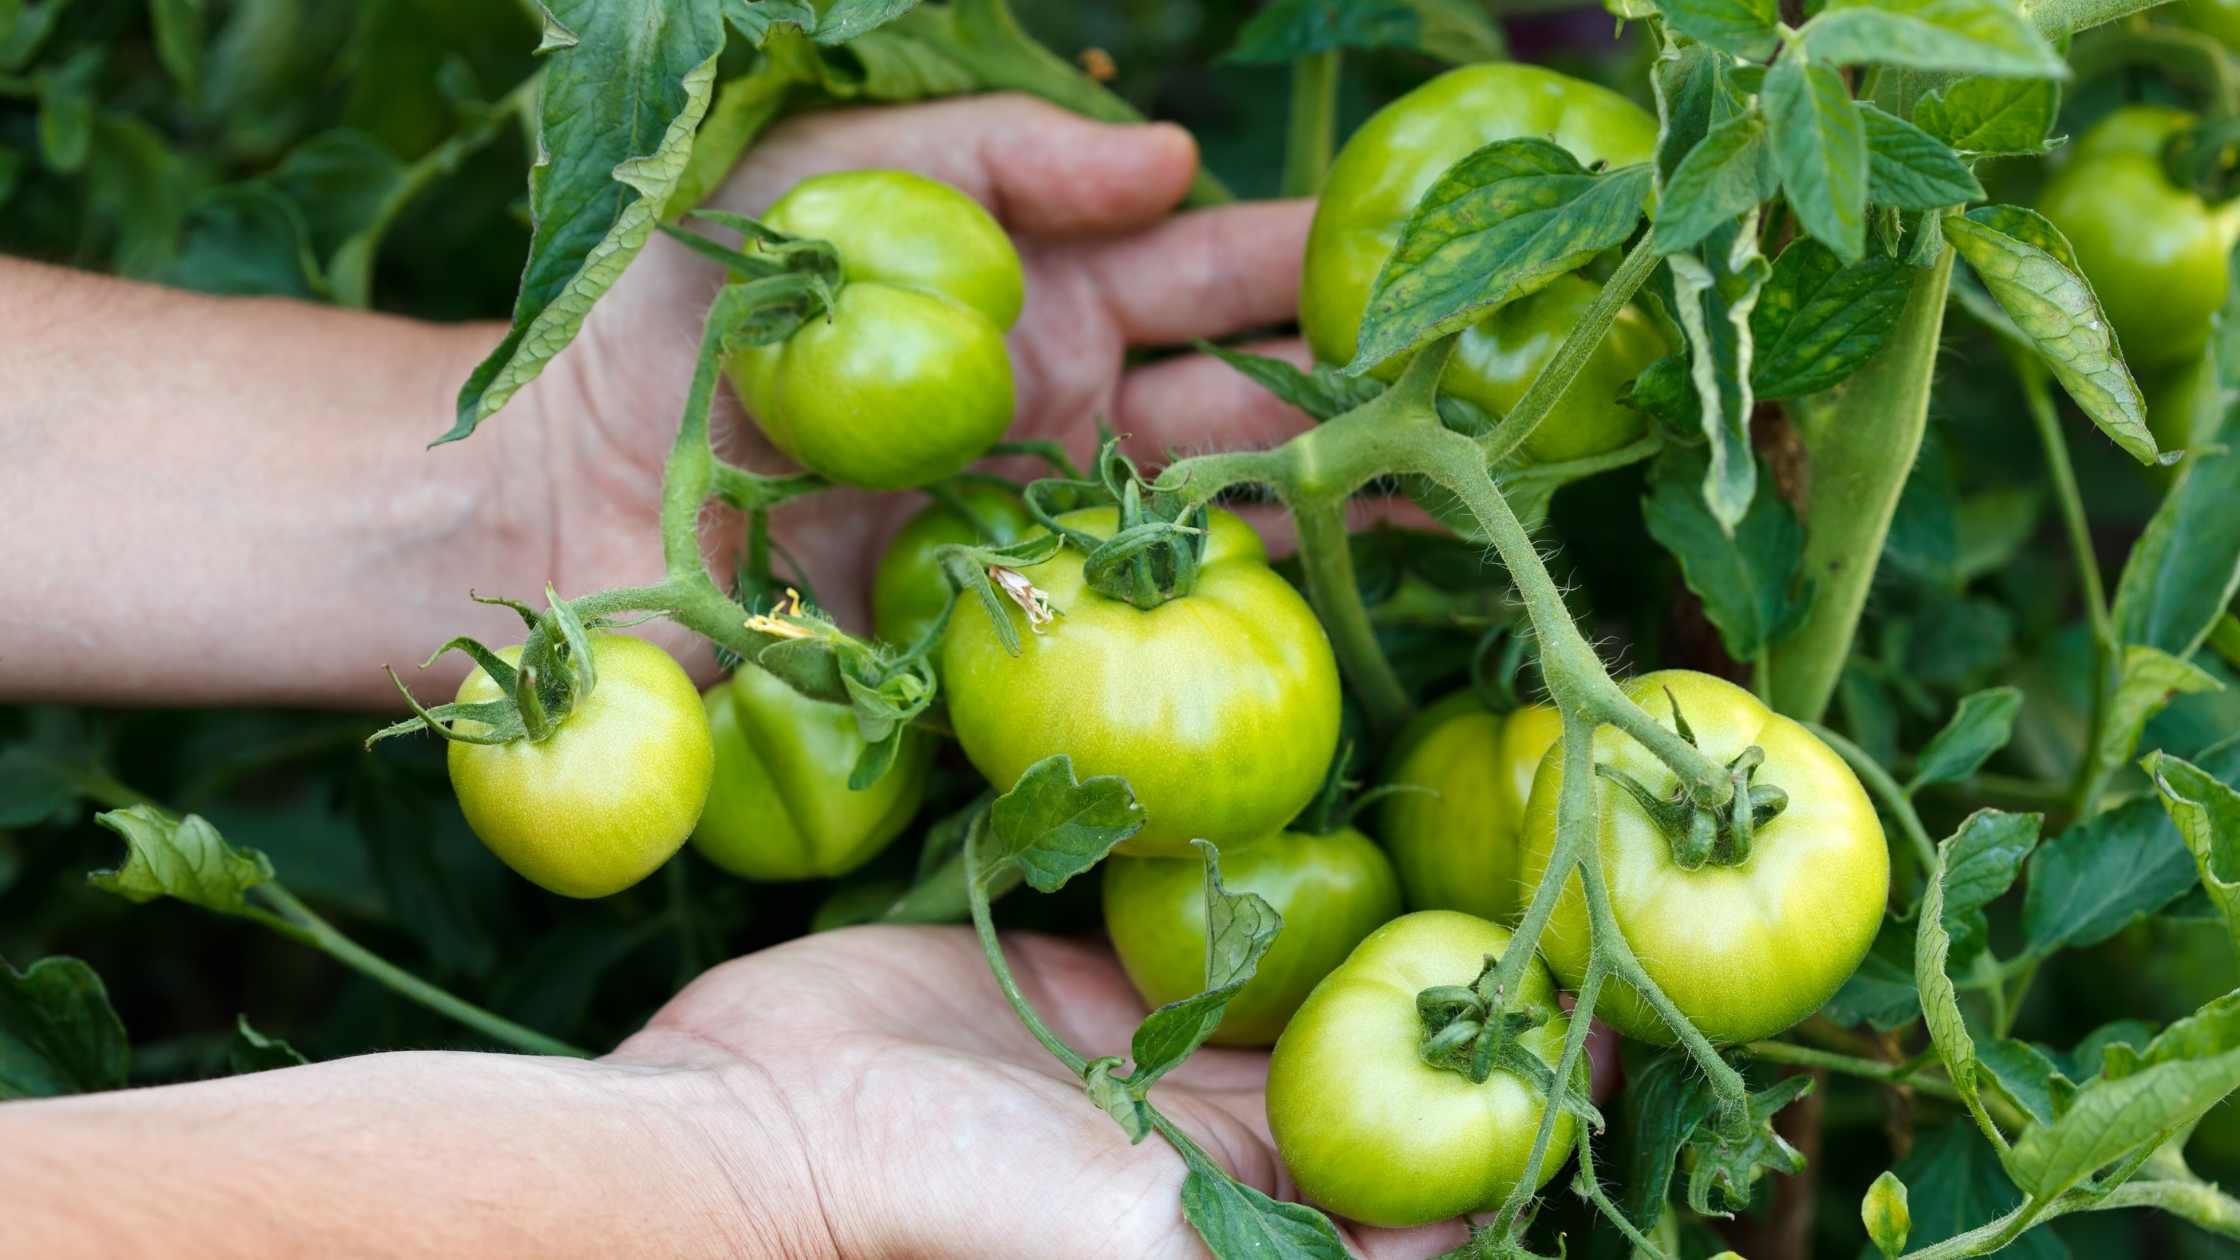
I was amused by a conversation with QuantumVegan’s about harvesting fifty pounds of tomatoes. That's a LOT of tomatoes! When we lived in Vermont that kind of a harvest was sure to mean we were getting green tomatoes.  The growing season is so short there tomatoes don't always have time to ripen.  So you come up with lots of good ways to use green tomatoes.  There's green tomato pie, green tomato salsa, the ubiquitous fried green tomatoes, and more. Luckily green tomatoes have lots of nutrition, including lycopene.

Nutritional Profile

According to the USDA, the nutritional profile of green and red tomatoes is almost the same. Green tomatoes have twice the vitamin C, more vitamin K, and more calcium. Red tomatoes have more vitamin A, E, and potassium.
 
Apparently, they have the same amount of lycopene and it is believed that the chlorophyll in the green tomatoes hides the red pigment which indicates a lycopene-rich food.

Recipe

Green tomatoes are versatile and can be made into pie (it's delicious, trust me), pasta sauce, and all manner of preserved goods.

If you're getting close to the end of your growing season and you're looking at a large crop of green tomatoes, here's my favorite way to use them up; green tomato chutney.   It goes very well with cheese and crackers, it is excellent with cold roast meats, delicious as a side to a spicy vegetarian lentil dish, it's a very versatile condiment to have in your pantry. This recipe is based on one from Fancy Pantry which appears to be out of print. I find it to be a good book with lots of wonderful recipes and well worth having.  But in the meantime here's my version:

Green Tomato Chutney

Servings 6 pints

Ingredients
  

  • 4 pounds green tomatoes, cored and cut into chunks
  • 4 pounds green apples, peeled, cored and cut into chunks
  • 2 C. yellow onions, minced
  • 2 C. raisins
  • 3 cloves garlic minced
  • 3 C. evaporated cane juice crystals
  • 1 1/2 C. raw apple cider vinegar
  • 3 T. minced fresh ginger
  • 2 T. mustard seed
  • 1 t. ground cinnamon
  • 1/2 t. ground cloves
  • 1/2 t. red pepper flakes

Instructions
 

  • In a large stock pot mix together tomatoes, apples, onions, raisins, garlic, cane juice crystals, salt, and vinegar.
  • Bring to a boil over medium heat, stirring frequently.
  • Continue to boil for approximately 30 minutes continuing to stir frequently. The fruits will begin to soften and meld together.
  • Add the spices.
  • Boil for another 10-15 minutes until you reach the consistency you want.
  • Ladle into hot sterile jars and seal according to directions.
  • Bath for 10 minutes remove and let cool.

Notes

This recipe needs to settle to allow all of the flavors to come together. Let it sit in a cool dark space for at least a month before opening.

Gluten-free In An Rv

Increasing numbers of people have food allergies, sensitivities or intolerances these days.  There are a lot of theories as to why this is, but the bottom line is that it can make it very difficult for folks to eat outside their home.  Maintaining a healthy pantry is critical for these folks, as is an awareness of what to look for when eating on the road.

Now that summer is over and the kids are back in school, it's time to get back to the regular routine while daydreaming of summer vacations.  My friend Tina recently shared the story of her family and their ability to take a long-awaited cross-country family vacation.  It's wonderful that they were able to achieve this dream, and a definite testament to how much advance preparation they had to do to be able to make this trip a reality.

Traveling gluten-free and dairy-free definitely changes what you do and how you do it.  Our family has dreamed of a cross-country trip for years.  Those dreams were challenged by the fact that my husband is very sensitive to gluten and dairy… even a crumb or drop can leave him with asthma and GI problems for weeks.  We decided that the best way to travel would be to take our kitchen with us and do most of our own cooking. With the help of a friend who lent us their RV we were able to do finally make our dream come true and take this trip.  

Starting from CT, going across the northern states, down California, then returning via the southern states and up the eastern coast it was a wonderful adventure.  We were so happy our dream could become a reality and we had a great time. However we definitely had to consider how we would feed my gluten and dairy-free husband along the way.

Carefully considering our menus we pre-stocked the kitchen with gluten and dairy-free staples we knew we could have a hard time finding on our travels across the country.  Not every area of the country offers a wide range of dietary choices and not every store has things like:

rice/potato pastas
gluten-free pretzels
gluten-free bread crumbs
gluten-free bread
dairy-free buttery spread
gluten-free chicken broths
gluten-free, dairy-free cold cuts
gluten-dairy free brownie mix
gluten-dairy free cake mix (we had some birthdays to celebrate along the way)
corned beef without anything added in (in the midwest a lot of stores only sold corned beef with everything already added in and we couldn't trust it)


Our dinner meals were usually a meat (chicken, steak, pork, burger), sometimes breaded with veggies or a stir-fry with brown rice.


One family favorite is a breakfast that we usually have in the winter before spending the day snowmobiling out in the cold.  It's tasty, filling, and an easy on-the-road breakfast. 


The Berge's Hash and Eggs


Can of corned beef (plain, no potatoes added)
4 potatoes (or as many as you feel is adequate for the # of people you have), diced
3-4 T. olive oil
1 onion, diced
ground pepper, to taste
onion powder (optional)
eggs (1 or 2 per person)


Put the onion in a frying pan with a 1 T. oil until softened. 
Add the potatoes, more oil if needed, and cook until potatoes start getting soft. 
Add the corned beef and brown it all (no need to add salt since the corned beef has it already) 
Season with pepper and more onion powder if needed 


When the hash is browned remove from the pan and set aside
Cook the eggs (we like sunny side up)
Place eggs on top of the hash and serve


It's so delicious and for lunch you can get by with just a piece of fruit and some nuts or other light meal… works great when you're travelling around for the day.


My husband's diet influenced us in other ways as well. We ate “out” at a restaurant only twice during the five weeks we were on the road.  Before being seated we would ask our server lots of questions about whether they could accomodate us; if they said they could, we would try it.  However there was always that feeling of playing “Russian Roulette” with his GI system since you're never really “sure” that the chef and wait person “get it.” 


While we were on the road  we would seek out health food stores and would be in heaven if we found a gluten-free bakery or somewhere with treats (we were on vacation after all!). We were surprised to find  that out west people do not know what italian ices are. There's a market to be tapped there, for sure!


We talked a lot about how it would be great if there were some quick, healthy drive-thru type places where gluten and dairy free people could find food. Unfortunately it doesn't exist, even the salads are usually tainted with croutons and/or cheese. It was eye opening how much harder it is to travel when you don't fit into the majority.


Travelling with food allergies can be a great experience if you plan ahead on how to find or make foods that work. Yes, it would be nice to be able to eat out a little more often while on vacation (food is half the fun of vacation!) but we were able to manage. The good news is that the States seem to be getting more aware of food allergies and it is definitely easier to find gluten-free and dairy-free foods than it was 10 years ago.


photo courtesy of:  Bill Ward's Brickpile

How To Make Bean Sprouts

I love bean sprouts.  They're delicious and a great source of nutrition.  Just the act of sprouting beans increases their nutrition.  It also makes their nutrients more bio-available because the first step, soaking, removes phytic acids which interfere with nutrient absorption.

A while back my friend Jen asked me how to make them.  She had been interested in doing it but was afraid it was too difficult.  She wanted pictures to show her how it was done.  I promised that the next time I made bean sprouts I would take pictures and share the process.

This is a batch of lentil, adzuki, mung bean sprouts.  You can use any beans you like depending on what you have handy in your pantry.  I almost always have mung beans and lentils so I use those a lot.  The other beans vary.  I usually make a bean sprout mix with anywhere from three to five different kinds of beans.

Start by putting a small handful of each of the different beans into a colander and picking them over.  Dry beans frequently have small rocks, little clumps of dirt or other debris in the package, it's important to sort through them before you use them.

After picking them over, rinse the beans well.
Then…

Put them into a bowl and cover them with water.
Put them in the oven overnight

(Be sure to put a note on the oven so you don't accidentally turn it on to pre-heat
when your beans are in there.  Trust me on this one.)
The next morning take your beans out of the oven and drain them.
Rinse them well and put them back in the oven.

The next day rinse and drain your beans and put them back in the oven.
Keep doing this.
On day two or three you will notice that your beans have little white sprout tails.

On day three or four you will notice that lots of beans have sprouted and they are ready to eat.

How long they take to sprout depends on how warm or cold it is in your house.  Warmer weather
causes them to sprout faster so in my house it's usually three days.
Once you have your sprouts ready to eat it's best to store them in the fridge.
What can you do with them?  I put mine into salads, stir fry, curry, smoothies (just a tiny bit for a protein boost), I also eat them raw as a snack.  They're absolutely fabulous.
I hope you'll give it a try.
Be well.

No Artificial Colors In Kraft Foods Overseas: Why Not In The U.S.?

My latest column as the Houston Holistic Health Examiner addresses the growing concern over Kraft Foods Inc.'s use of artificial colors in their U.S. products, despite removing them in places like Europe and Australia.

Consumers in these regions expressed outrage after studies revealed the harmful health effects of artificial colors. This isn’t a new issue. In a paper I previously wrote on artificial colors, I referenced a study from 1968 by Dr. Benjamin Feingold, which detailed how food additives can trigger allergic reactions in children.

Unfortunately, Dr. Feingold’s research wasn’t enough to convince food manufacturers at the time. Now, 40 years later, Kraft has finally started removing these chemicals—but only in certain countries. The U.S., along with many developing nations, is still waiting. It's hard not to assume that this decision is motivated by profit, showing a concerning disregard for the health of their consumers.

Taking Action

MomsRising.org is an organization dedicated to promoting a healthy, family-friendly America. They are currently campaigning to pressure Kraft into removing artificial additives from U.S. products. You can support this effort by signing their petition or writing a letter to Kraft yourself.

Below is my letter to Ms. Rosenfeld, CEO of Kraft Foods:

"As a Nutrition Educator and the mother of two children who are sensitive to food coloring I am pleased to see that you have removed the artificial colorants and aspartame from your products sold in other countries. I feel that this was a responsible decision made in reaction to the demands of your consumers which highlights that KraftFoods has the ability to effect change in partnership with the requests of it's consumers. I am stunned, however, by your decision to continue to use these very chemical additives in the U.S. version of the same products.

There are a number of studies which underscore the health risks posed by synthetic additives, especially when it comes to the developing bodies of young children, a prime market for many of your products. Given the overwhelming reach of your company into the pantries across this country and around the world I would think that a response to such consumer requests should have prompted a revision in your manufacturing processes across the global market instead of merely in a few countries.

There is no need whatsoever for these ingredients, and indeed they are harmful to your consumers. I urge you and your company to be a responsible member of the global community, to care about the health of those who buy your products and make the same change that you did in Europe, Australia and other countries by removing artificial colorants, aspartame and other unhealthful chemical additives to the foodstuffs that you sell, not only in the United States, but around the world.